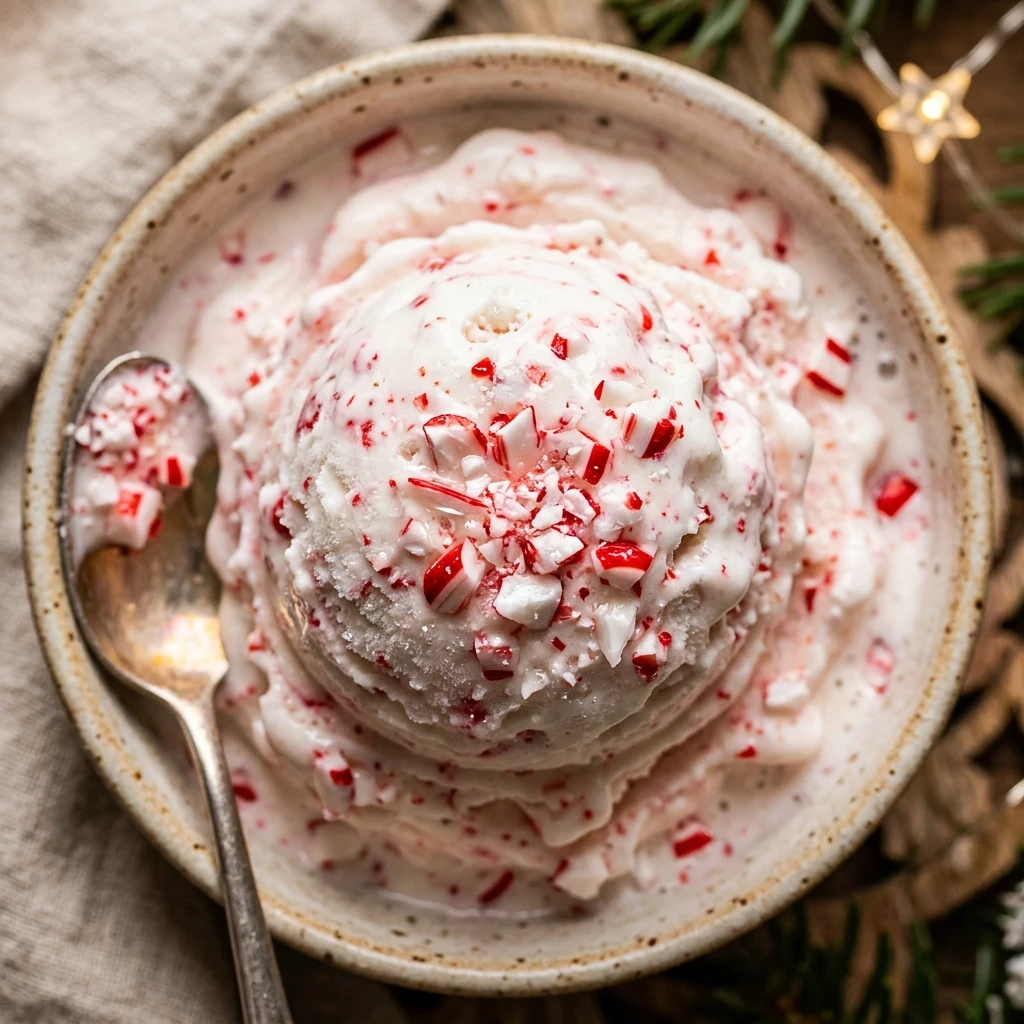

When the holiday season arrives, nothing captures the spirit of the festivities quite like the cool, refreshing taste of peppermint. This Festive Peppermint No-Churn Ice Cream is the perfect treat for busy hosts and dessert lovers alike. You do not need a fancy ice cream maker or hours of manual churning to achieve a professional, creamy result that will impress your guests.
Imagine a velvety smooth base infused with sweet peppermint and studded with crunchy bits of candy canes. This recipe is incredibly easy to whip up and serves as a beautiful centerpiece for your holiday dessert table. Whether you are serving it after a heavy Christmas dinner or enjoying it during a cozy movie night, this ice cream brings a burst of winter magic to every spoonful.
Recipe Information
- Prep Time: 15 minutes
- Cook Time: 0 minutes (Requires 6 hours freezing time)
- Total Time: 6 hours 15 minutes
- Servings: 8
- Difficulty Level: Easy
Nutrition Information
- Calories per serving: 340
- Protein: 4g
- Carbohydrates: 36g
- Fat: 21g
- Fiber: 0g
- Sugar: 32g
- Sodium: 60mg
Why Make This Festive Peppermint No-Churn Ice Cream
The best part about this recipe is its simplicity. Most traditional ice cream recipes require a machine and a lot of patience, but this version uses just a few basic ingredients and a hand mixer. It is the ultimate “set it and forget it” dessert that frees you up to focus on other holiday preparations.
Beyond the ease of making it, the flavor profile is perfectly balanced. The sweetness of the condensed milk mellows out the sharp punch of the peppermint, while the heavy cream provides a luxurious mouthfeel. It is also a fantastic recipe to make with kids, as they will love helping crush the candy canes and watching the cream turn into fluffy peaks.
How to Make Festive Peppermint No-Churn Ice Cream
Creating this frozen delight is a straightforward process that involves two main components: whipped cream and a flavored milk base. Follow these simple steps to ensure your ice cream turns out light, airy, and delicious every time.
Ingredients
- 2 cups heavy whipping cream, chilled
- 1 can (14 oz) sweetened condensed milk
- 1 teaspoon peppermint extract
- 1/2 teaspoon vanilla extract
- 1/2 cup crushed candy canes or peppermint candies
- Optional: 2-3 drops red food coloring for a festive swirl
Directions
Step 1: Prepare the Equipment
Place a large mixing bowl and your whisk attachments in the freezer for about 10 minutes before starting. Having cold equipment helps the heavy cream whip up faster and hold its volume better.
Step 2: Whip the Heavy Cream
Pour the chilled heavy whipping cream into the cold bowl. Use a hand mixer or stand mixer on medium-high speed to whip the cream until stiff peaks form. Be careful not to over-beat, or it may turn into butter.
Step 3: Flavor the Base
In a separate medium-sized bowl, combine the sweetened condensed milk, peppermint extract, and vanilla extract. Stir these together until the mixture is completely smooth and the extracts are well incorporated.
Step 4: Fold the Mixtures
Gently fold about a third of the whipped cream into the condensed milk mixture to lighten it. Then, carefully fold in the remaining whipped cream using a spatula. Use slow, sweeping motions so you don’t deflate the air you just whipped into the cream.
Step 5: Add the Festive Crunch
Fold in most of the crushed candy canes, saving a small handful for the top. If you are using food coloring, add a few drops now and give it a very light swirl with a knife to create a marbled effect.
Step 6: Freeze Until Set
Transfer the mixture into a 9×5 inch loaf pan or an airtight container. Smooth the top with a spatula and sprinkle the remaining candy cane bits over the surface. Cover tightly with plastic wrap or a lid and freeze for at least 6 hours, or ideally overnight.
How to Serve Festive Peppermint No-Churn Ice Cream
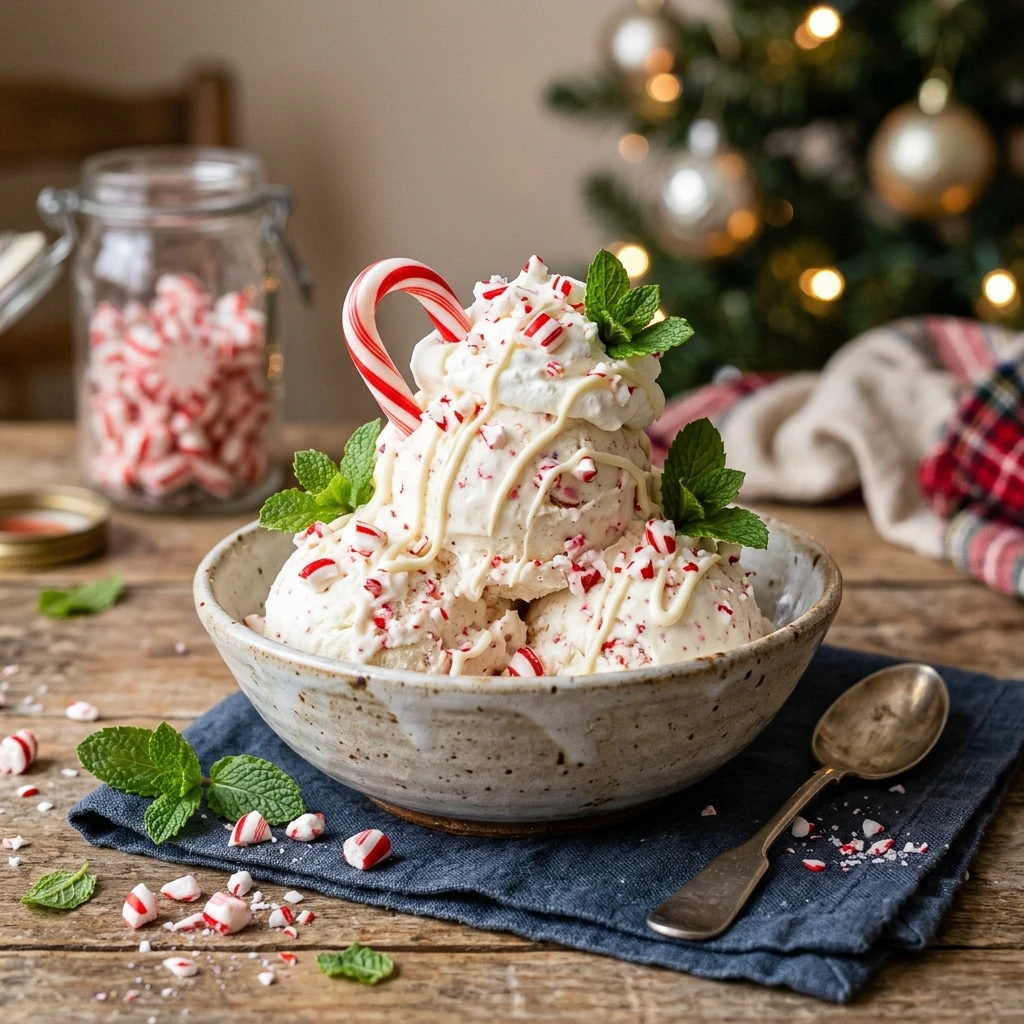
For the best serving experience, let the container sit on the counter for about 5 to 10 minutes before scooping. This allows it to soften just enough to get those perfect, round scoops. Serve it in chilled glass bowls or waffle cones. For an extra festive touch, you can top it with a drizzle of chocolate syrup or a dollop of extra whipped cream and a whole mini candy cane.
How to Store Festive Peppermint No-Churn Ice Cream
Keep your ice cream in the back of the freezer where the temperature is most consistent. It should be stored in an airtight container to prevent freezer burn and to keep it from absorbing other food odors. This ice cream will stay fresh and delicious for up to two weeks, though it is so tasty it rarely lasts that long!
Expert Tips for Perfect Festive Peppermint No-Churn Ice Cream
Always use full-fat heavy whipping cream and full-fat sweetened condensed milk. The fat content is what gives no-churn ice cream its creamy texture and prevents it from becoming icy. Additionally, make sure your peppermint extract is fresh; an old bottle can lose its punch. If you want a more intense red color, use gel food coloring rather than liquid to avoid adding too much moisture to the mix.
Delicious Variations
If you want to mix things up, try adding half a cup of mini chocolate chips to create a peppermint bark flavor. You could also swap the red food coloring for green to make a “Grinch-themed” dessert. For a sophisticated twist, fold in some crushed dark chocolate sandwich cookies for a peppermint cookies-and-cream experience.
Frequently Asked Questions
Q: Can I use milk instead of heavy cream?
No, you must use heavy whipping cream. The air bubbles created during whipping are what give no-churn ice cream its structure and prevent it from freezing into a solid block of ice.
Q: Is peppermint extract the same as mint extract?
They are similar but not identical. Peppermint extract is made specifically from peppermint plants and has a cooling, sharp flavor. Mint extract is often a blend of peppermint and spearmint, which can taste a bit more like toothpaste. Peppermint is preferred for this recipe.
Q: How do I crush the candy canes easily?
Place the candy canes in a heavy-duty zip-top bag and wrap it in a kitchen towel. Use a rolling pin or a heavy skillet to gently whack the bag until the candies are broken into small bits.
Q: My ice cream is too hard to scoop. What did I do wrong?
You likely didn’t do anything wrong! No-churn ice cream can freeze quite firmly. Simply let it sit at room temperature for a few minutes, and it will become perfectly scoopable.
Q: Can I make this dairy-free?
To make a dairy-free version, you would need to use chilled coconut cream (whipped until stiff) and a sweetened condensed coconut milk. The texture will be slightly different, but the flavor will still be excellent.
Conclusion
Festive Peppermint No-Churn Ice Cream is a holiday game-changer. It is simple, beautiful, and absolutely bursting with seasonal flavor. By following these easy steps, you can create a homemade treat that tastes like it came from a high-end creamery. Give this recipe a try this winter, and it is sure to become a new family tradition!
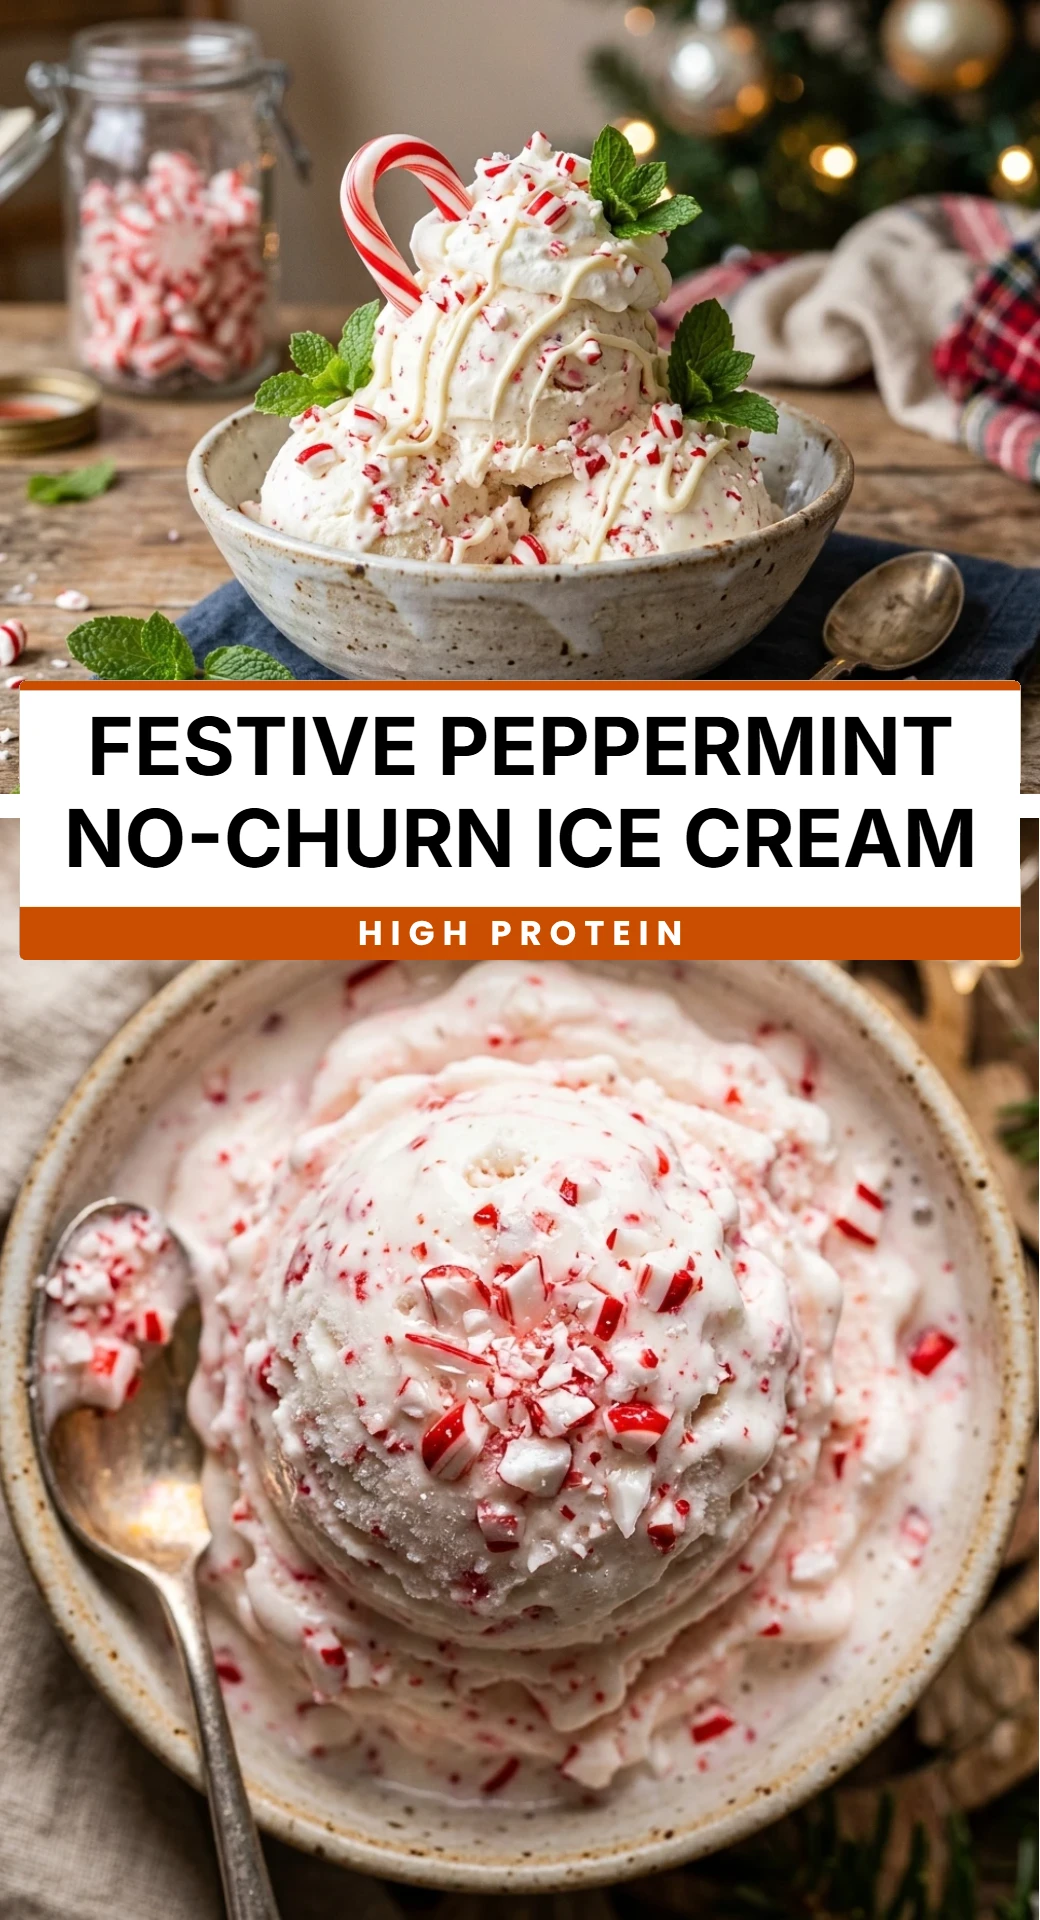
Festive Peppermint No-Churn Ice Cream

- Cook Time: 6 hours 15 minutes
- Total Time: 6 hours 15 minutes
- Diet: Vegetarian
Ingredients
- 2 cups heavy whipping cream, chilled
- 1 can (14 oz) sweetened condensed milk
- 1 teaspoon peppermint extract
- 1/2 teaspoon vanilla extract
- 1/2 cup crushed candy canes or peppermint candies
- Optional: 2-3 drops red food coloring for a festive swirl
Instructions
- Step 1: Prepare the Equipment – Place a large mixing bowl and your whisk attachments in the freezer for about 10 minutes before starting. Having cold equipment helps the heavy cream whip up faster and hold its volume better.
- Step 2: Whip the Heavy Cream – Pour the chilled heavy whipping cream into the cold bowl. Use a hand mixer or stand mixer on medium-high speed to whip the cream until stiff peaks form. Be careful not to over-beat, or it may turn into butter.
- Step 3: Flavor the Base – In a separate medium-sized bowl, combine the sweetened condensed milk, peppermint extract, and vanilla extract. Stir these together until the mixture is completely smooth and the extracts are well incorporated.
- Step 4: Fold the Mixtures – Gently fold about a third of the whipped cream into the condensed milk mixture to lighten it. Then, carefully fold in the remaining whipped cream using a spatula. Use slow, sweeping motions so you don’t deflate the air you just whipped into the cream.
- Step 5: Add the Festive Crunch – Fold in most of the crushed candy canes, saving a small handful for the top. If you are using food coloring, add a few drops now and give it a very light swirl with a knife to create a marbled effect.
- Step 6: Freeze Until Set – Transfer the mixture into a 9×5 inch loaf pan or an airtight container. Smooth the top with a spatula and sprinkle the remaining candy cane bits over the surface. Cover tightly with plastic wrap or a lid and freeze for at least 6 hours, or ideally overnight.