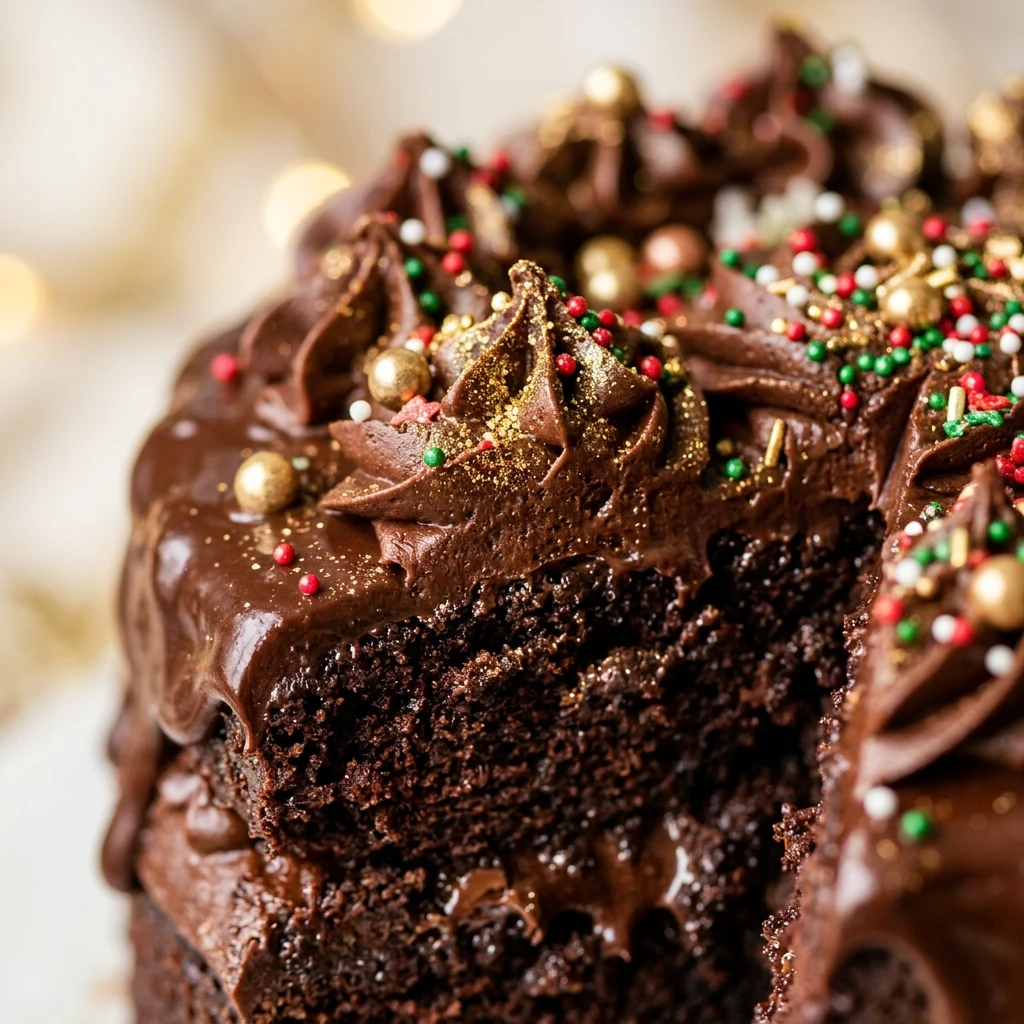

The holiday season is all about creating memories and sharing delicious treats with the people you love. Nothing captures the spirit of Christmas quite like a festive dessert that looks as good as it tastes. This Festive Chocolate Christmas Tree Cake is a showstopper that combines rich, moist chocolate cake with vibrant holiday decorations. Whether you are hosting a party or looking for a fun kitchen project with the kids, these adorable cake triangles are sure to bring a smile to everyone’s face.
Creating these edible trees is easier than it looks. By cutting a standard rectangular cake into triangles, you create the perfect canvas for green buttercream “branches” and colorful “ornament” sprinkles. The deep cocoa flavor of the cake provides a sophisticated base that balances perfectly with the sweet frosting. Get ready to transform a simple bake into a winter wonderland on a plate!
Recipe Information
- Prep Time: 25 minutes
- Cook Time: 35 minutes
- Total Time: 60 minutes
- Servings: 12
- Difficulty Level: Medium
Nutrition Information
- Calories per serving: 345 kcal
- Protein: 4g
- Carbohydrates: 48g
- Fat: 16g
- Fiber: 2g
- Sugar: 35g
- Sodium: 210mg
Why Make This Festive Chocolate Christmas Tree Cake
This recipe is the ultimate holiday crowd-pleaser because it is both interactive and visually stunning. Unlike a traditional round cake, these individual portions are easy to serve at parties without the need for messy slicing at the table. It is a fantastic way to involve children in the holiday prep, as they will love “decorating the trees” with sprinkles and stars.
Beyond its looks, the chocolate cake itself is incredibly moist and flavorful. The secret lies in using high-quality cocoa and a touch of boiling water to “bloom” the chocolate, ensuring every bite is rich and decadent. It is a reliable recipe that delivers bakery-quality results right from your home kitchen.
How to Make Festive Chocolate Christmas Tree Cake
Making this holiday treat involves baking a classic chocolate sheet cake and then using clever cutting techniques to create the iconic tree shape before adding your creative decorative touches.
Ingredients
- 2 cups all-purpose flour
- 2 cups granulated sugar
- 3/4 cup unsweetened cocoa powder
- 2 teaspoons baking soda
- 1 teaspoon baking powder
- 1 teaspoon salt
- 1 cup buttermilk, room temperature
- 1/2 cup vegetable oil
- 2 large eggs, room temperature
- 2 teaspoons vanilla extract
- 1 cup boiling water
- 2 cups vanilla buttercream frosting
- Green food coloring
- Assorted holiday sprinkles and star-shaped candies
- 12 pretzel sticks (for the trunks)
Directions
Step 1: Oven and Pan Preparation
Preheat your oven to 350°F (175°C). Grease a 9×13 inch baking pan thoroughly and line the bottom with parchment paper to ensure the cake releases easily without breaking.
Step 2: Combine Dry Ingredients
In a large mixing bowl, sift together the flour, sugar, cocoa powder, baking soda, baking powder, and salt. Whisk them together until the color is uniform and there are no lumps.
Step 3: Mix in Wet Ingredients
Add the buttermilk, vegetable oil, eggs, and vanilla extract to the dry ingredients. Use an electric mixer on medium speed to beat the mixture for about two minutes until smooth and well combined.
Step 4: Incorporate Boiling Water
Reduce the mixer speed to low and carefully pour in the boiling water. Stir by hand or on low until the water is fully incorporated. The batter will be very thin, but this is exactly how it should be for a moist crumb.
Step 5: Bake the Cake
Pour the batter into the prepared baking pan. Bake for 30 to 35 minutes, or until a toothpick inserted into the center comes out clean. Allow the cake to cool completely in the pan before attempting to cut it.
Step 6: Cut into Tree Shapes
Remove the cake from the pan. Cut the cake into three long strips. Then, cut each strip into triangles by cutting in a zig-zag pattern. You should end up with roughly 12 to 14 triangles.
Step 7: Decorate the Trees
Tint your buttercream frosting with green food coloring. Use a piping bag with a small star tip to create “branches” by piping zig-zags across each cake triangle. Add a pretzel stick to the bottom of each triangle for the trunk.
Step 8: Add Finishing Touches
Place a star candy at the top of each tree and decorate with colorful sprinkles to represent ornaments. Let the frosting set for a few minutes before serving.
How to Serve Festive Chocolate Christmas Tree Cake
For a beautiful presentation, arrange the finished trees on a large white platter to make the green and chocolate colors pop. You can dust the entire platter with a light coating of powdered sugar to mimic the look of freshly fallen snow. These are best served at room temperature, making them perfect for dessert buffets where guests can easily pick up a single tree to enjoy.
How to Store Festive Chocolate Christmas Tree Cake
Store any leftover cake trees in an airtight container at room temperature for up to two days. If your kitchen is very warm, you may want to keep them in the refrigerator to prevent the buttercream from softening too much. If refrigerated, let them sit at room temperature for 15 minutes before serving so the cake regains its soft texture. You can also freeze the undecorated cake triangles for up to a month.
Expert Tips for Perfect Festive Chocolate Christmas Tree Cake
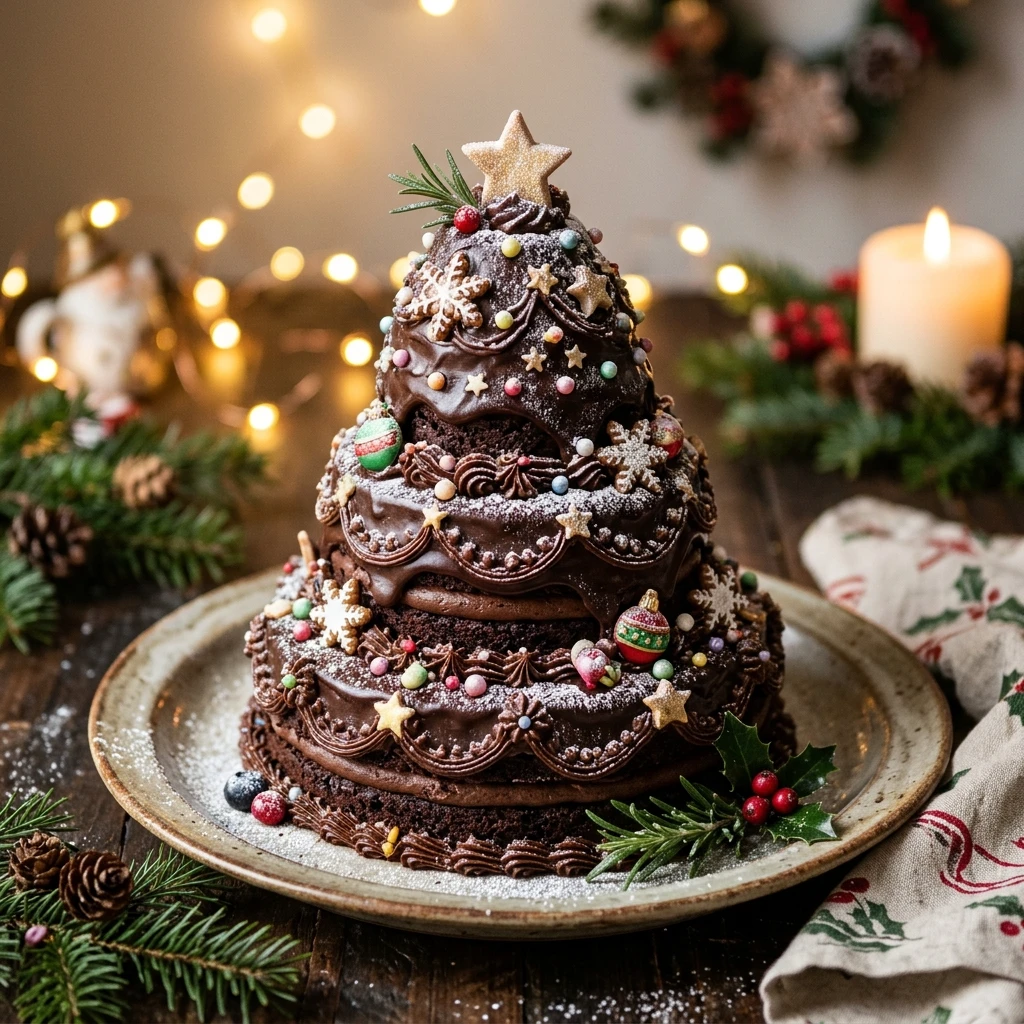
To get the cleanest cuts when shaping your trees, try chilling the cake in the refrigerator for 30 minutes before slicing. A cold cake is much less likely to crumble. Additionally, always make sure the cake is 100% cool before adding the frosting, otherwise, your “branches” will melt right off the tree. If you want a more professional look, use a gel-based food coloring for a more vibrant, deep green color without thinning out the frosting.
Delicious Variations
You can easily customize this recipe to suit your preferences. Try adding a half-teaspoon of peppermint extract to the cake batter for a “Chocolate Peppermint” version. If you prefer a different look, you can use white frosting and clear sanding sugar for “flocked” or snowy trees. For a gluten-free version, simply swap the all-purpose flour for a high-quality 1:1 gluten-free baking flour blend.
Frequently Asked Questions
Q: Can I use a boxed cake mix instead of making it from scratch?
Yes, you can certainly use a boxed chocolate cake mix to save time. Just follow the package directions for a 9×13 inch pan and proceed with the cutting and decorating steps as written.
Q: How do I get the pretzel sticks to stay in the cake?
The best way is to use a small knife to poke a tiny hole in the base of the triangle first, then gently slide the pretzel stick in. The density of the cake should hold it in place easily.
Q: What if I don’t have a piping bag?
You can use a plastic storage bag with a tiny corner snipped off. While you won’t get the “star” texture, you can still pipe lovely zig-zag lines that look like garland or branches.
Q: Can I make these a day in advance?
Absolutely. These cakes hold up very well. Just make sure to store them in a single layer in an airtight container so the decorations don’t get squashed.
Q: Why is my cake crumbling when I cut it?
This usually happens if the cake is still warm or if you are using a dull knife. Use a sharp serrated knife and a gentle sawing motion, and ensure the cake is completely cooled or even slightly chilled.
Conclusion
This Festive Chocolate Christmas Tree Cake is the perfect blend of holiday whimsy and delicious flavor. It turns a simple chocolate cake into a work of art that will delight guests of all ages. Simple to prepare and endlessly customizable, it is destined to become a new holiday tradition in your home. Happy baking and Merry Christmas!

Festive Chocolate Christmas Tree Cake

- Cook Time: 60 minutes
- Total Time: 1 hour
- Diet: Vegetarian
Ingredients
- 2 cups all-purpose flour
- 2 cups granulated sugar
- 3/4 cup unsweetened cocoa powder
- 2 teaspoons baking soda
- 1 teaspoon baking powder
- 1 teaspoon salt
- 1 cup buttermilk, room temperature
- 1/2 cup vegetable oil
- 2 large eggs, room temperature
- 2 teaspoons vanilla extract
- 1 cup boiling water
- 2 cups vanilla buttercream frosting
- Green food coloring
- Assorted holiday sprinkles and star-shaped candies
- 12 pretzel sticks (for the trunks)
Instructions
- Preheat your oven to 350°F (175°C). Grease a 9×13 inch baking pan thoroughly and line the bottom with parchment paper to ensure the cake releases easily without breaking.
- In a large mixing bowl, sift together the flour, sugar, cocoa powder, baking soda, baking powder, and salt. Whisk them together until the color is uniform and there are no lumps.
- Add the buttermilk, vegetable oil, eggs, and vanilla extract to the dry ingredients. Use an electric mixer on medium speed to beat the mixture for about two minutes until smooth and well combined.
- Reduce the mixer speed to low and carefully pour in the boiling water. Stir by hand or on low until the water is fully incorporated. The batter will be very thin, but this is exactly how it should be for a moist crumb.
- Pour the batter into the prepared baking pan. Bake for 30 to 35 minutes, or until a toothpick inserted into the center comes out clean. Allow the cake to cool completely in the pan before attempting to cut it.
- Remove the cake from the pan. Cut the cake into three long strips. Then, cut each strip into triangles by cutting in a zig-zag pattern. You should end up with roughly 12 to 14 triangles.
- Tint your buttercream frosting with green food coloring. Use a piping bag with a small star tip to create “branches” by piping zig-zags across each cake triangle. Add a pretzel stick to the bottom of each triangle for the trunk.
- Place a star candy at the top of each tree and decorate with colorful sprinkles to represent ornaments. Let the frosting set for a few minutes before serving.