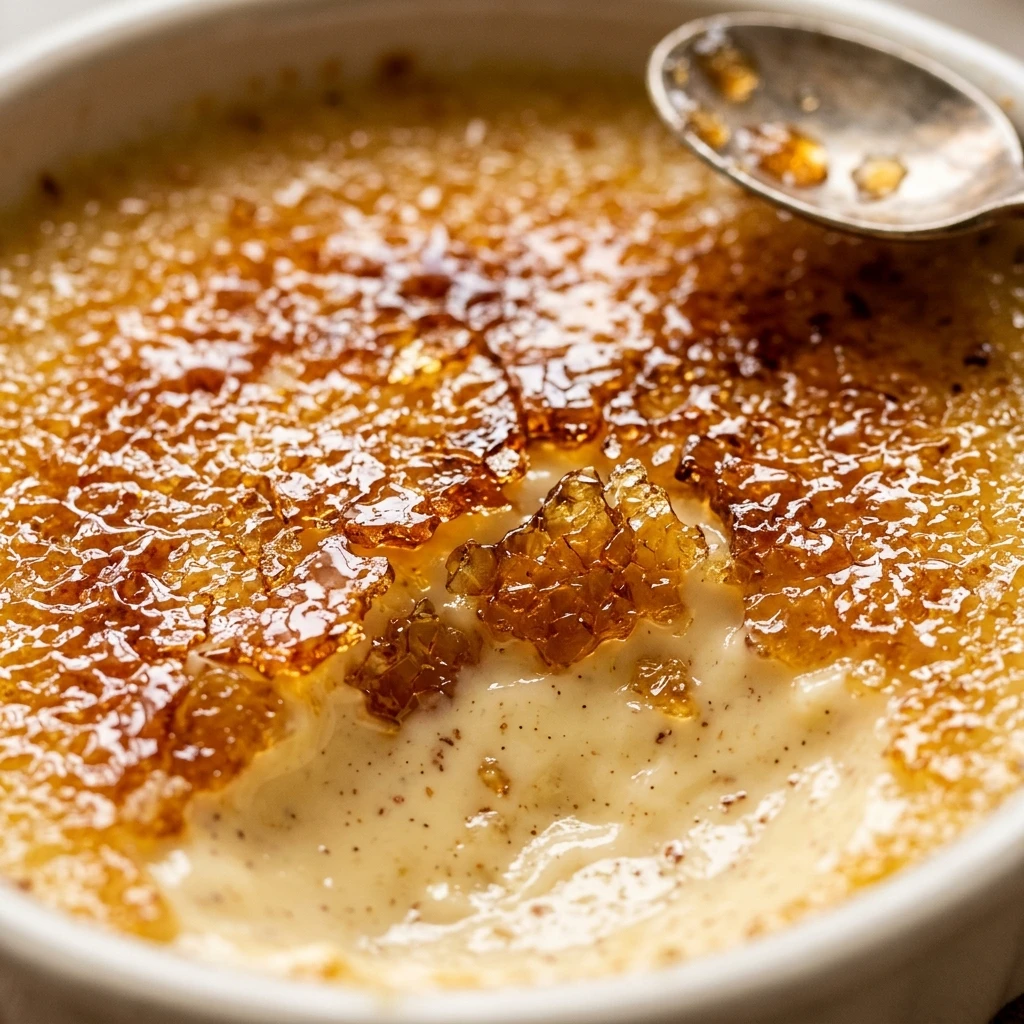

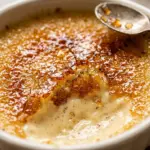
Indulge in the ultimate holiday dessert with this decadent Eggnog Creme Brulee with Torched Sugar Crust. This recipe takes the classic French custard and infuses it with the warm, nostalgic flavors of seasonal eggnog. Each spoonful offers a perfect balance of velvety smooth custard and a shatteringly crisp sugar topping that will leave your guests reaching for seconds.
This dessert is the perfect centerpiece for any winter gathering. While creme brulee might seem intimidating, the process is surprisingly straightforward. By combining high-quality eggnog with rich cream and egg yolks, you create a sophisticated treat that captures the essence of the holidays in a single bite.
Recipe Information
- Prep Time: 15 minutes
- Cook Time: 45 minutes
- Total Time: 60 minutes
- Servings: 6
- Difficulty Level: Medium
Nutrition Information
- Calories per serving: 410 kcal
- Protein: 6g
- Carbohydrates: 26g
- Fat: 32g
- Fiber: 0g
- Sugar: 24g
- Sodium: 75mg
Why Make This Eggnog Creme Brulee with Torched Sugar Crust
Making this recipe is a fantastic way to elevate your holiday dessert game. It combines the familiar, comforting taste of eggnog with the elegant presentation of a fine-dining staple. The addition of nutmeg and cinnamon enhances the natural spices found in the eggnog, making it taste like a cozy winter evening in custard form.
The contrast between the chilled, creamy center and the warm, caramelized sugar crust provides a sensory experience that store-bought desserts simply cannot match. It is a show-stopping dish that can be prepared mostly in advance, allowing you to focus on your guests during the festivities.
How to Make Eggnog Creme Brulee with Torched Sugar Crust
Creating this festive masterpiece involves a few simple steps, including heating the cream, tempering the eggs, and a gentle bake in a water bath to ensure a silky texture.
Ingredients
- 1 ½ cups high-quality store-bought or homemade eggnog
- 1 ½ cups heavy cream
- 6 large egg yolks
- 1/3 cup granulated sugar (for the custard)
- 1 teaspoon vanilla extract
- ½ teaspoon ground nutmeg
- ¼ teaspoon ground cinnamon
- 6 tablespoons superfine sugar (for the torched crust)
- Boiling water (for the water bath)
Directions
Step 1: Preparation and Preheating
Preheat your oven to 325°F (160°C). Place six 6-ounce ramekins inside a large, deep baking pan. Set a kettle of water to boil for the water bath later.
Step 2: Heating the Dairy
In a medium saucepan over medium heat, combine the eggnog, heavy cream, nutmeg, and cinnamon. Stir occasionally and heat until the mixture just begins to simmer around the edges. Do not let it reach a rolling boil. Remove from heat and stir in the vanilla extract.
Step 3: Whisking the Yolks
In a large mixing bowl, whisk together the egg yolks and the 1/3 cup of granulated sugar until the mixture is slightly pale and well combined. You do not need to beat it until it’s fluffy; just ensure the sugar is integrated.
Step 4: Tempering the Custard
Slowly pour about half a cup of the warm cream mixture into the egg yolks while whisking constantly. This “tempering” process prevents the eggs from scrambling. Gradually add the remaining cream mixture, whisking until smooth.
Step 5: Straining and Filling
Strain the mixture through a fine-mesh sieve into a large liquid measuring cup or pitcher to remove any bubbles or stray egg bits. Carefully pour the custard into the ramekins, filling them nearly to the top.
Step 6: The Water Bath
Place the baking pan on the oven rack. Carefully pour the boiling water into the pan until it reaches halfway up the sides of the ramekins. Bake for 40 to 45 minutes, or until the edges are set but the centers still have a slight jiggle.
Step 7: Chilling
Remove the ramekins from the water bath and let them cool to room temperature. Once cooled, cover with plastic wrap and refrigerate for at least 4 hours, or overnight, to set completely.
Step 8: Torching the Crust
Just before serving, sprinkle about one tablespoon of superfine sugar evenly over the top of each chilled custard. Use a kitchen torch to melt and caramelize the sugar until it forms a deep golden-brown crust. Let it sit for 2 minutes to harden before serving.
How to Serve Eggnog Creme Brulee with Torched Sugar Crust
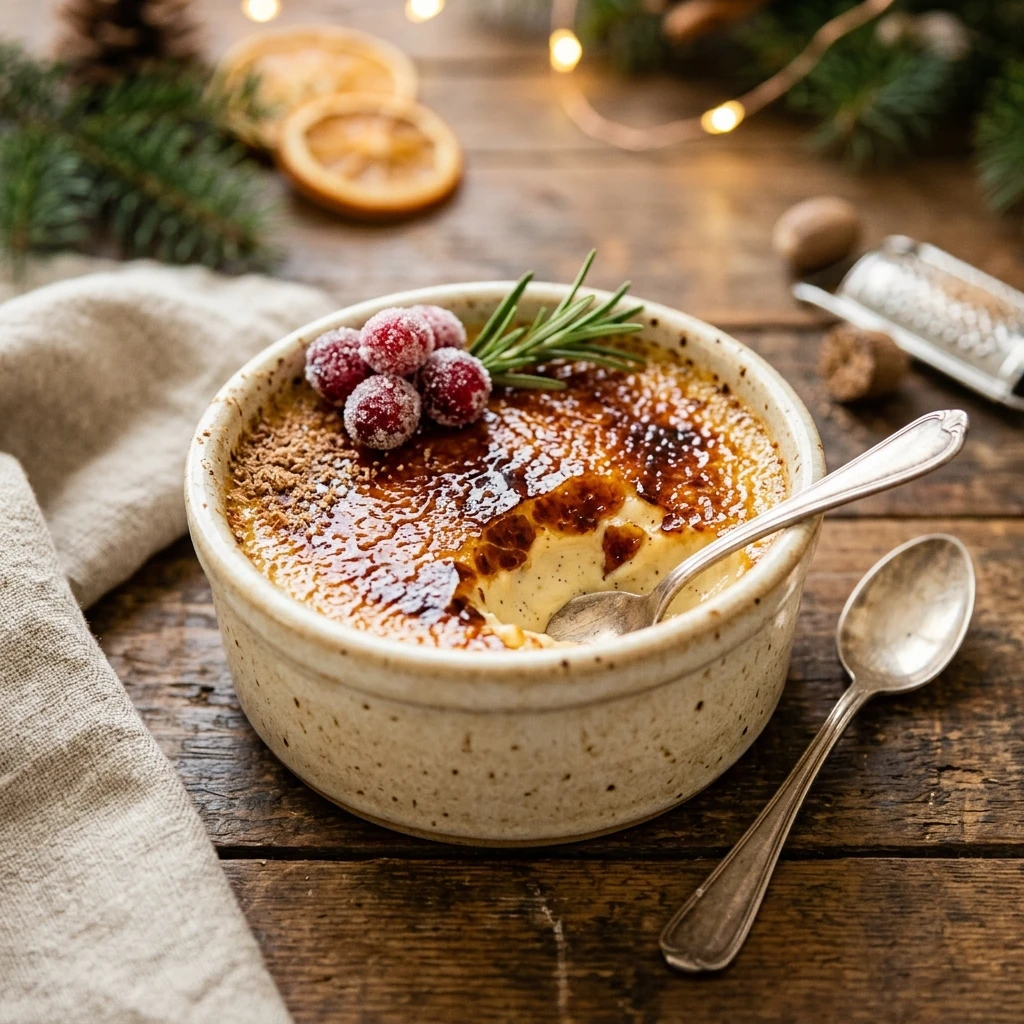
Serve this dessert immediately after torching so the crust is perfectly crisp while the custard remains cold. You can garnish the top with a light dusting of fresh nutmeg, a few sugared cranberries, or a small dollop of whipped cream for an extra festive touch. Pair it with a cup of coffee or a small glass of dessert wine to round out the meal.
How to Store Eggnog Creme Brulee with Torched Sugar Crust
You can store the un-torched custards in the refrigerator for up to 3 days. Keep them tightly covered with plastic wrap to prevent them from absorbing other fridge odors. It is important to wait until the very last moment to torch the sugar crust, as the moisture from the custard will cause the hard sugar shell to soften and turn into syrup if left in the fridge.
Expert Tips for Perfect Eggnog Creme Brulee with Torched Sugar Crust
To achieve the smoothest texture, always strain your custard mixture through a fine sieve before baking. If you see small air bubbles on top of the custard after pouring it into the ramekins, you can quickly pass your kitchen torch over them to pop them for a flawless surface. Additionally, ensure your water bath water is truly boiling when you pour it into the pan to maintain a consistent temperature during baking.
Delicious Variations
For an adult twist, you can add a tablespoon of bourbon or dark rum to the custard mixture before baking. If you prefer a more textured topping, consider adding a pinch of crushed gingerbread cookies over the torched sugar. You can also experiment with different types of eggnog, such as pumpkin-spiced eggnog, to vary the flavor profile throughout the autumn and winter seasons.
Frequently Asked Questions
Q: Can I make this without a kitchen torch?
Yes, you can use your oven’s broiler setting. Place the sugar-topped ramekins on the top rack and watch very closely, as they will brown in seconds. However, the torch provides more control and keeps the custard colder.
Q: Why did my custard turn out watery?
This usually happens if the custard is underbaked. Ensure the edges are firm and only the very center has a slight wobble before taking them out of the oven. Also, make sure you use full-fat heavy cream and real eggnog.
Q: Can I use low-fat eggnog?
It is not recommended. The fat content in the heavy cream and full-fat eggnog is what gives creme brulee its signature silky, rich mouthfeel. Low-fat versions may result in a runny or grainy texture.
Q: How do I know when the sugar is perfectly torched?
The sugar should transition from white to clear liquid, and then to a golden brown or deep amber color. Avoid letting it turn black, as this will result in a bitter, burnt taste.
Q: Can I freeze creme brulee?
Freezing is not recommended for this recipe. The delicate emulsion of the custard can break when thawed, leading to a grainy and weeping texture that loses its elegance.
Conclusion
The Eggnog Creme Brulee with Torched Sugar Crust is a sophisticated yet approachable dessert that brings a touch of magic to your holiday table. Its creamy texture and crunchy topping offer a delightful contrast that perfectly captures the spirit of the season. Whether you are hosting a formal dinner or a cozy family gathering, this dish is sure to become a new favorite holiday tradition.
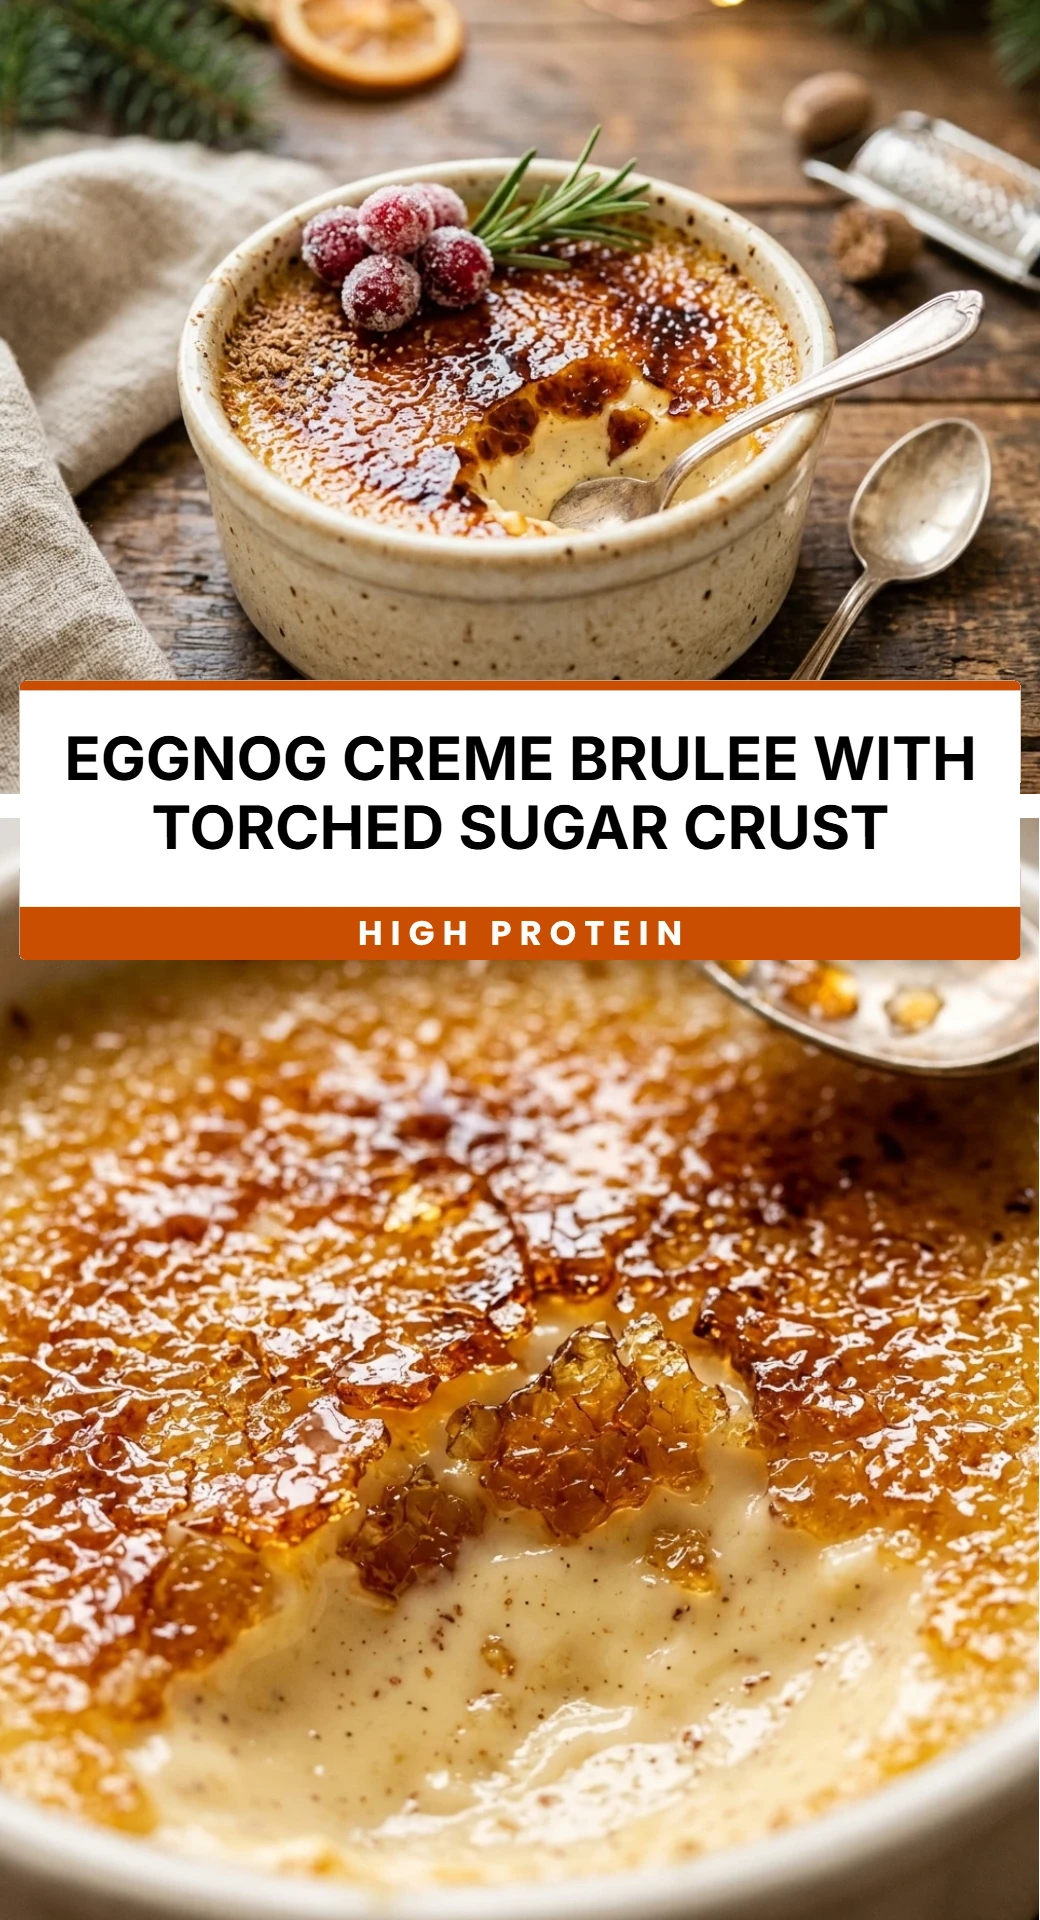
Eggnog Creme Brulee with Torched Sugar Crust
- Cook Time: 60 minutes
- Total Time: 1 hour
- Diet: Vegetarian
Ingredients
- 1 ½ cups high-quality store-bought or homemade eggnog
- 1 ½ cups heavy cream
- 6 large egg yolks
- 1/3 cup granulated sugar (for the custard)
- 1 teaspoon vanilla extract
- ½ teaspoon ground nutmeg
- ¼ teaspoon ground cinnamon
- 6 tablespoons superfine sugar (for the torched crust)
- Boiling water (for the water bath)
Instructions
- Preheat your oven to 325°F (160°C). Place six 6-ounce ramekins inside a large, deep baking pan. Set a kettle of water to boil for the water bath later.
- In a medium saucepan over medium heat, combine the eggnog, heavy cream, nutmeg, and cinnamon. Stir occasionally and heat until the mixture just begins to simmer around the edges. Do not let it reach a rolling boil. Remove from heat and stir in the vanilla extract.
- In a large mixing bowl, whisk together the egg yolks and the 1/3 cup of granulated sugar until the mixture is slightly pale and well combined. You do not need to beat it until it’s fluffy; just ensure the sugar is integrated.
- Slowly pour about half a cup of the warm cream mixture into the egg yolks while whisking constantly. This “tempering” process prevents the eggs from scrambling. Gradually add the remaining cream mixture, whisking until smooth.
- Strain the mixture through a fine-mesh sieve into a large liquid measuring cup or pitcher to remove any bubbles or stray egg bits. Carefully pour the custard into the ramekins, filling them nearly to the top.
- Place the baking pan on the oven rack. Carefully pour the boiling water into the pan until it reaches halfway up the sides of the ramekins. Bake for 40 to 45 minutes, or until the edges are set but the centers still have a slight jiggle.
- Remove the ramekins from the water bath and let them cool to room temperature. Once cooled, cover with plastic wrap and refrigerate for at least 4 hours, or overnight, to set completely.
- Just before serving, sprinkle about one tablespoon of superfine sugar evenly over the top of each chilled custard. Use a kitchen torch to melt and caramelize the sugar until it forms a deep golden-brown crust. Let it sit for 2 minutes to harden before serving.