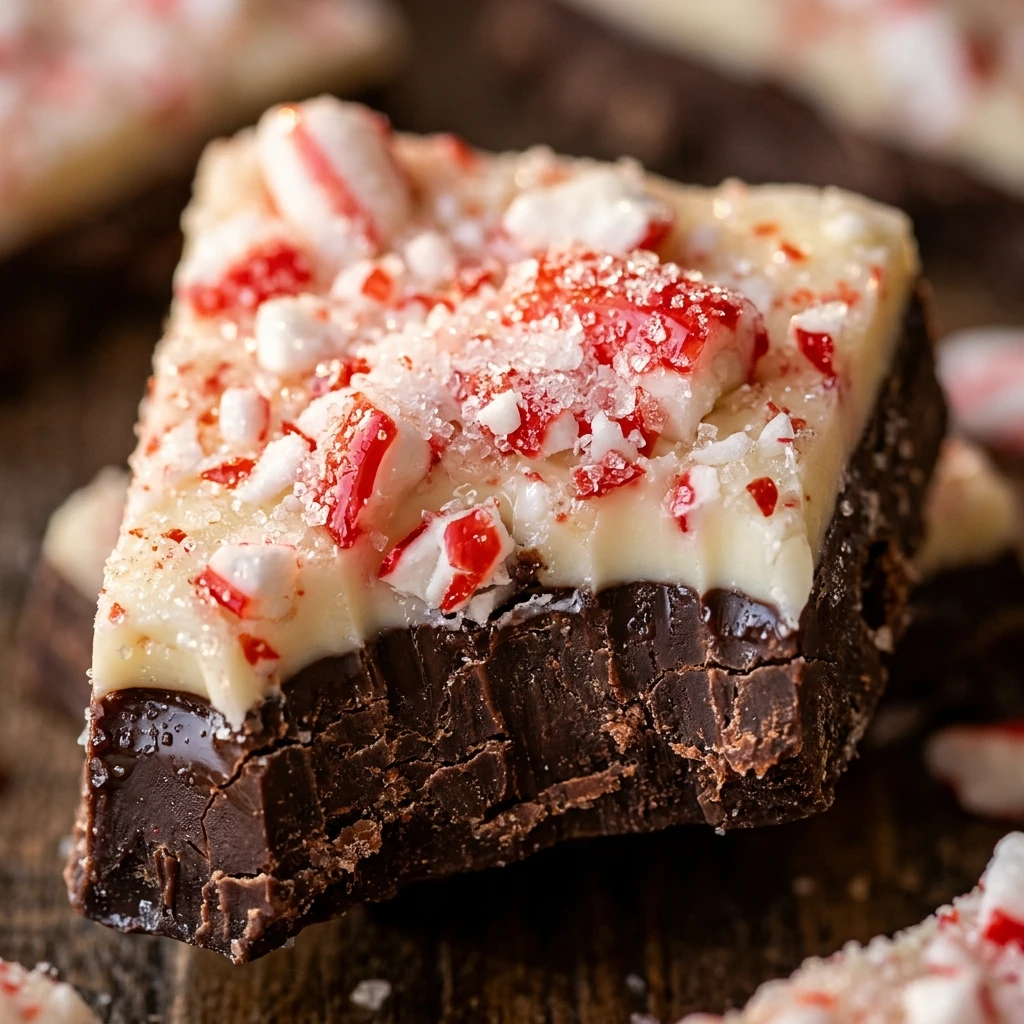

Christmas is the season of giving, and nothing says festive cheer quite like a batch of homemade peppermint bark. This classic holiday treat combines layers of rich chocolate with the cool, refreshing snap of peppermint. It is a staple on dessert platters and makes for a stunning, heartfelt gift for friends and neighbors.
One of the best things about this recipe is how incredibly simple it is to put together. You don’t need to be a professional chocolatier to achieve beautiful, professional-looking results. With just a few ingredients and a little bit of patience while it sets, you will have a delicious snack that captures the spirit of the holidays in every bite.
Recipe Information
- Prep Time: 15 minutes
- Cook Time: 10 minutes
- Total Time: 25 minutes
- Servings: 24 pieces
- Difficulty Level: Easy
Nutrition Information
- Calories per serving: 145 kcal
- Protein: 1g
- Carbohydrates: 17g
- Fat: 9g
- Fiber: 1g
- Sugar: 15g
- Sodium: 12mg
Why Make This Easy Peppermint Bark for Christmas
This recipe is a lifesaver during the busy holiday season because it is a “no-bake” dessert. You won’t have to worry about crowding your oven while the turkey or cookies are cooking. It is also highly customizable, allowing you to use your favorite types of chocolate to suit your family’s preferences.
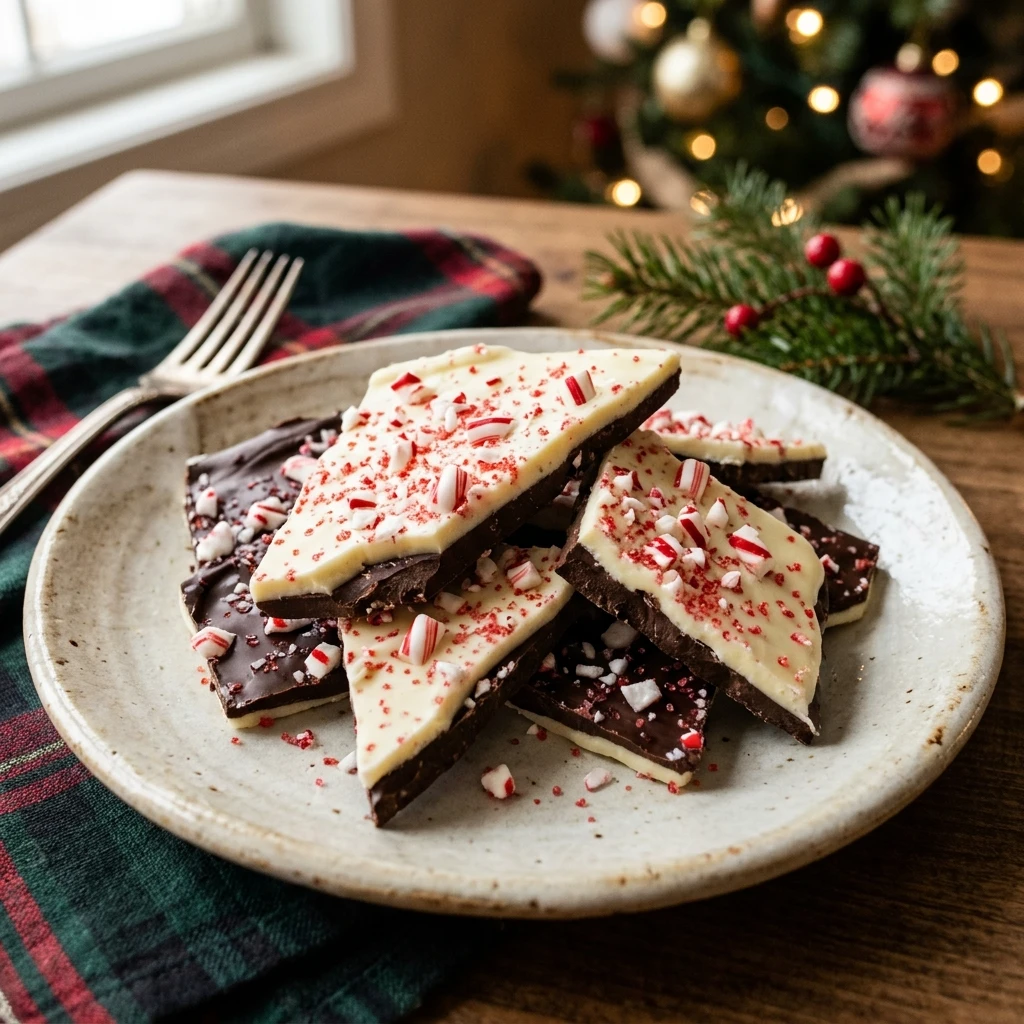
Beyond the taste, peppermint bark is visually stunning. The contrast between the dark chocolate base and the snowy white top, finished with bright red candy cane bits, looks beautiful in gift tins. It stays fresh for a long time, making it the perfect make-ahead treat for your Christmas parties.
How to Make Easy Peppermint Bark for Christmas
Making this treat is all about the art of melting and layering. By following a few simple steps to ensure your chocolate layers bond correctly, you will create a snack that is both crunchy and smooth. Let’s get started with the simple list of ingredients you will need.
Ingredients
- 12 oz dark chocolate chips (or semi-sweet)
- 12 oz white chocolate chips
- 1 teaspoon peppermint extract
- 1/2 cup crushed candy canes
Directions
Step 1: Prepare the Baking Sheet
Line a large baking sheet with parchment paper or a silicone baking mat. This ensures the bark won’t stick and makes it easy to lift off once it has hardened.
Step 2: Melt the Dark Chocolate
Place the dark chocolate chips in a microwave-safe bowl. Heat in 30-second intervals, stirring in between, until the chocolate is completely smooth and melted. Be careful not to overheat it.
Step 3: Spread the First Layer
Pour the melted dark chocolate onto the prepared baking sheet. Use a spatula to spread it into an even layer about 1/4 inch thick. Place the sheet in the refrigerator for about 10-15 minutes until it is mostly set but not completely hard.
Step 4: Melt the White Chocolate
While the dark chocolate is chilling, melt the white chocolate chips using the same 30-second interval method. Once smooth, stir in the peppermint extract until well combined.
Step 5: Add the Peppermint Layer
Remove the baking sheet from the fridge. Pour the white chocolate over the dark chocolate layer and spread it gently to the edges. Immediately sprinkle the crushed candy canes over the top, pressing them down very lightly so they stick.
Step 6: Chill and Break
Place the bark back in the refrigerator for at least 30 minutes, or until completely firm. Once set, lift the parchment paper off the tray and break the bark into irregular, rustic pieces using your hands or a knife.
How to Serve Easy Peppermint Bark for Christmas
This bark looks wonderful served on a festive wooden board or a ceramic holiday platter. You can also stack pieces in clear cellophane bags tied with a red ribbon for the perfect DIY gift. For a cozy night in, try serving a piece alongside a steaming mug of hot cocoa or coffee; the peppermint flavors complement warm beverages perfectly.
How to Store Easy Peppermint Bark for Christmas
Store your peppermint bark in an airtight container to keep it crisp. You can keep it at room temperature in a cool, dry place for up to two weeks. If your kitchen is warm, it is better to store it in the refrigerator. You can also freeze peppermint bark for up to three months; just make sure it is well-wrapped to prevent freezer burn.
Expert Tips for Perfect Easy Peppermint Bark for Christmas
To prevent the layers from separating, do not let the dark chocolate layer get too hard in the fridge before adding the white chocolate. It should be “tacky” to the touch. If the dark layer is too cold, the white layer might slide right off when you try to break it into pieces. Also, make sure your candy canes are crushed into a variety of sizes—some fine dust for flavor and some larger chunks for a satisfying crunch.
Delicious Variations
If you want to mix things up, try using milk chocolate instead of dark chocolate for a sweeter profile. You can also add a salty twist by sprinkling a few crushed pretzels on top along with the candy canes. For a more colorful look, add some green and red holiday sprinkles into the white chocolate layer before it sets.
Frequently Asked Questions
Q: Why did my chocolate layers separate?
This usually happens if the bottom layer was chilled for too long and became too cold and smooth. Aim for a slightly soft surface when adding the second layer so they bond together.
Q: Can I use chocolate bars instead of chips?
Absolutely! High-quality chocolate bars actually melt more smoothly than chips. Just chop them into small, even pieces before melting.
Q: How do I crush the candy canes without making a mess?
Place the unwrapped candy canes in a heavy-duty zip-top bag and use a rolling pin or a meat mallet to gently smash them into pieces.
Q: My white chocolate got thick and lumpy, what happened?
White chocolate is very sensitive to heat and moisture. Ensure your bowl and spatula are completely dry, and melt it slowly at a lower power setting to avoid “seizing” the chocolate.
Q: Is this recipe gluten-free?
Generally, yes! Most chocolate chips and candy canes are gluten-free, but always check the labels on your specific brands to be certain.
Conclusion
Easy Peppermint Bark is the ultimate holiday treat that brings joy with very little effort. Whether you are making it for a party, a gift, or just to enjoy while watching Christmas movies, its classic flavor is sure to be a hit. Happy holidays and enjoy your sweet, minty creations!

Easy Peppermint Bark for Christmas

- Cook Time: 25 minutes
- Total Time: 25 minutes
- Diet: Gluten-Free
Ingredients
- 12 oz dark chocolate chips (or semi-sweet)
- 12 oz white chocolate chips
- 1 teaspoon peppermint extract
- 1/2 cup crushed candy canes
Instructions
-
Step 1: Prepare the Baking Sheet
Line a large baking sheet with parchment paper or a silicone baking mat. This ensures the bark won’t stick and makes it easy to lift off once it has hardened.
-
Step 2: Melt the Dark Chocolate
Place the dark chocolate chips in a microwave-safe bowl. Heat in 30-second intervals, stirring in between, until the chocolate is completely smooth and melted. Be careful not to overheat it.
-
Step 3: Spread the First Layer
Pour the melted dark chocolate onto the prepared baking sheet. Use a spatula to spread it into an even layer about 1/4 inch thick. Place the sheet in the refrigerator for about 10-15 minutes until it is mostly set but not completely hard.
-
Step 4: Melt the White Chocolate
While the dark chocolate is chilling, melt the white chocolate chips using the same 30-second interval method. Once smooth, stir in the peppermint extract until well combined.
-
Step 5: Add the Peppermint Layer
Remove the baking sheet from the fridge. Pour the white chocolate over the dark chocolate layer and spread it gently to the edges. Immediately sprinkle the crushed candy canes over the top, pressing them down very lightly so they stick.
-
Step 6: Chill and Break
Place the bark back in the refrigerator for at least 30 minutes, or until completely firm. Once set, lift the parchment paper off the tray and break the bark into irregular, rustic pieces using your hands or a knife.