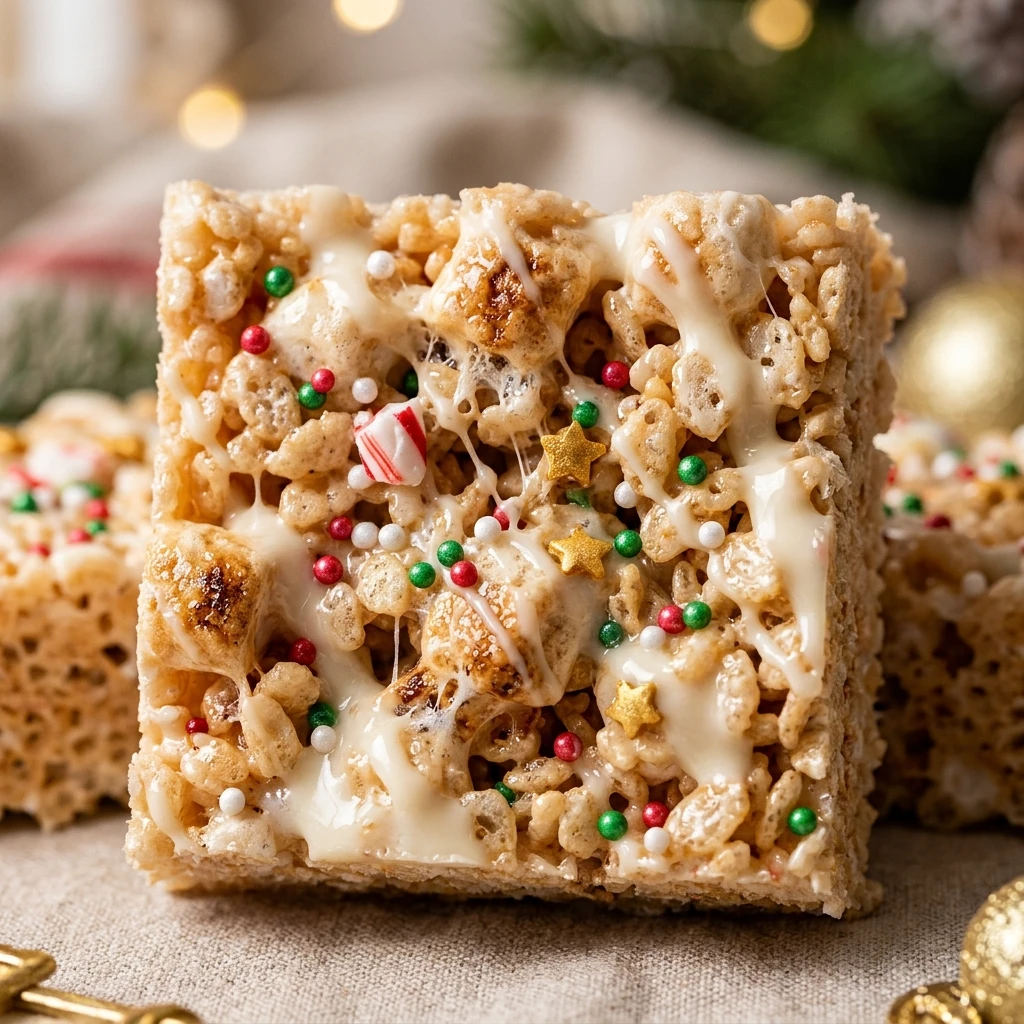

Get ready to bring some festive cheer to your kitchen without even turning on the oven. These Easy No-Bake Christmas Rice Krispie Treats are the ultimate solution for busy holiday schedules. They combine the classic, gooey marshmallow goodness we all love with vibrant holiday colors and sprinkles that make them an instant hit at any holiday gathering or school party.
Whether you are making them with the kids or whipping up a last-minute batch for a neighborhood cookie swap, these treats are virtually foolproof. The secret lies in using fresh ingredients and the perfect ratio of butter to marshmallow, ensuring every bite is soft, chewy, and delightfully sweet. Let’s dive into how you can make these seasonal favorites in just a few minutes.
Recipe Information
- Prep Time: 10 minutes
- Cook Time: 10 minutes
- Total Time: 20 minutes
- Servings: 16 squares
- Difficulty Level: Easy
Nutrition Information
- Calories per serving: 165 kcal
- Protein: 1g
- Carbohydrates: 31g
- Fat: 4.5g
- Fiber: 0.2g
- Sugar: 17g
- Sodium: 145mg
Why Make This Easy No-Bake Christmas Rice Krispie Treats
The holidays are often filled with complicated baking projects, but these treats offer a much-needed break. Since they require no oven time, you can save that precious space for your turkey or heavy roasts. They are also incredibly versatile; you can easily customize the colors and decorations to match any holiday theme.
Beyond their simplicity, these treats are a nostalgic favorite that appeals to both children and adults. The addition of festive sprinkles and perhaps a hint of food coloring transforms a standard snack into a beautiful dessert platter addition. Plus, they are budget-friendly and use simple pantry staples you likely already have on hand.
How to Make Easy No-Bake Christmas Rice Krispie Treats
Creating these festive delights is a straightforward process that involves melting, mixing, and setting. Follow these simple steps to achieve the perfect chewy texture and festive look every single time.
Ingredients
- 6 cups Rice cereal
- 10 oz package mini marshmallows (fresh)
- 4 tablespoons salted butter
- 1 teaspoon pure vanilla extract
- 1/2 cup Christmas-themed sprinkles (red, green, and white)
- Optional: 2-3 drops of green or red gel food coloring
- Optional: 1/2 cup white chocolate chips for drizzling
Directions
Step 1: Preparation
Line a 9×9 inch square baking pan with parchment paper, leaving a little overhang on the sides. Lightly grease the parchment paper with a small amount of butter or non-stick cooking spray to ensure the treats lift out easily later.
Step 2: Melting the Base
In a large pot or saucepan, melt the butter over low heat. Once the butter is completely melted, add the mini marshmallows. Stir continuously with a wooden spoon or silicone spatula until the marshmallows are completely melted and the mixture is smooth.
Step 3: Flavoring and Coloring
Remove the pot from the heat. Stir in the vanilla extract. If you want the entire batch to be a specific color, add your gel food coloring now and stir until the color is even. Adding the color to the liquid marshmallow ensures a more uniform look than adding it to the dry cereal.
Step 4: Combining Ingredients
Add the rice cereal to the marshmallow mixture. Gently fold the cereal into the marshmallow using a spatula until every piece of cereal is well-coated. Be careful not to crush the cereal, as you want to maintain that signature crunch.
Step 5: Pressing into the Pan
Transfer the mixture into your prepared baking pan. Using a buttered spatula or a piece of wax paper, gently press the mixture into an even layer. Do not pack it down too firmly, or the treats will become hard and difficult to chew.
Step 6: Adding Festive Flair
Immediately scatter your holiday sprinkles over the top while the mixture is still tacky so they stick. If you are using a white chocolate drizzle, melt the chips in the microwave and use a fork to swirl it over the top before adding sprinkles.
Step 7: Cooling and Slicing
Allow the treats to cool at room temperature for at least 30 to 60 minutes. Once they are firm, lift the parchment paper out of the pan and place the block on a cutting board. Use a sharp knife to slice them into 16 squares.
How to Serve Easy No-Bake Christmas Rice Krispie Treats
These treats look wonderful when stacked in a pyramid shape on a white cake stand. For a more festive touch, you can place individual squares into holiday-themed cupcake liners. They also make fantastic edible gifts; simply wrap a couple of squares in clear cellophane bags and tie them with a red or green ribbon. They are perfect for dessert tables, lunch boxes, or as a sweet snack during a holiday movie marathon.
How to Store Easy No-Bake Christmas Rice Krispie Treats
To keep your treats soft and delicious, store them in an airtight container at room temperature. They will stay fresh for up to 3 to 5 days. If you need to stack them in the container, place a sheet of parchment paper or wax paper between the layers to prevent them from sticking together. It is best not to refrigerate them, as the cold can make the marshmallows hard and the cereal lose its crispness.
Expert Tips for Perfect Easy No-Bake Christmas Rice Krispie Treats
Always use fresh marshmallows. Old, stale marshmallows won’t melt properly and can result in a hard, tooth-breaking treat. Another pro tip is to melt the marshmallows over very low heat. If you rush the process with high heat, the sugar in the marshmallows can crystallize, leading to a brittle texture. Finally, when pressing the mixture into the pan, “gentle” is the keyword. The more air you leave between the cereal pieces, the softer your treats will be.
Delicious Variations
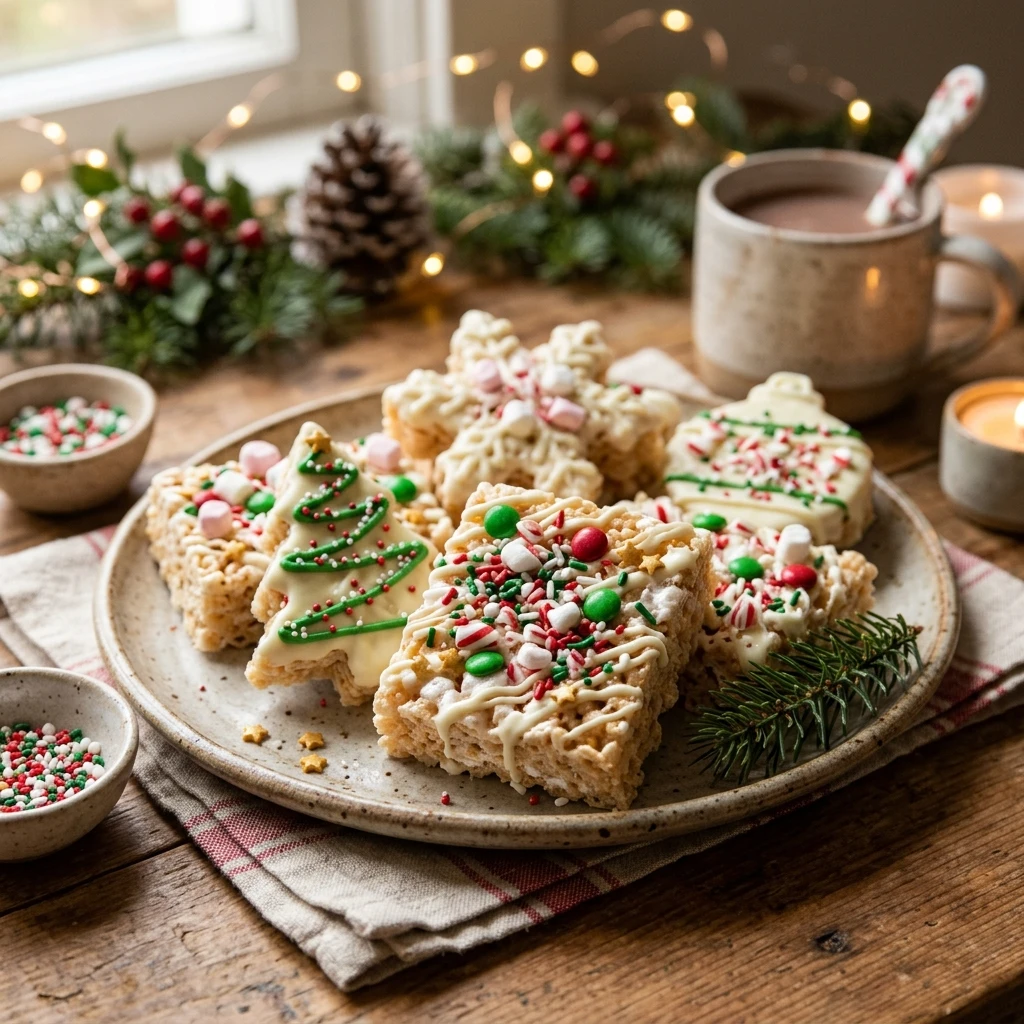
You can easily put a spin on this classic recipe. Try adding 1/2 teaspoon of peppermint extract along with the vanilla for a “Candy Cane” flavor. You could also stir in a handful of mini chocolate chips or crushed pretzels for a sweet and salty combination. For a “Christmas Tree” look, cut the treats into triangles and insert a small pretzel stick at the base to act as the trunk, then decorate with green icing “garland.”
Frequently Asked Questions
Q: Can I use large marshmallows instead of mini ones?
Yes, you can use large marshmallows. A 10 oz bag of large marshmallows is equivalent to a 10 oz bag of minis. Just be aware that they may take slightly longer to melt completely.
Q: Why are my Rice Krispie treats so hard?
Treats usually turn out hard if the marshmallows were melted over too high a heat or if the mixture was pressed too firmly into the baking pan. Always use low heat and a light touch when leveling them in the pan.
Q: Can I freeze these treats?
Yes, you can freeze them for up to 6 weeks. Wrap each square individually in plastic wrap and place them in a freezer-safe bag. Thaw them at room temperature for about 15 minutes before eating.
Q: How do I keep the mixture from sticking to my hands?
Lightly grease your hands with butter or a little bit of cooking spray before pressing the mixture into the pan. You can also use a piece of wax paper as a barrier between your hands and the treats.
Q: Can I use brown butter for this recipe?
Absolutely! Browning the butter before adding the marshmallows adds a wonderful, nutty depth of flavor that complements the sweetness of the treats perfectly.
Conclusion
These Easy No-Bake Christmas Rice Krispie Treats are a delightful way to celebrate the holiday season without the stress of complicated baking. With their chewy texture and festive appearance, they are sure to become a staple in your holiday recipe collection. Simple, quick, and universally loved, they prove that you don’t need a lot of time to make something truly special for your friends and family.

Easy No-Bake Christmas Rice Krispie Treats
- Cook Time: 20 minutes
- Total Time: 20 minutes
Ingredients
- 6 cups Rice cereal
- 10 oz package mini marshmallows (fresh)
- 4 tablespoons salted butter
- 1 teaspoon pure vanilla extract
- 1/2 cup Christmas-themed sprinkles (red, green, and white)
- Optional: 2-3 drops of green or red gel food coloring
- Optional: 1/2 cup white chocolate chips for drizzling
Instructions
- Line a 9×9 inch square baking pan with parchment paper, leaving a little overhang on the sides. Lightly grease the parchment paper with a small amount of butter or non-stick cooking spray to ensure the treats lift out easily later.
- In a large pot or saucepan, melt the butter over low heat. Once the butter is completely melted, add the mini marshmallows. Stir continuously with a wooden spoon or silicone spatula until the marshmallows are completely melted and the mixture is smooth.
- Remove the pot from the heat. Stir in the vanilla extract. If you want the entire batch to be a specific color, add your gel food coloring now and stir until the color is even. Adding the color to the liquid marshmallow ensures a more uniform look than adding it to the dry cereal.
- Add the rice cereal to the marshmallow mixture. Gently fold the cereal into the marshmallow using a spatula until every piece of cereal is well-coated. Be careful not to crush the cereal, as you want to maintain that signature crunch.
- Transfer the mixture into your prepared baking pan. Using a buttered spatula or a piece of wax paper, gently press the mixture into an even layer. Do not pack it down too firmly, or the treats will become hard and difficult to chew.
- Immediately scatter your holiday sprinkles over the top while the mixture is still tacky so they stick. If you are using a white chocolate drizzle, melt the chips in the microwave and use a fork to swirl it over the top before adding sprinkles.
- Allow the treats to cool at room temperature for at least 30 to 60 minutes. Once they are firm, lift the parchment paper out of the pan and place the block on a cutting board. Use a sharp knife to slice them into 16 squares.