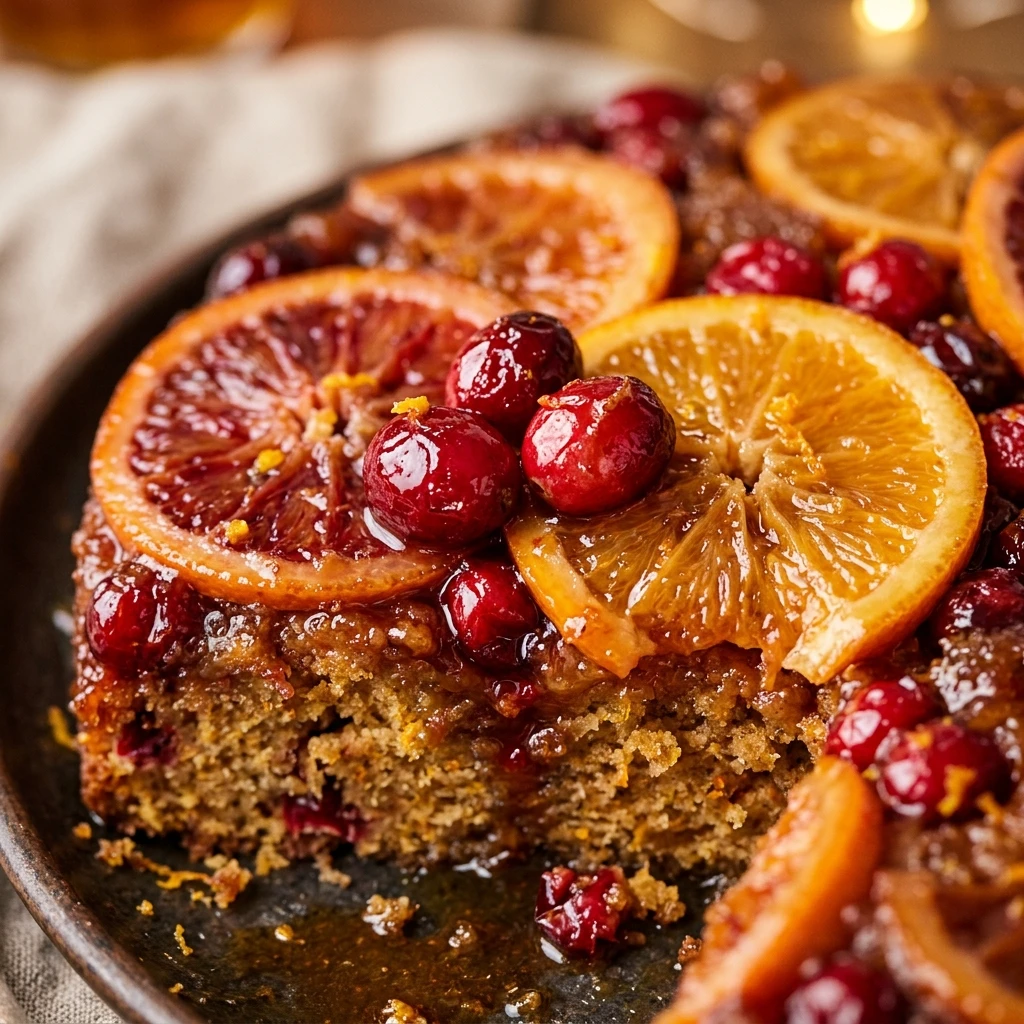

The holiday season is all about bright colors, warm flavors, and desserts that make a statement on the dinner table. This Cranberry Orange Upside Down Christmas Cake is the ultimate festive centerpiece. It combines the tart, popping brightness of fresh cranberries with the sweet, citrusy aroma of oranges, all nestled atop a moist, buttery sponge cake. When you flip this cake over, you reveal a ruby-red glistening topping that looks just like holiday jewels.
What makes this cake truly special is the contrast. The bottom layer—which becomes the top—is essentially a quick cranberry jam that forms while baking. The cake itself is light and airy, soaking up just enough of the fruit juice to stay tender without becoming soggy. Whether you are hosting a formal Christmas dinner or a cozy family gathering, this recipe brings that classic holiday “wow” factor with very little effort.
Recipe Information
- Prep Time: 20 minutes
- Cook Time: 45 minutes
- Total Time: 65 minutes
- Servings: 10
- Difficulty Level: Medium
Nutrition Information
- Calories per serving: 345 kcal
- Protein: 4g
- Carbohydrates: 52g
- Fat: 14g
- Fiber: 2g
- Sugar: 35g
- Sodium: 210mg
Why Make This Cranberry Orange Upside Down Christmas Cake
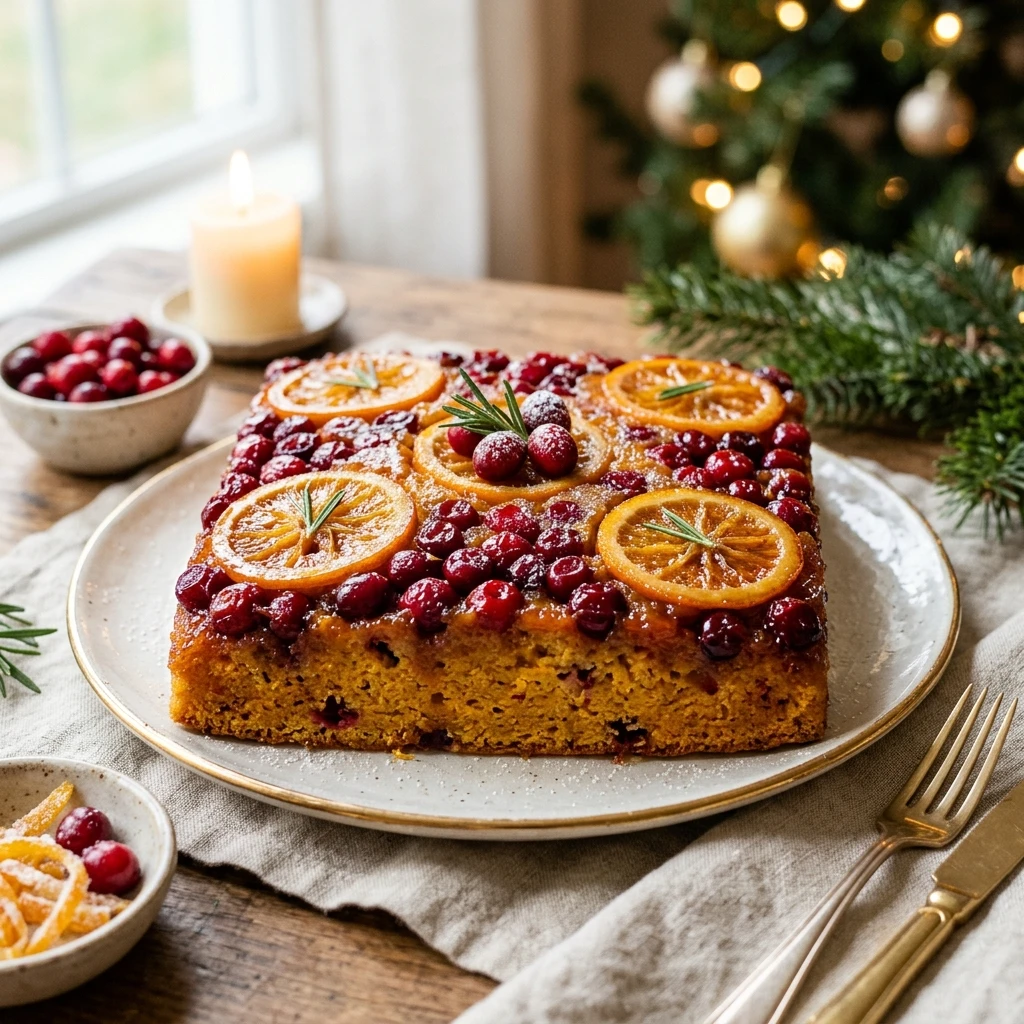
There are plenty of Christmas desserts out there, but few are as visually striking as an upside-down cake. The deep red of the cranberries paired with orange zest creates a natural holiday palette that doesn’t require any fancy frosting or decorating skills. It is naturally beautiful right out of the pan.
Beyond its looks, the flavor profile is perfectly balanced. Many holiday treats can be overly sweet or heavy. This cake uses the natural acidity of cranberries and the zing of orange juice to cut through the sugar. It feels light enough to enjoy after a big turkey dinner but decadent enough to feel like a true celebration.
How to Make Cranberry Orange Upside Down Christmas Cake
Creating this masterpiece is a two-part process: preparing the fruit base and mixing the citrus-infused batter. Follow these steps carefully to ensure a clean flip and a moist crumb.
Ingredients
- 1/2 cup unsalted butter, melted (for the topping)
- 1/2 cup packed light brown sugar
- 2 cups fresh or frozen cranberries
- 1 tablespoon orange zest
- 1 1/2 cups all-purpose flour
- 1 teaspoon baking powder
- 1/2 teaspoon baking soda
- 1/2 teaspoon salt
- 1/2 cup unsalted butter, softened (for the cake)
- 1 cup granulated sugar
- 2 large eggs
- 1 teaspoon vanilla extract
- 1/4 cup fresh orange juice
- 1/2 cup whole milk
Directions
Step 1: Prepare the Oven and Pan
Preheat your oven to 350°F (175°C). Pour the 1/2 cup of melted butter into a 9-inch round cake pan. Sprinkle the brown sugar evenly over the butter. This will create the caramel base for the fruit.
Step 2: Arrange the Cranberry Layer
Spread the cranberries in an even layer over the brown sugar and butter mixture. Sprinkle the orange zest over the cranberries. Gently press down so the fruit is nestled into the sugar.
Step 3: Whisk Dry Ingredients
In a medium bowl, whisk together the flour, baking powder, baking soda, and salt. Set this aside. Ensuring your dry ingredients are well-combined prevents any clumps in the final batter.
Step 4: Cream Butter and Sugar
In a large mixing bowl, cream the softened butter and granulated sugar together until light and fluffy. This should take about 2-3 minutes with a hand mixer or stand mixer.
Step 5: Incorporate Wet Ingredients
Add the eggs one at a time, beating well after each addition. Mix in the vanilla extract, orange juice, and milk. Don’t worry if the mixture looks slightly curdled at this stage; it will come together once the flour is added.
Step 6: Combine to Create Batter
Gradually add the dry ingredients to the wet mixture. Mix on low speed just until combined. Be careful not to overmix, as this can make the cake tough. Pour the batter over the cranberries in the pan and smooth the top with a spatula.
Step 7: Bake and Cool
Bake for 40 to 45 minutes, or until a toothpick inserted into the center comes out clean. Let the cake cool in the pan for exactly 10 minutes. This timing is crucial for the “upside down” part to work.
Step 8: The Grand Reveal
Run a knife around the edge of the pan to loosen the cake. Place a serving plate upside down over the pan. Using oven mitts, quickly and carefully flip both the pan and the plate. Let it sit for a minute so the caramel drips down, then gently lift the pan.
How to Serve Cranberry Orange Upside Down Christmas Cake
This cake is best served slightly warm, which keeps the cranberry topping soft and glossy. It is delicious on its own, but a dollop of homemade whipped cream or a scoop of high-quality vanilla bean ice cream adds a lovely creamy element. For an extra festive touch, you can garnish the plate with a few sugared cranberries or a sprig of fresh mint.
How to Store Cranberry Orange Upside Down Christmas Cake
If you have leftovers, store them in an airtight container in the refrigerator for up to 3 days. Because of the fruit topping, this cake stays moist but can become too soft if left at room temperature for too long. You can gently reheat individual slices in the microwave for 10-15 seconds before serving to bring back that “just baked” warmth.
Expert Tips for Perfect Cranberry Orange Upside Down Christmas Cake
Always use a solid cake pan rather than a springform pan, as the butter and sugar topping can leak out of the bottom of a springform pan during baking. If you are using frozen cranberries, do not thaw them first; use them straight from the freezer to prevent the juices from bleeding too much into the batter. Finally, make sure to flip the cake while it is still warm; if it cools completely, the sugar will harden and the fruit will stick to the pan.
Delicious Variations
For a bit of crunch, you can sprinkle 1/2 cup of chopped pecans or walnuts over the cranberries before pouring the batter. If you love spice, add a teaspoon of ground cinnamon or a half-teaspoon of ground ginger to the dry ingredients for a warmer, gingerbread-style flavor profile. You can also swap the orange juice for blood orange juice to get an even deeper, more dramatic color in the cake itself.
Frequently Asked Questions
Q: Can I use canned cranberry sauce instead of fresh cranberries?
No, canned cranberry sauce will be too liquid and will not hold its shape. Stick to fresh or frozen whole cranberries for the best texture and appearance.
Q: What if my cranberries stick to the pan after flipping?
If a few berries stick, simply pick them out with a spoon and press them back onto the top of the cake. No one will notice once the cake is sliced!
Q: Can I make this cake gluten-free?
Yes, you can substitute the all-purpose flour with a 1:1 gluten-free flour blend. Ensure the blend contains xanthan gum for the best structure.
Q: Do I need to peel the oranges?
You only need the zest (the bright orange outer layer) and the juice. Avoid the white pith, as it can be bitter.
Q: Can I bake this in a cast-iron skillet?
Absolutely! A 9-inch cast-iron skillet works wonderfully for upside-down cakes and gives the edges a slightly crisp, caramelized texture.
Conclusion
The Cranberry Orange Upside Down Christmas Cake is a festive triumph that tastes even better than it looks. With its perfect balance of tart fruit and sweet sponge, it embodies the spirit of holiday baking. Give this recipe a try this year, and it might just become your new favorite Christmas tradition. Happy baking!
Cranberry Orange Upside Down Christmas Cake

- Cook Time: 65 minutes
- Total Time: 1 hour 5 minutes
- Diet: Vegetarian
Ingredients
- 1/2 cup unsalted butter, melted (for the topping)
- 1/2 cup packed light brown sugar
- 2 cups fresh or frozen cranberries
- 1 tablespoon orange zest
- 1 1/2 cups all-purpose flour
- 1 teaspoon baking powder
- 1/2 teaspoon baking soda
- 1/2 teaspoon salt
- 1/2 cup unsalted butter, softened (for the cake)
- 1 cup granulated sugar
- 2 large eggs
- 1 teaspoon vanilla extract
- 1/4 cup fresh orange juice
- 1/2 cup whole milk
Instructions
- Preheat your oven to 350°F (175°C). Pour the 1/2 cup of melted butter into a 9-inch round cake pan. Sprinkle the brown sugar evenly over the butter. This will create the caramel base for the fruit.
- Spread the cranberries in an even layer over the brown sugar and butter mixture. Sprinkle the orange zest over the cranberries. Gently press down so the fruit is nestled into the sugar.
- In a medium bowl, whisk together the flour, baking powder, baking soda, and salt. Set this aside. Ensuring your dry ingredients are well-combined prevents any clumps in the final batter.
- In a large mixing bowl, cream the softened butter and granulated sugar together until light and fluffy. This should take about 2-3 minutes with a hand mixer or stand mixer.
- Add the eggs one at a time, beating well after each addition. Mix in the vanilla extract, orange juice, and milk. Don’t worry if the mixture looks slightly curdled at this stage; it will come together once the flour is added.
- Gradually add the dry ingredients to the wet mixture. Mix on low speed just until combined. Be careful not to overmix, as this can make the cake tough. Pour the batter over the cranberries in the pan and smooth the top with a spatula.
- Bake for 40 to 45 minutes, or until a toothpick inserted into the center comes out clean. Let the cake cool in the pan for exactly 10 minutes. This timing is crucial for the “upside down” part to work.
- Run a knife around the edge of the pan to loosen the cake. Place a serving plate upside down over the pan. Using oven mitts, quickly and carefully flip both the pan and the plate. Let it sit for a minute so the caramel drips down, then gently lift the pan.