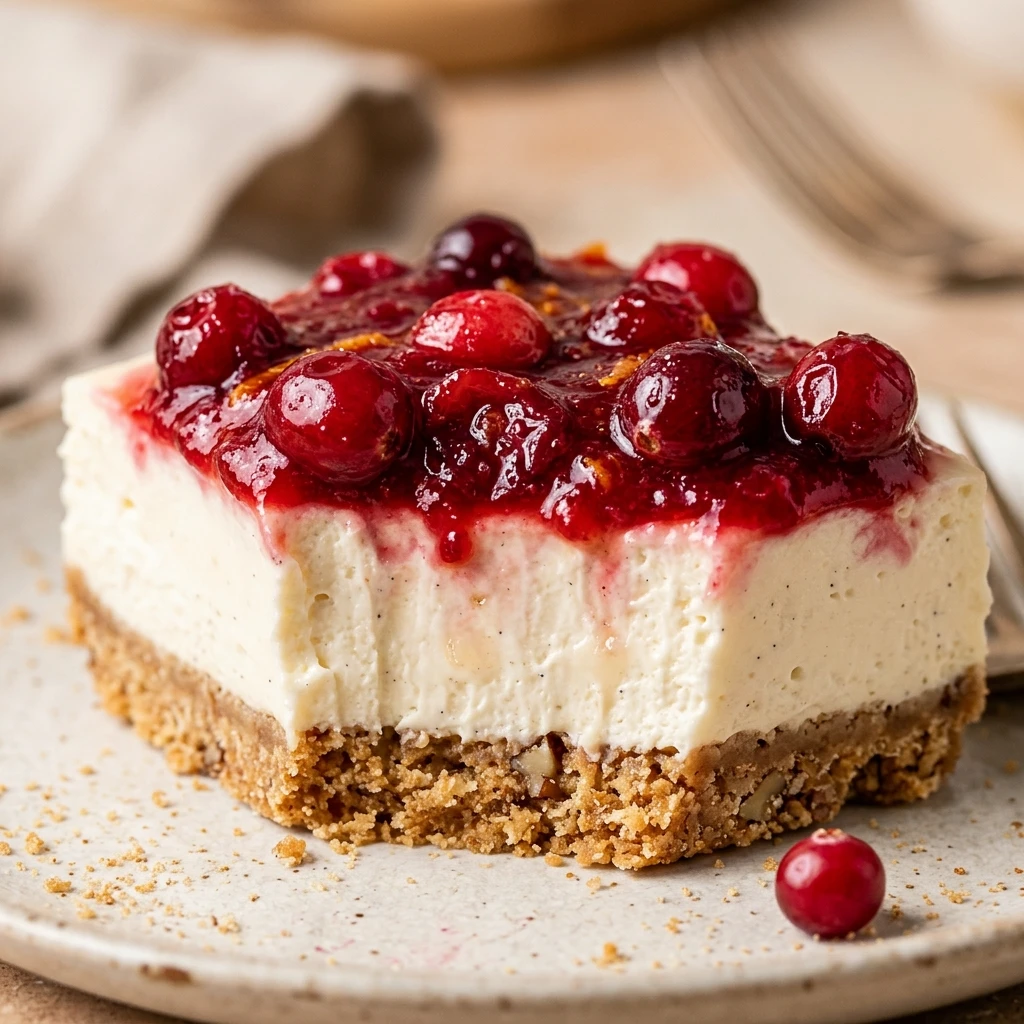
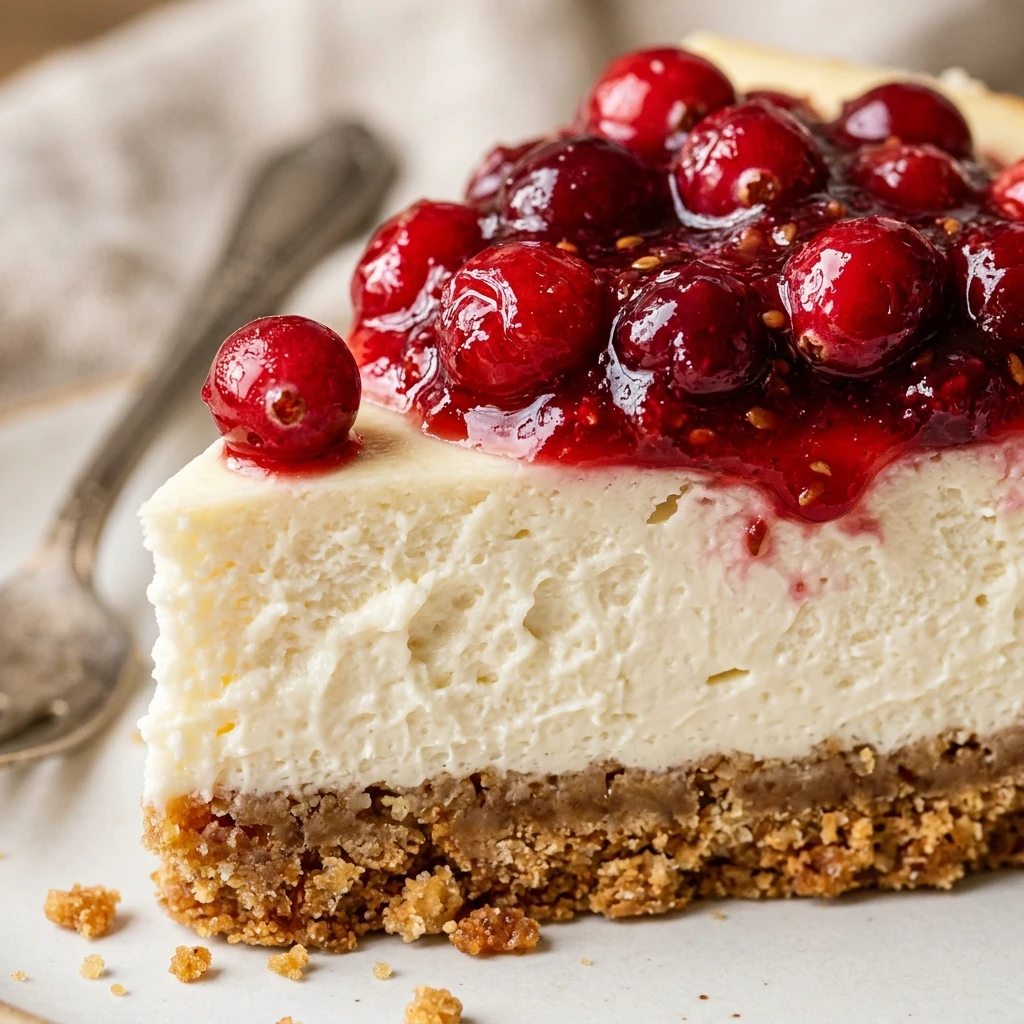

There is nothing quite as elegant and festive as a Cranberry Cheesecake. This dessert captures the heart of the holiday season with its stunning contrast of snowy white cream cheese and vibrant, ruby-red cranberry swirls. The flavor is a sophisticated balance of rich, velvety sweetness and a bright, tart zing that keeps you coming back for another bite.
Whether you are hosting a formal dinner party or a cozy family gathering, this cheesecake is guaranteed to be the star of the show. Its creamy texture and buttery graham cracker crust provide the perfect foundation for the tangy cranberry topping. It looks professional but is surprisingly achievable for home bakers who want to impress their guests.
Recipe Information
- Prep Time: 30 minutes
- Cook Time: 1 hour 15 minutes
- Total Time: 1 hour 45 minutes (plus chilling time)
- Servings: 12
- Difficulty Level: Medium
Nutrition Information
- Calories per serving: 485 kcal
- Protein: 7g
- Carbohydrates: 44g
- Fat: 32g
- Fiber: 1g
- Sugar: 34g
- Sodium: 310mg
Why Make This Cranberry Cheesecake
This recipe is the ultimate crowd-pleaser because it moves away from the overly sweet profile of traditional desserts. The cranberries provide a natural acidity that cuts through the richness of the cream cheese, creating a well-rounded flavor profile. It is also a visually stunning dish; the deep red swirls make it look like a piece of edible art on your dessert table.
Another reason to love this recipe is its versatility. While it is a staple for Thanksgiving and Christmas, the bright flavors are refreshing any time of year. Plus, many of the components can be prepared in advance, taking the stress out of your holiday baking schedule.
How to Make Cranberry Cheesecake
Making a restaurant-quality cheesecake at home is all about patience and following a few simple techniques. From preparing the tart cranberry reduction to ensuring a smooth, crack-free bake, here is exactly how you bring this masterpiece to life.
Ingredients
- 1.5 cups graham cracker crumbs
- 1/3 cup melted unsalted butter
- 2 tablespoons granulated sugar (for crust)
- 32 oz cream cheese, softened to room temperature
- 1 cup granulated sugar (for filling)
- 1 cup sour cream, room temperature
- 1 teaspoon vanilla extract
- 4 large eggs, room temperature
- 12 oz fresh or frozen cranberries
- 1/2 cup granulated sugar (for sauce)
- 1/4 cup orange juice
- 1 teaspoon orange zest
Directions
Step 1: Prepare the Cranberry Sauce
In a small saucepan, combine the cranberries, 1/2 cup sugar, orange juice, and orange zest. Cook over medium heat until the cranberries burst and the mixture thickens, about 10 minutes. Blend the mixture until smooth, then strain through a fine-mesh sieve to remove skins. Let the sauce cool completely.
Step 2: Create the Graham Cracker Crust
Preheat your oven to 325°F (160°C). Mix the graham cracker crumbs, 2 tablespoons of sugar, and melted butter in a bowl. Press the mixture firmly into the bottom of a 9-inch springform pan. Bake for 10 minutes, then remove and let cool while you prepare the filling.
Step 3: Mix the Cheesecake Filling
In a large bowl, beat the softened cream cheese and 1 cup of sugar until perfectly smooth and creamy. Add the sour cream and vanilla extract, mixing until just combined. Be careful not to overbeat at this stage to avoid adding too much air to the batter.
Step 4: Incorporate the Eggs
Add the eggs one at a time, mixing on low speed just until each egg is incorporated. Scrape down the sides of the bowl often. Pour the creamy filling over the cooled crust in the springform pan.
Step 5: Add the Cranberry Swirl
Drop spoonfuls of the cooled cranberry sauce onto the top of the cheesecake batter. Use a toothpick or a butter knife to gently swirl the sauce into the batter, creating a marble pattern. Avoid over-swirling so the colors stay distinct.
Step 6: Bake the Cheesecake
Bake for 60 to 70 minutes. The edges should be set and slightly puffed, but the center should still have a slight jiggle. Turn off the oven, crack the door slightly, and let the cheesecake cool inside for one hour to prevent cracking.
Step 7: Chill and Set
Remove the cheesecake from the oven and let it cool to room temperature. Cover and refrigerate for at least 6 hours, or ideally overnight, to allow the texture to firm up and the flavors to meld.
How to Serve Cranberry Cheesecake
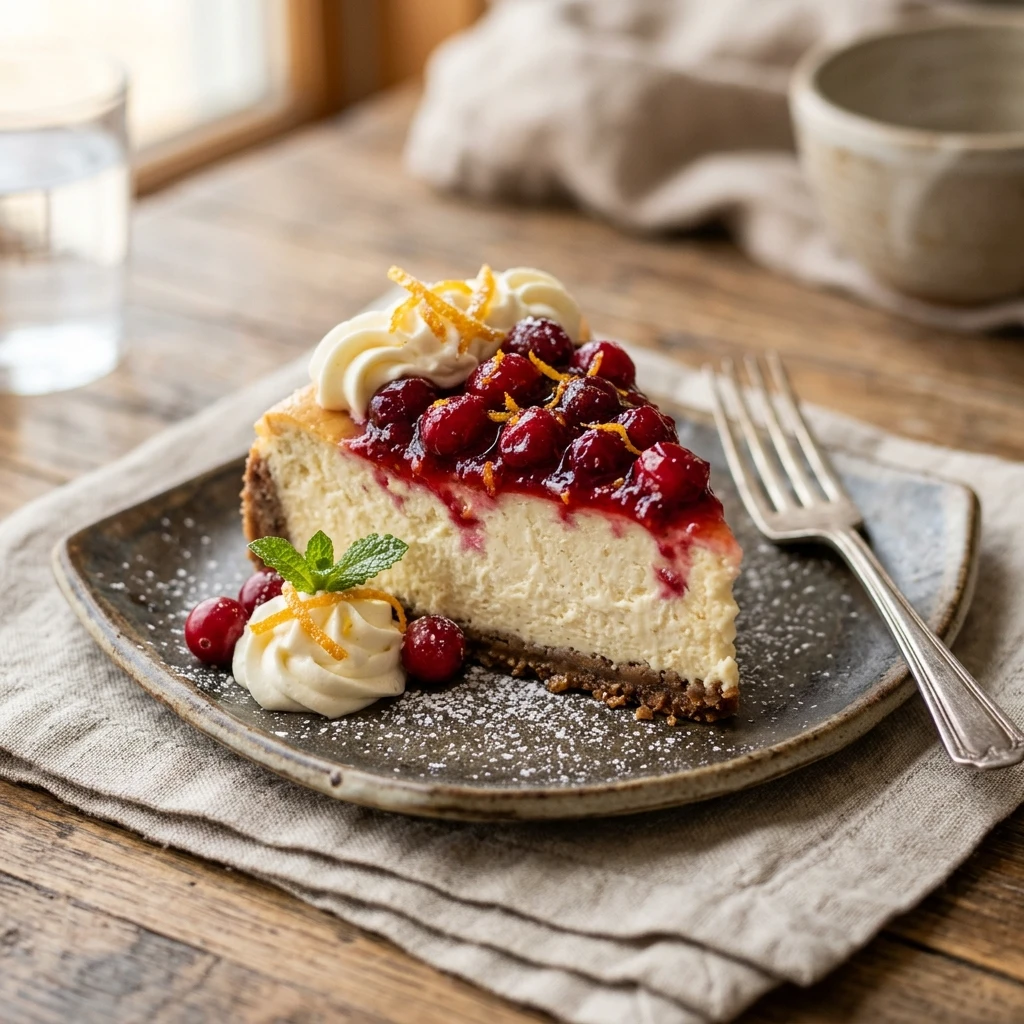
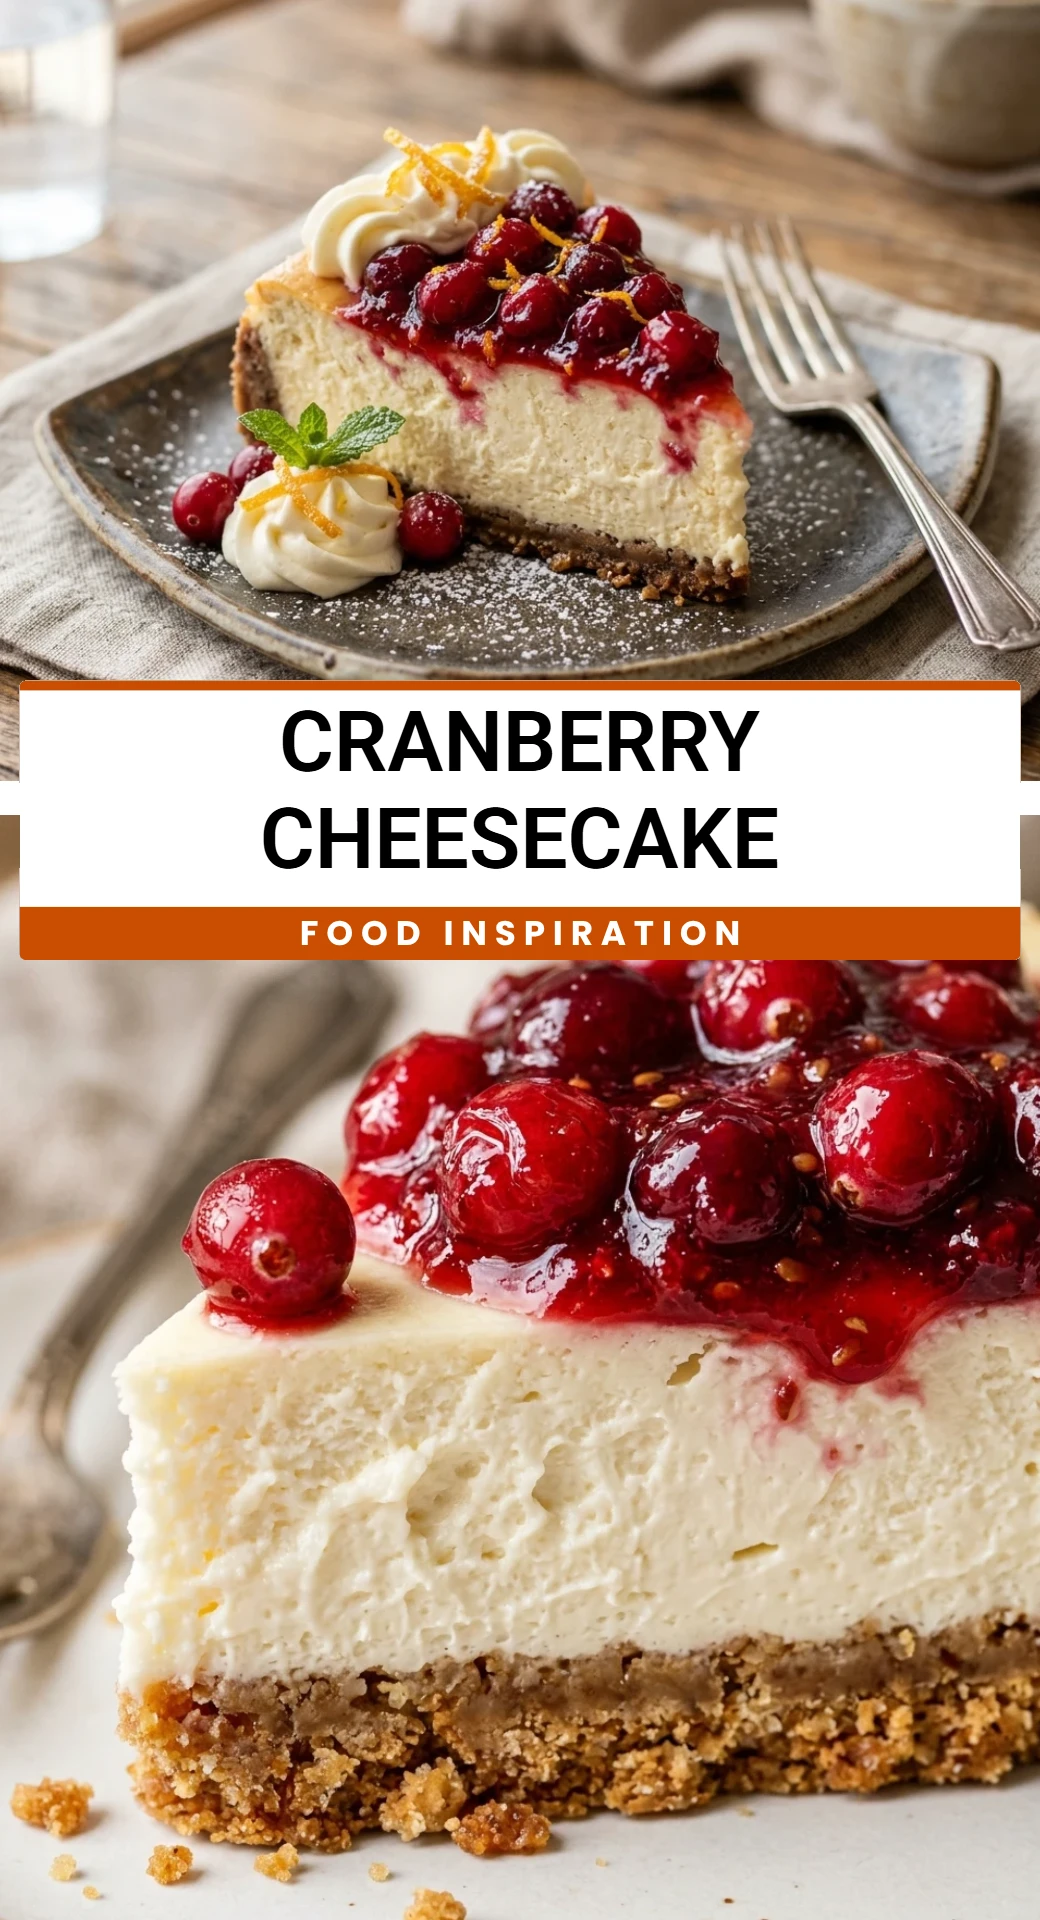
For the cleanest slices, use a sharp knife dipped in hot water and wiped dry between every cut. Serve each slice chilled. You can garnish the plate with a few sugared cranberries and a sprig of fresh mint for a professional touch. A dollop of lightly sweetened whipped cream on the side also complements the tartness of the berries beautifully.
How to Store Cranberry Cheesecake
Keep your cheesecake in the refrigerator at all times. It should be tightly covered with plastic wrap or stored in an airtight container to prevent it from absorbing other fridge odors. It will stay fresh and delicious for up to 5 days. If you want to freeze it, wrap individual slices or the whole cake in plastic wrap and then foil; it will last for up to 2 months.
Expert Tips for Perfect Cranberry Cheesecake
The most important tip for a smooth cheesecake is using room temperature ingredients. Cold cream cheese will result in a lumpy batter. Additionally, avoid opening the oven door during the first hour of baking, as sudden temperature drops can cause the cake to sink or crack. Finally, using a water bath (wrapping the pan in foil and placing it in a larger pan of hot water) provides the gentle, moist heat necessary for a perfectly creamy texture.
Delicious Variations
If you want to change things up, try using a ginger snap cookie crust instead of graham crackers for a spicy kick. You can also add white chocolate chips into the batter for extra decadence. For a “Cran-Raspberry” version, replace half of the cranberries with fresh raspberries in the sauce recipe. If you prefer a more citrus-forward dessert, double the amount of orange zest in the filling.
Frequently Asked Questions
Q: Can I use frozen cranberries for the sauce?
Yes, frozen cranberries work perfectly. You do not even need to thaw them before cooking; just add a couple of extra minutes to the stovetop simmer time.
Q: How do I know when the cheesecake is finished baking?
The “jiggle test” is the best method. The edges should be firm and look matte, while a 2-inch circle in the very center should still wobble slightly like Jell-O when you gently shake the pan.
Q: My cheesecake cracked! How can I fix it?
Don’t worry! Cracks are usually caused by overbaking or cooling too quickly. You can easily hide them by spreading a thin layer of sweetened sour cream or extra cranberry sauce over the top before serving.
Q: Can I make this recipe without a springform pan?
While a springform pan is best for easy removal, you can use a deep-dish pie plate. Note that you won’t be able to remove the whole cake to show off the sides, but it will still taste amazing.
Q: Why do I need to strain the cranberry sauce?
Straining removes the skins and seeds, ensuring that the swirl is silky smooth. This prevents any chewy bits from interrupting the creamy texture of the cheesecake filling.
Conclusion
Cranberry Cheesecake is a timeless dessert that brings together the best of creamy indulgence and fruity brightness. It is the perfect finale for any special occasion and a wonderful way to celebrate seasonal flavors. By following these steps and tips, you will create a showstopping dessert that is as delicious to eat as it is beautiful to behold. Enjoy every creamy, tart bite!
Cranberry Cheesecake
- Cook Time: 1 hour 45 minutes (plus chilling time)
- Total Time: 1 hour 45 minutes
- Diet: Vegetarian
Ingredients
- 1.5 cups graham cracker crumbs
- 1/3 cup melted unsalted butter
- 2 tablespoons granulated sugar (for crust)
- 32 oz cream cheese, softened to room temperature
- 1 cup granulated sugar (for filling)
- 1 cup sour cream, room temperature
- 1 teaspoon vanilla extract
- 4 large eggs, room temperature
- 12 oz fresh or frozen cranberries
- 1/2 cup granulated sugar (for sauce)
- 1/4 cup orange juice
- 1 teaspoon orange zest
Instructions
- In a small saucepan, combine the cranberries, 1/2 cup sugar, orange juice, and orange zest. Cook over medium heat until the cranberries burst and the mixture thickens, about 10 minutes. Blend the mixture until smooth, then strain through a fine-mesh sieve to remove skins. Let the sauce cool completely.
- Preheat your oven to 325°F (160°C). Mix the graham cracker crumbs, 2 tablespoons of sugar, and melted butter in a bowl. Press the mixture firmly into the bottom of a 9-inch springform pan. Bake for 10 minutes, then remove and let cool while you prepare the filling.
- In a large bowl, beat the softened cream cheese and 1 cup of sugar until perfectly smooth and creamy. Add the sour cream and vanilla extract, mixing until just combined. Be careful not to overbeat at this stage to avoid adding too much air to the batter.
- Add the eggs one at a time, mixing on low speed just until each egg is incorporated. Scrape down the sides of the bowl often. Pour the creamy filling over the cooled crust in the springform pan.
- Drop spoonfuls of the cooled cranberry sauce onto the top of the cheesecake batter. Use a toothpick or a butter knife to gently swirl the sauce into the batter, creating a marble pattern. Avoid over-swirling so the colors stay distinct.
- Bake for 60 to 70 minutes. The edges should be set and slightly puffed, but the center should still have a slight jiggle. Turn off the oven, crack the door slightly, and let the cheesecake cool inside for one hour to prevent cracking.
- Remove the cheesecake from the oven and let it cool to room temperature. Cover and refrigerate for at least 6 hours, or ideally overnight, to allow the texture to firm up and the flavors to meld.