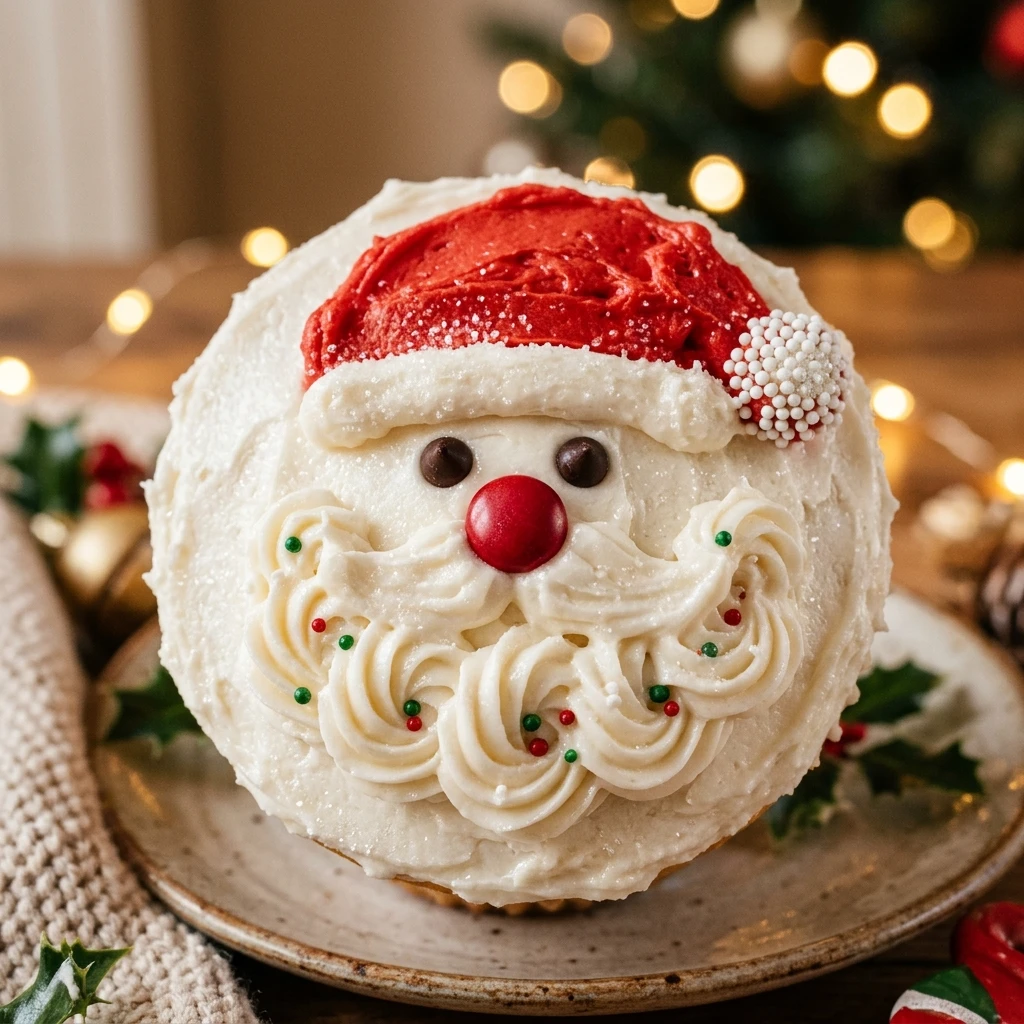
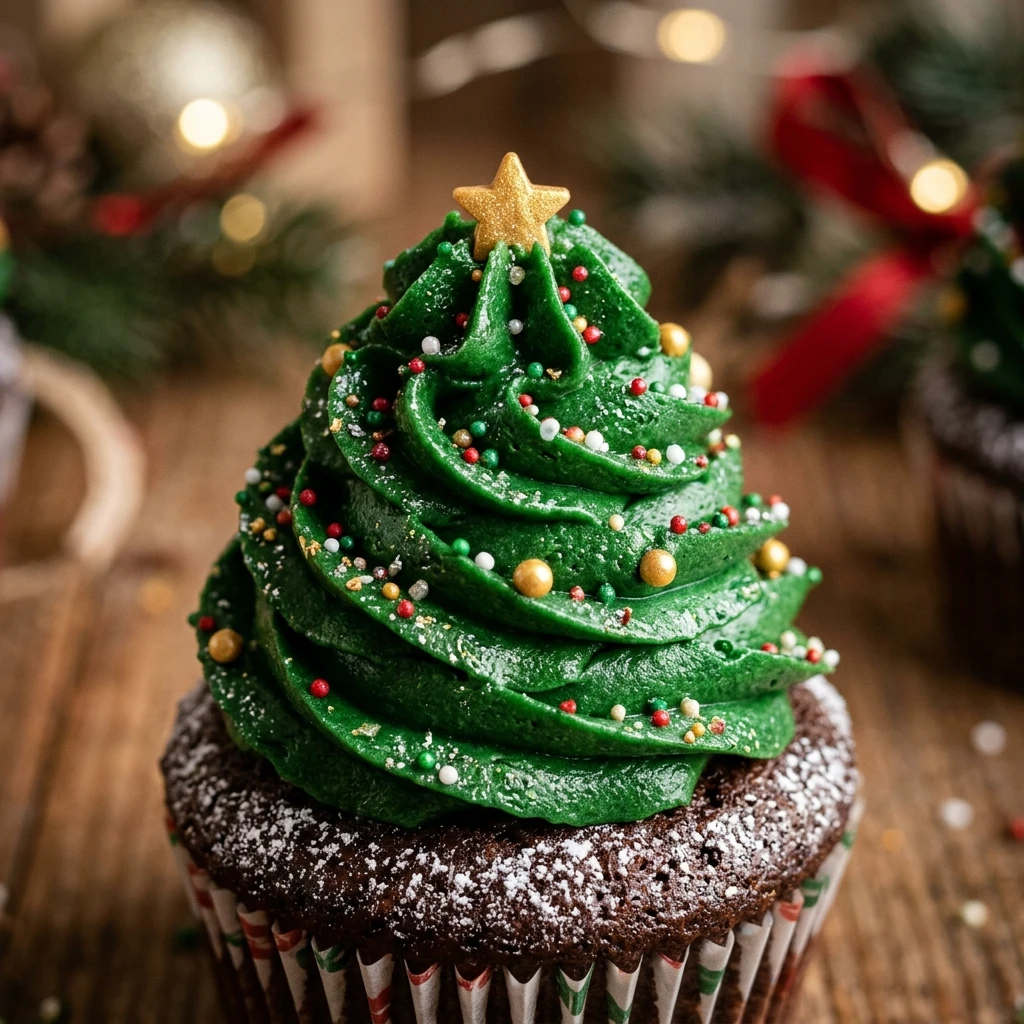

Festive treats are the heart of the holiday season, and these Christmas Tree Cupcakes with Buttercream are the perfect centerpiece for your dessert table. Not only do they look like a miniature winter wonderland, but they also taste absolutely divine. Whether you are hosting a holiday party or looking for a fun activity to do with the kids, these cupcakes bring joy and sweetness to every bite.
The combination of a moist cupcake base and a rich, towering buttercream tree creates a delightful contrast in textures. With just a few simple tools and a bit of holiday spirit, you can transform ordinary cupcakes into edible art that will impress all your guests. Get ready to spread some cheer with these beautiful and delicious holiday favorites.
Recipe Information
- Prep Time: 30 minutes
- Cook Time: 20 minutes
- Total Time: 50 minutes
- Servings: 12
- Difficulty Level: Medium
Nutrition Information
- Calories per serving: 385
- Protein: 3g
- Carbohydrates: 54g
- Fat: 18g
- Fiber: 1g
- Sugar: 42g
- Sodium: 160mg
Why Make This Christmas Tree Cupcakes with Buttercream
These cupcakes are a true showstopper that captures the magic of the season. Unlike traditional flat-frosted cupcakes, the 3D tree design adds a whimsical “wow” factor to your holiday spread. They are perfect for school parties, office potlucks, or as a creative Christmas Eve dessert that both children and adults will adore.
Making these cupcakes is also a fantastic way to practice your piping skills. Using sugar cones as a base for the trees makes the process much easier than it looks, providing a sturdy structure that stays upright. Plus, you can customize the decorations with different sprinkles to match your specific holiday theme.
How to Make Christmas Tree Cupcakes with Buttercream
Creating these festive masterpieces involves baking a solid cupcake base and then building a stable, beautiful buttercream tree on top using a simple piping technique.
Ingredients
- 12 pre-baked vanilla or chocolate cupcakes (cooled completely)
- 1 cup (2 sticks) unsalted butter, softened to room temperature
- 4 cups powdered sugar, sifted
- 2 teaspoons pure vanilla extract
- 2-3 tablespoons heavy cream or whole milk
- Green gel food coloring (leaf green or forest green)
- 12 small sugar cones
- Gold star sprinkles
- Small multi-colored edible pearls or nonpareils
- Powdered sugar (for dusting)
Directions
Step 1: Prepare the Buttercream Frosting
In a large mixing bowl, beat the softened butter on medium-high speed for about 3 minutes until it is pale and creamy. Gradually add the powdered sugar one cup at a time, beating on low speed until combined. Increase the speed to medium and add the vanilla extract and 2 tablespoons of cream. Beat for another 2 minutes until light and fluffy. If the frosting is too stiff, add the remaining tablespoon of cream.
Step 2: Tint the Frosting
Add a few drops of green gel food coloring to the buttercream. Use a spatula to fold the color in until no streaks remain. Continue adding color drop by drop until you achieve a vibrant, deep evergreen shade. Transfer the frosting into a piping bag fitted with a small star tip (such as Wilton #18 or #21).
Step 3: Secure the Tree Base
Spread a thin layer of green frosting over the top of each cooled cupcake. This will act as the “grass” and help hold the tree in place. Take a sugar cone and press the wide opening firmly into the center of the frosted cupcake so it stands straight up.
Step 4: Pipe the Tree Branches
Starting at the bottom of the sugar cone, pipe small “stars” or “leaves” by pressing the tip against the cone, squeezing briefly, and pulling away. Work your way around the base in a circle. Move up to the next row, slightly overlapping the row below, and continue this process until the entire cone is covered and you reach the very top.
Step 5: Decorate the Trees
Carefully place a gold star sprinkle on the very top of each tree. While the buttercream is still soft, gently press the edible pearls or nonpareils into the branches to look like ornaments. For a final festive touch, lightly sift a small amount of powdered sugar over the trees to look like freshly fallen snow.
How to Serve Christmas Tree Cupcakes with Buttercream
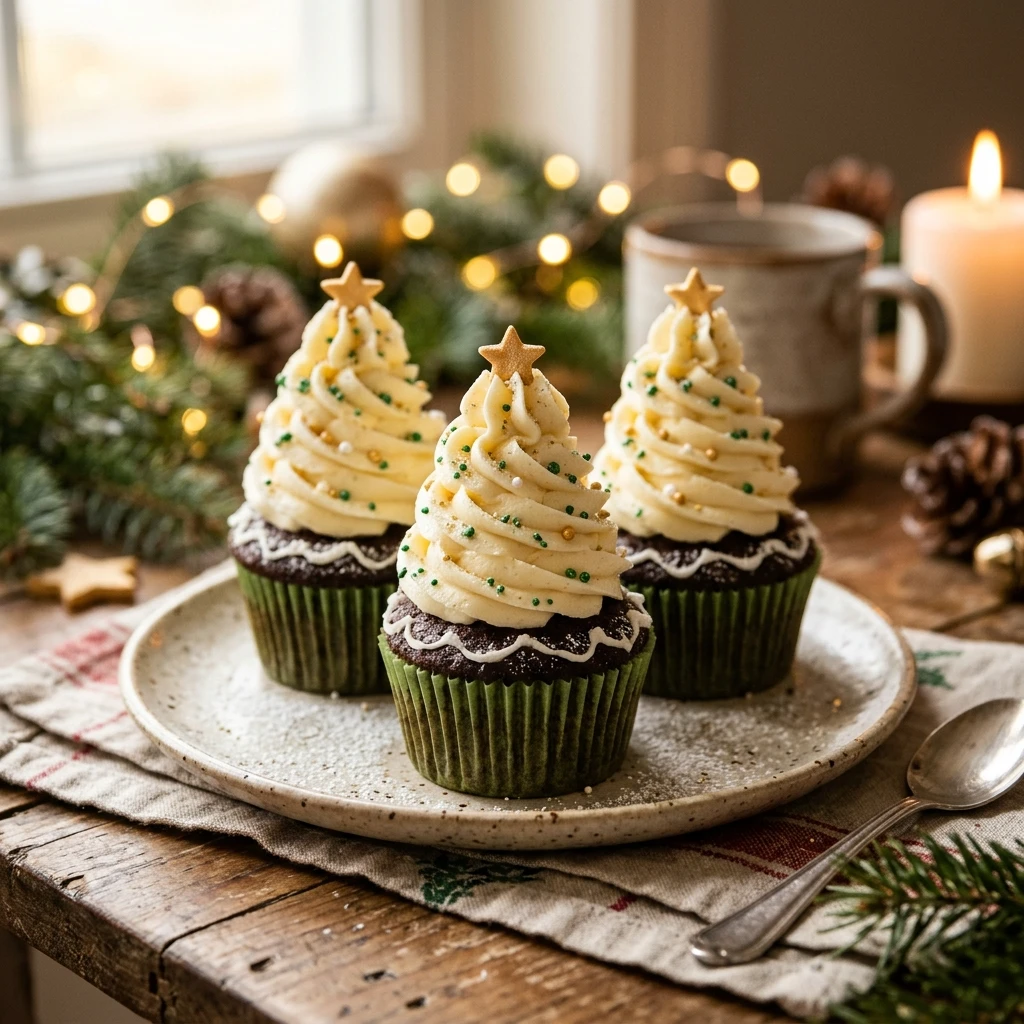
For the best presentation, serve these cupcakes on a white platter or a wooden board to make the green trees pop. You can scatter some extra star sprinkles or white chocolate shavings around the base of the cupcakes to enhance the winter wonderland theme. If you are serving them at a party, ensure they are placed on a flat surface so they don’t tip over.
How to Store Christmas Tree Cupcakes with Buttercream
Store the cupcakes in an airtight container at room temperature for up to 2 days. Because these cupcakes are tall, you may need a deep container or a special cupcake carrier. If your kitchen is very warm, store them in the refrigerator for up to 5 days, but let them sit at room temperature for 20 minutes before serving so the buttercream softens.
Expert Tips for Perfect Christmas Tree Cupcakes with Buttercream
Always use gel food coloring rather than liquid drops. Liquid coloring can thin out the buttercream, making the branches droop and lose their shape. Also, ensure your cupcakes are completely cold before you start frosting; any residual heat will melt the buttercream and cause the sugar cone to slide off.
Delicious Variations
If you want to change things up, try using peppermint extract in the frosting for a candy cane flavor. You can also use chocolate frosting for the cupcake base to represent “dirt” or white frosting to represent “deep snow.” For a different look, use a grass tip (Wilton #233) to create “shaggy” pine needles instead of the star tip.
Frequently Asked Questions
Q: Can I make these without the sugar cones?
Yes, you can pipe a tall spiral of frosting directly onto the cupcake, but the trees will be shorter and less stable. The sugar cone provides the height and structure needed for a traditional tree look.
Q: My frosting is too soft and the branches are melting. What should I do?
If the frosting is too soft, add more powdered sugar half a cup at a time. If the heat from your hands is melting the bag, take a break and put the piping bag in the fridge for 5-10 minutes to firm up.
Q: Can I use store-bought frosting?
Store-bought frosting is usually too soft to hold the weight of the tree branches. If you use it, you will need to whip in extra powdered sugar to make it stiff enough for piping.
Q: How do I transport these cupcakes without them falling?
Use a tall cupcake carrier with individual slots. You can also place a small dab of frosting on the bottom of the cupcake liner to “glue” it to the tray or box to prevent sliding.
Q: Can I make these a day in advance?
Absolutely! These cupcakes hold up well. Just make sure to store them in a cool place so the buttercream stays set and the sugar cones don’t become soggy from the moisture in the frosting.
Conclusion
Christmas Tree Cupcakes with Buttercream are a delightful way to bring the joy of the holidays into your kitchen. They are as fun to decorate as they are to eat, making them a perfect tradition for your family. With their towering green branches and shimmering ornaments, they are sure to be the star of your holiday celebrations. Happy baking and Merry Christmas!

Christmas Tree Cupcakes with Buttercream

- Cook Time: 50 minutes
- Total Time: 50 minutes
- Diet: Vegetarian
Ingredients
- 12 pre-baked vanilla or chocolate cupcakes (cooled completely)
- 1 cup (2 sticks) unsalted butter, softened to room temperature
- 4 cups powdered sugar, sifted
- 2 teaspoons pure vanilla extract
- 2–3 tablespoons heavy cream or whole milk
- Green gel food coloring (leaf green or forest green)
- 12 small sugar cones
- Gold star sprinkles
- Small multi-colored edible pearls or nonpareils
- Powdered sugar (for dusting)
Instructions
- Step 1: Prepare the Buttercream Frosting
In a large mixing bowl, beat the softened butter on medium-high speed for about 3 minutes until it is pale and creamy. Gradually add the powdered sugar one cup at a time, beating on low speed until combined. Increase the speed to medium and add the vanilla extract and 2 tablespoons of cream. Beat for another 2 minutes until light and fluffy. If the frosting is too stiff, add the remaining tablespoon of cream. - Step 2: Tint the Frosting
Add a few drops of green gel food coloring to the buttercream. Use a spatula to fold the color in until no streaks remain. Continue adding color drop by drop until you achieve a vibrant, deep evergreen shade. Transfer the frosting into a piping bag fitted with a small star tip (such as Wilton #18 or #21). - Step 3: Secure the Tree Base
Spread a thin layer of green frosting over the top of each cooled cupcake. This will act as the “grass” and help hold the tree in place. Take a sugar cone and press the wide opening firmly into the center of the frosted cupcake so it stands straight up. - Step 4: Pipe the Tree Branches
Starting at the bottom of the sugar cone, pipe small “stars” or “leaves” by pressing the tip against the cone, squeezing briefly, and pulling away. Work your way around the base in a circle. Move up to the next row, slightly overlapping the row below, and continue this process until the entire cone is covered and you reach the very top. - Step 5: Decorate the Trees
Carefully place a gold star sprinkle on the very top of each tree. While the buttercream is still soft, gently press the edible pearls or nonpareils into the branches to look like ornaments. For a final festive touch, lightly sift a small amount of powdered sugar over the trees to look like freshly fallen snow.