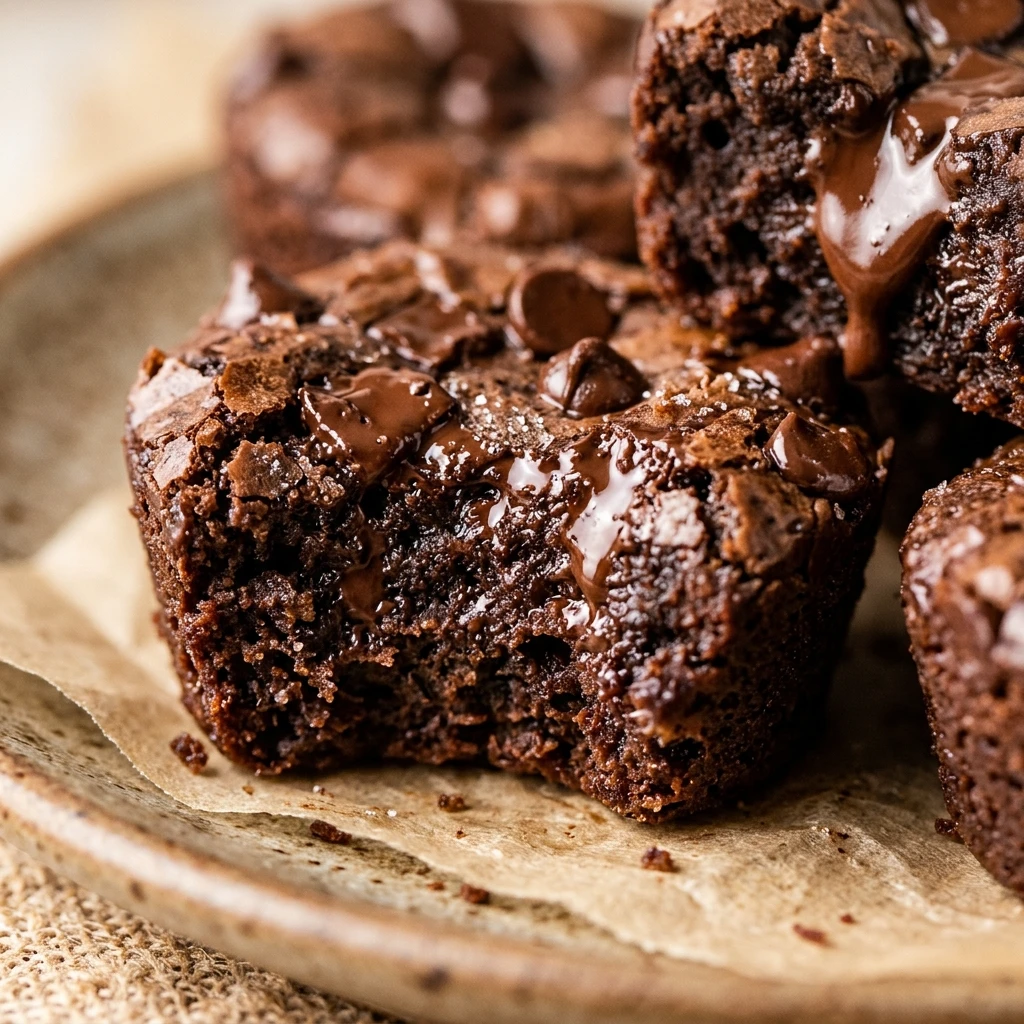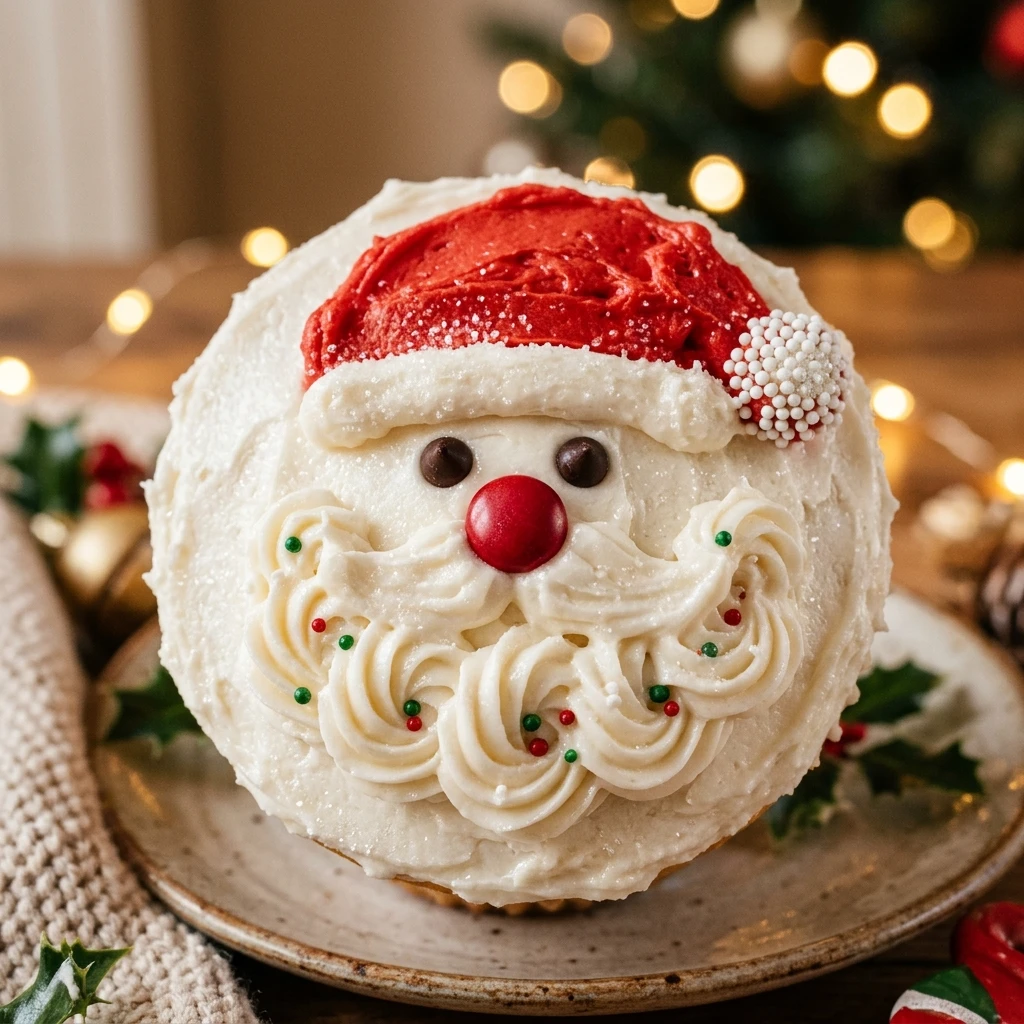
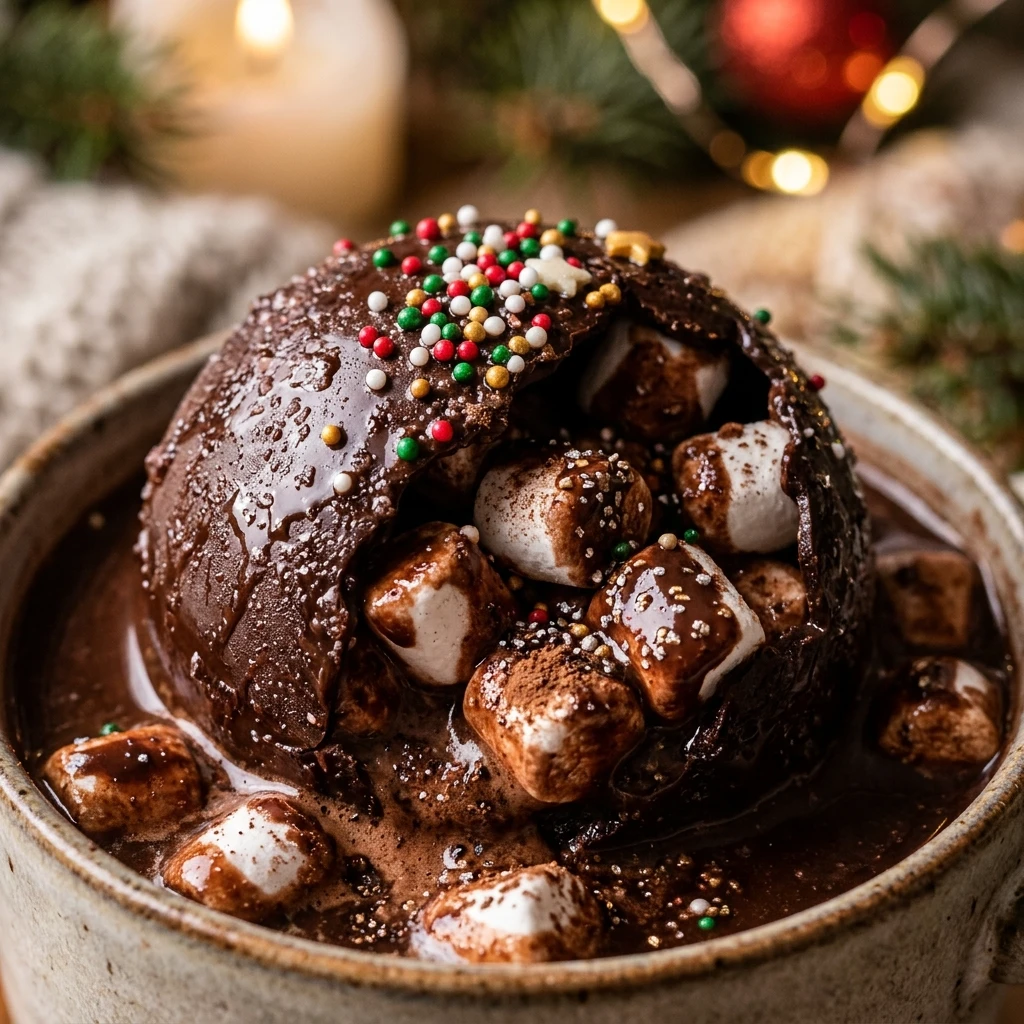

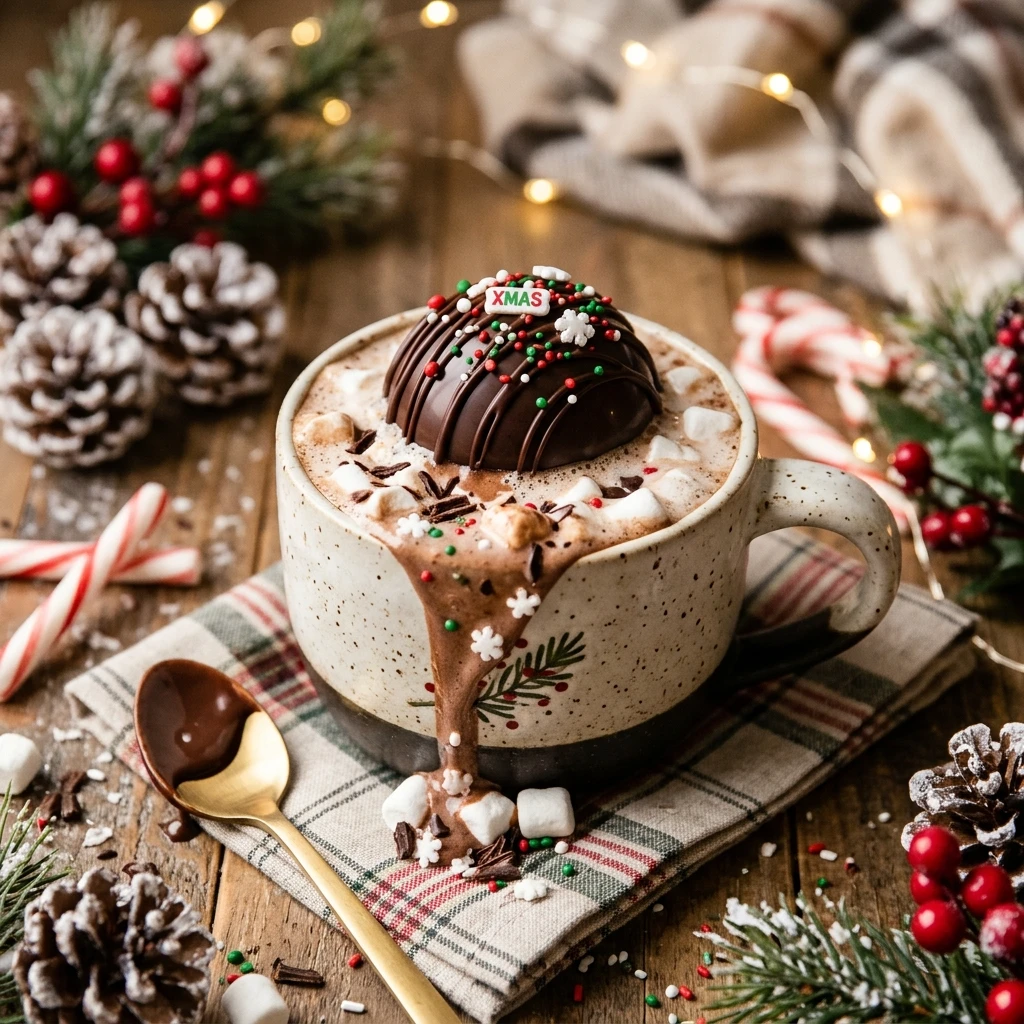
Christmas Hot Chocolate Bombs are the ultimate holiday treat that brings a touch of magic to your mug. These festive spheres are made of smooth chocolate shells filled with cocoa mix and hidden surprises like mini marshmallows and sprinkles. When you pour hot milk over them, the shell melts away, and the contents “explode” into a rich, creamy drink.
Making these at home is a fun holiday activity for the whole family. They also make wonderful DIY gifts for teachers, neighbors, or friends. Whether you are cozying up by the fire or hosting a holiday party, these cocoa bombs are sure to be a hit with both kids and adults.
Recipe Information
- Prep Time: 45 minutes
- Cook Time: 5 minutes
- Total Time: 50 minutes
- Servings: 6
- Difficulty Level: Medium
Nutrition Information
- Calories per serving: 285 kcal
- Protein: 4g
- Carbohydrates: 36g
- Fat: 15g
- Fiber: 2g
- Sugar: 31g
- Sodium: 115mg
Why Make This Christmas Hot Chocolate Bombs
These bombs turn a standard cup of cocoa into an interactive experience. The excitement of watching the marshmallows pop to the surface never gets old. It is a fantastic way to upgrade your dessert game during the winter season without needing professional pastry skills.
Creating your own allows you to control the quality of the chocolate and the sweetness of the filling. Plus, you can customize the decorations with festive colors like red, green, and gold to match your holiday theme perfectly.
How to Make Christmas Hot Chocolate Bombs
Follow these simple steps to create professional-looking cocoa bombs that melt perfectly every single time.
Ingredients
- 12 oz high-quality semi-sweet chocolate melting wafers
- 6 tablespoons instant hot cocoa mix
- 1/2 cup mini marshmallows
- 1/4 cup white chocolate chips (for drizzling)
- Christmas-themed sprinkles (red and green stars or trees)
- Edible gold glitter (optional)
- Silicone sphere molds (2.5-inch diameter)
Directions
Step 1: Melt the Chocolate
Place the chocolate melting wafers in a microwave-safe bowl. Heat in 30-second intervals, stirring well between each session, until the chocolate is completely smooth and liquid.
Step 2: Coat the Molds
Add about one tablespoon of melted chocolate into each cavity of your silicone mold. Use the back of a spoon or a small brush to spread the chocolate up the sides, ensuring the edges are thick enough to prevent breaking.
Step 3: Chill and Set
Place the mold in the freezer for about 5 to 10 minutes. Once set, apply a second thin coat of chocolate to the edges if they look too thin, then chill again until completely firm.
Step 4: Remove the Shells
Carefully peel the silicone mold away from the chocolate spheres. Handle them gently to avoid melting the chocolate with the warmth of your hands.
Step 5: Fill the Bombs
Take six of the chocolate halves and fill each one with a tablespoon of hot cocoa mix and a handful of mini marshmallows. You can also add a few sprinkles inside for an extra surprise.
Step 6: Seal the Spheres
Warm a small plate in the microwave for 30 seconds. Take an empty chocolate half, touch the rim to the warm plate for a second to melt the edge, and immediately press it onto a filled half to seal them together.
Step 7: Decorate for Christmas
Melt the white chocolate and drizzle it over the top of the sealed bombs. Quickly add your festive sprinkles and edible glitter before the drizzle sets.
How to Serve Christmas Hot Chocolate Bombs
Place one Christmas Hot Chocolate Bomb in a large mug. Heat 8 to 10 ounces of milk until it is steaming hot but not boiling. Slowly pour the hot milk directly over the top of the bomb and watch it melt and release the cocoa and marshmallows. Stir well until all the chocolate is incorporated and enjoy.
How to Store Christmas Hot Chocolate Bombs
Keep your cocoa bombs in an airtight container in a cool, dry place away from direct sunlight. They will stay fresh at room temperature for up to two weeks. If your kitchen is very warm, you can store them in the refrigerator, but they may develop a slight “bloom” or white cast on the chocolate.
Expert Tips for Perfect Christmas Hot Chocolate Bombs
Use food-safe gloves when handling the chocolate shells to prevent leaving fingerprints on the shiny surface. If you find the seams are messy, you can pipe a little extra melted chocolate around the center and roll it in sprinkles to hide the joint. Ensure your milk is hot enough; if the milk is only lukewarm, the shell will not melt properly.
Delicious Variations
Try a Peppermint version by adding crushed candy canes inside the bomb and on top of the drizzle. For a White Christmas theme, use white chocolate for the entire shell and fill it with white cocoa mix. You can also add a pinch of cinnamon or nutmeg to the cocoa powder inside for a warm, spiced holiday flavor.
Frequently Asked Questions
Q: What is the best chocolate to use?
Melting wafers or couverture chocolate work best because they harden quickly and have a nice snap. Regular chocolate chips can be used but may be softer at room temperature.
Q: Can I use water instead of milk?
You can use water, but milk (dairy or non-dairy like oat or almond) provides a much richer and creamier flavor that complements the chocolate shell better.
Q: Why did my hot chocolate bomb crack?
The walls of the shell might have been too thin. Make sure to pay extra attention to the rim of the mold when coating it with chocolate.
Q: How do I transport these as gifts?
Place each bomb in a cupcake liner and put them in a sturdy gift box or a clear cellophane bag tied with a festive ribbon.
Q: Do I need to temper the chocolate?
If you use high-quality chocolate bars, tempering is necessary for a shiny finish. However, using melting wafers simplifies the process as they don’t require tempering.
Conclusion
Christmas Hot Chocolate Bombs are a delightful way to celebrate the holiday season. They are simple to create, beautiful to look at, and even better to drink. Grab your molds and your favorite chocolate, and start a new sweet tradition in your kitchen this year!

Christmas Hot Chocolate Bombs
- Cook Time: 50 minutes
- Total Time: 50 minutes
Ingredients
- 12 oz high-quality semi-sweet chocolate melting wafers
- 6 tablespoons instant hot cocoa mix
- 1/2 cup mini marshmallows
- 1/4 cup white chocolate chips (for drizzling)
- Christmas-themed sprinkles (red and green stars or trees)
- Edible gold glitter (optional)
- Silicone sphere molds (2.5-inch diameter)
Instructions
- Step 1: Melt the Chocolate. Place the chocolate melting wafers in a microwave-safe bowl. Heat in 30-second intervals, stirring well between each session, until the chocolate is completely smooth and liquid.
- Step 2: Coat the Molds. Add about one tablespoon of melted chocolate into each cavity of your silicone mold. Use the back of a spoon or a small brush to spread the chocolate up the sides, ensuring the edges are thick enough to prevent breaking.
- Step 3: Chill and Set. Place the mold in the freezer for about 5 to 10 minutes. Once set, apply a second thin coat of chocolate to the edges if they look too thin, then chill again until completely firm.
- Step 4: Remove the Shells. Carefully peel the silicone mold away from the chocolate spheres. Handle them gently to avoid melting the chocolate with the warmth of your hands.
- Step 5: Fill the Bombs. Take six of the chocolate halves and fill each one with a tablespoon of hot cocoa mix and a handful of mini marshmallows. You can also add a few sprinkles inside for an extra surprise.
- Step 6: Seal the Spheres. Warm a small plate in the microwave for 30 seconds. Take an empty chocolate half, touch the rim to the warm plate for a second to melt the edge, and immediately press it onto a filled half to seal them together.
- Step 7: Decorate for Christmas. Melt the white chocolate and drizzle it over the top of the sealed bombs. Quickly add your festive sprinkles and edible glitter before the drizzle sets.