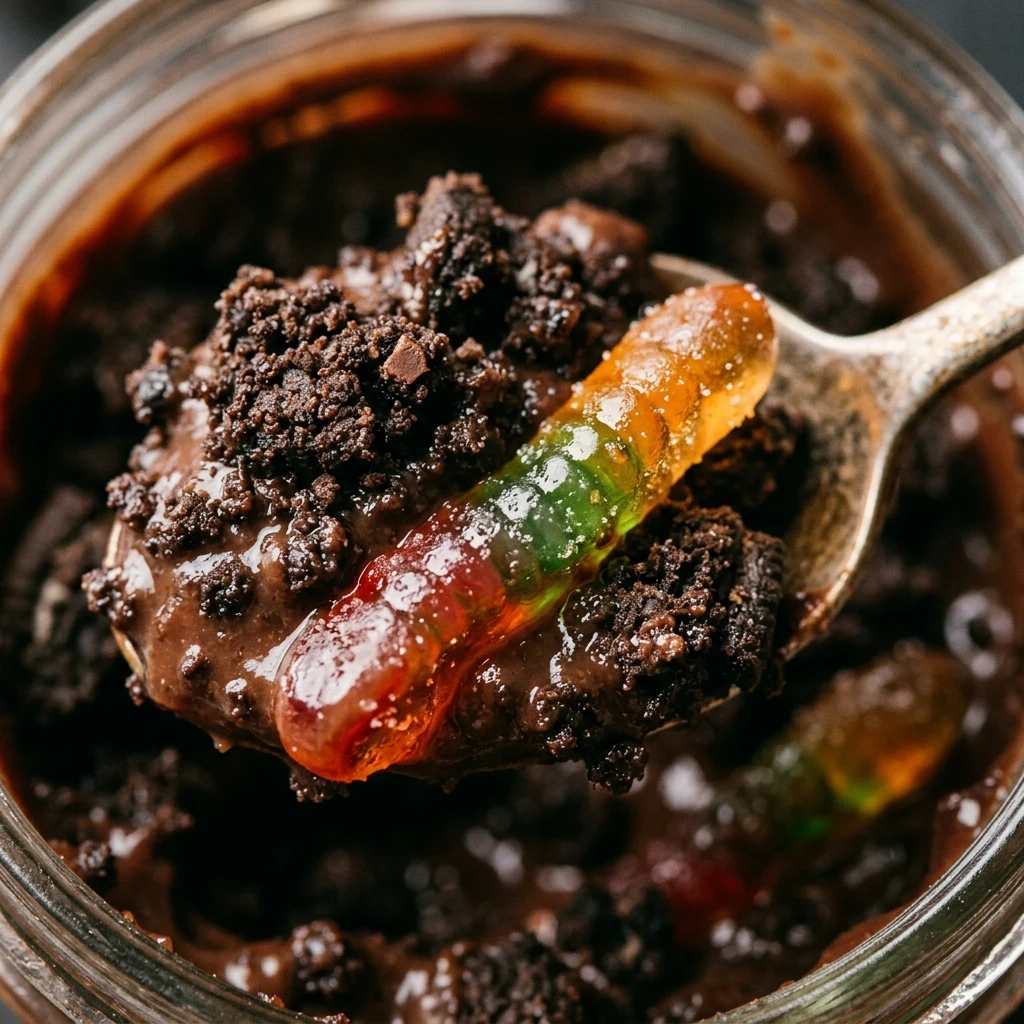

Chocolate Dirt Cups are the ultimate nostalgic treat that brings out the kid in everyone. This classic no-bake dessert features layers of creamy chocolate pudding, a velvety cream cheese filling, and crunchy crushed chocolate cookies that look just like real soil. Topped with whimsical gummy worms, it is a fun, interactive dessert that is as much a craft project as it is a delicious snack.
Whether you are planning a themed birthday party, a backyard barbecue, or simply want a quick weekend treat for the family, these dirt cups never disappoint. They are incredibly easy to assemble and require no time in the oven, making them a perfect recipe for involving little helpers in the kitchen. Let’s dive into how you can create this whimsical garden in a cup.
Recipe Information
- Prep Time: 20 minutes
- Cook Time: 0 minutes
- Total Time: 20 minutes (plus 1 hour chilling time)
- Servings: 12
- Difficulty Level: Easy
Nutrition Information
- Calories per serving: 345 kcal
- Protein: 4g
- Carbohydrates: 48g
- Fat: 16g
- Fiber: 1g
- Sugar: 34g
- Sodium: 420mg
Why Make This Chocolate Dirt Cups Recipe
This recipe is a guaranteed winner because it strikes the perfect balance between texture and flavor. Unlike simple pudding cups, this version uses a rich blend of cream cheese and whipped topping, which creates a mousse-like consistency that is far more satisfying and decadent. It is the kind of dessert that looks impressive on a party table but requires very little actual effort to execute.
Another reason to love these dirt cups is their versatility. You can serve them in individual clear plastic cups for easy cleanup, or assemble the whole thing in a large flower pot for a hilarious and eye-catching centerpiece. It is a budget-friendly dessert that uses pantry staples to create something truly memorable and fun for guests of all ages.
How to Make Chocolate Dirt Cups Recipe
Creating these delightful treats is a simple process of layering textures and flavors. Follow these easy steps to build your own edible garden.
Ingredients
- 1 package (14.3 oz) Chocolate Sandwich Cookies (like Oreos)
- 2 packages (3.9 oz each) Instant Chocolate Pudding Mix
- 3 cups Cold Whole Milk
- 1 package (8 oz) Cream Cheese, softened
- 1/4 cup Unsalted Butter, softened
- 1 cup Powdered Sugar
- 1 container (8 oz) Whipped Topping (like Cool Whip), thawed
- 1 package Gummy Worms
Directions
Step 1: Crush the Cookies
Place the chocolate sandwich cookies into a large gallon-sized freezer bag. Use a rolling pin or a heavy spoon to crush them until they resemble fine dirt. You can leave a few small chunks for extra texture. Set these aside in a bowl.
Step 2: Prepare the Chocolate Pudding
In a medium mixing bowl, whisk together the two packages of instant chocolate pudding mix and the 3 cups of cold milk. Whisk for about 2 minutes until the mixture begins to thicken. Set it aside for a few minutes to firm up completely.
Step 3: Cream the Filling Base
In a separate large bowl, beat the softened cream cheese and butter together until the mixture is smooth and creamy. Gradually add the powdered sugar and continue beating until well combined and fluffy.
Step 4: Combine the Mixtures
Gently fold the thawed whipped topping into the cream cheese mixture using a spatula. Once incorporated, fold in the prepared chocolate pudding. Stir slowly until the color is uniform and you have a light, airy chocolate mousse.
Step 5: Assemble the Cups
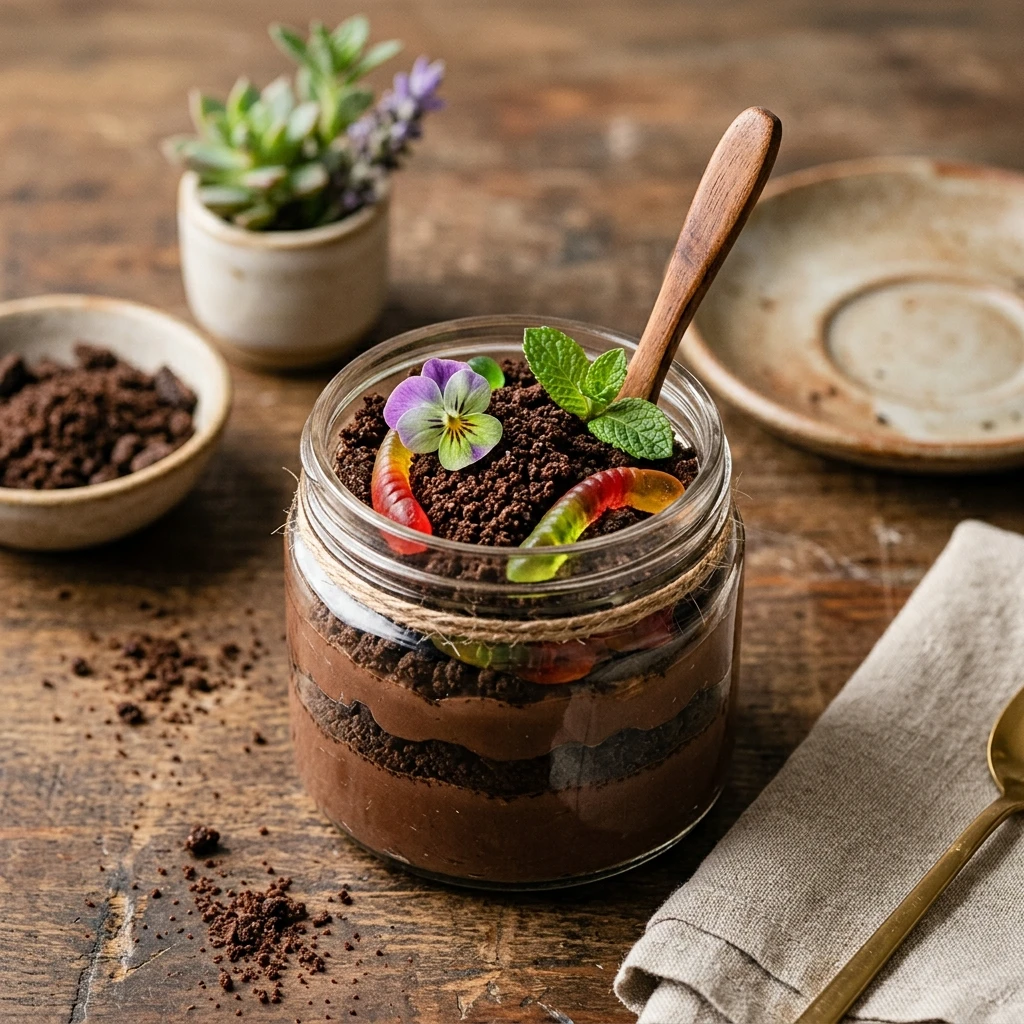
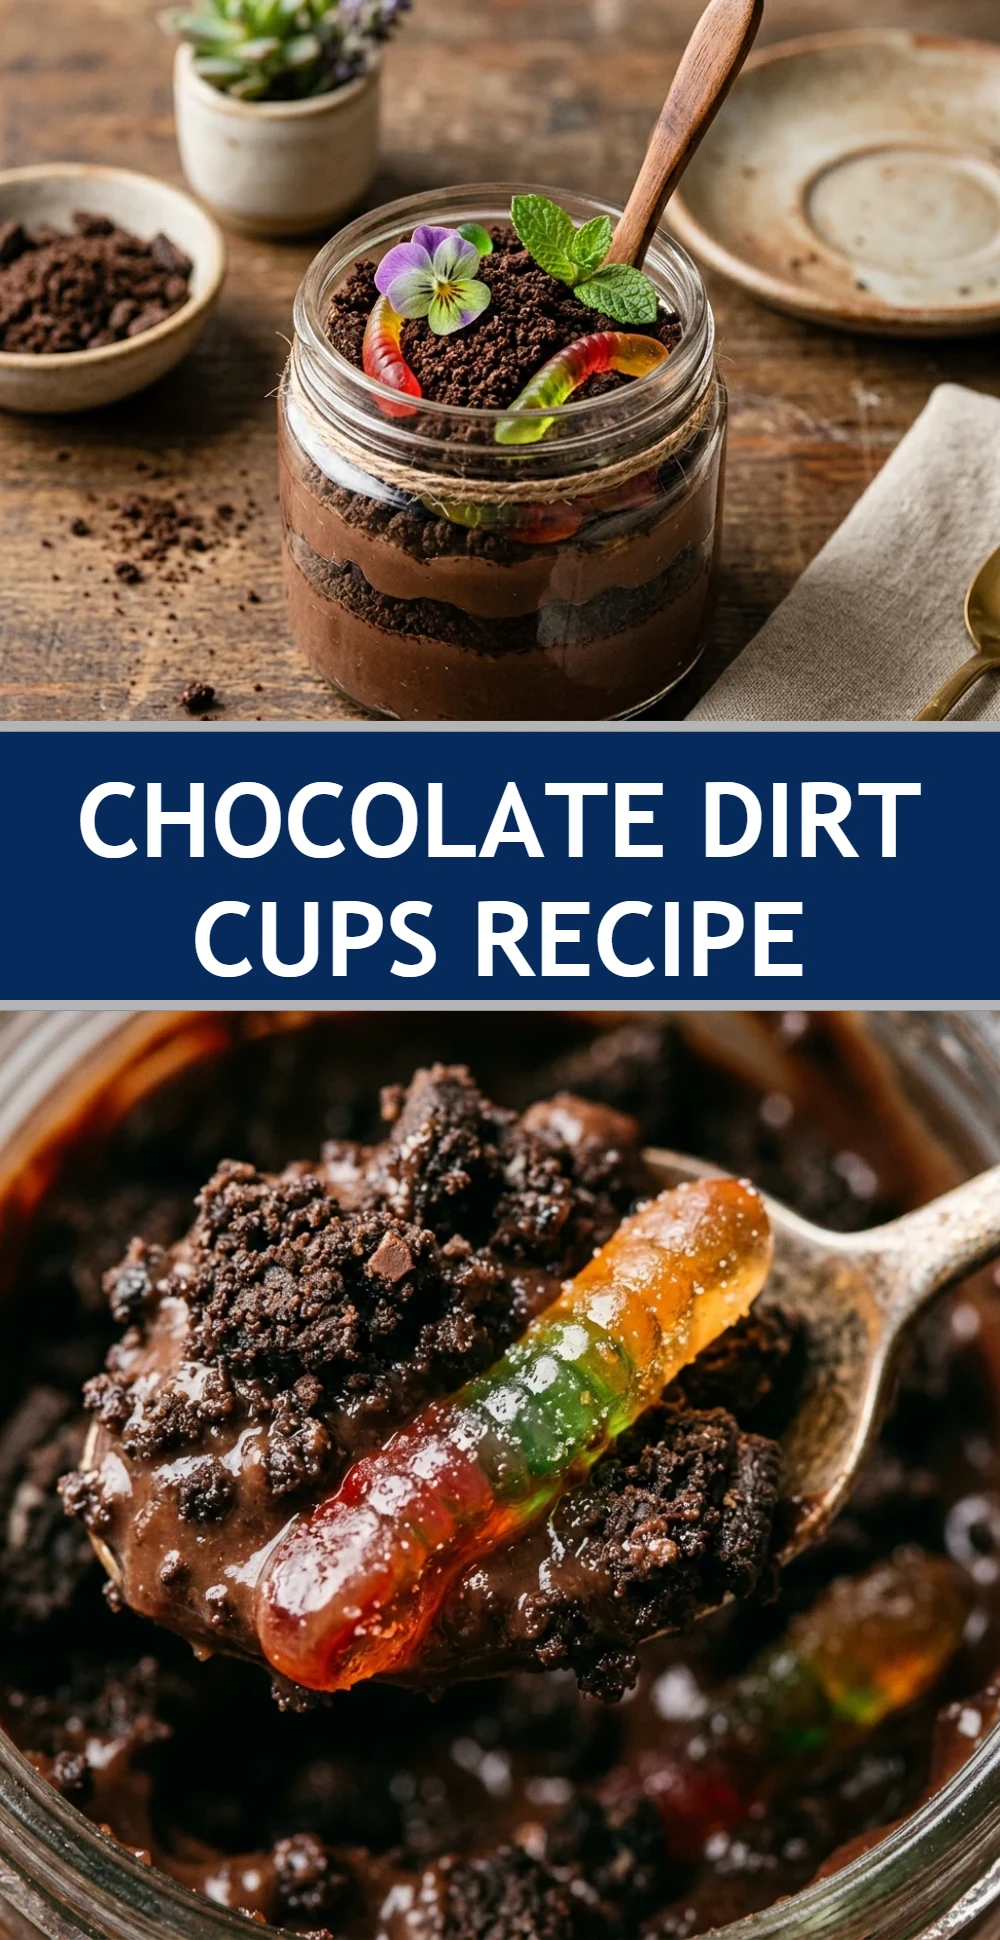
Take 12 individual clear cups. Start by placing a tablespoon of crushed cookies at the bottom of each cup. Add a layer of the chocolate pudding mixture, followed by another layer of cookie crumbs. Repeat the layers until the cups are nearly full, ending with a thick layer of “dirt” cookies on top.
Step 6: Decorate and Chill
Push two or three gummy worms into the top of each cup so they look like they are crawling out of the dirt. Place the cups in the refrigerator for at least one hour to set before serving.
How to Serve Chocolate Dirt Cups Recipe
For the best presentation, serve these in clear plastic or glass cups so guests can see the layers of “soil.” If you are hosting a garden-themed party, you can place the cups inside clean, small terracotta pots. Adding a small silk flower or a sprig of fresh mint to the top can further enhance the “potted plant” illusion. Always serve these chilled to maintain the creamy consistency of the pudding layers.
How to Store Chocolate Dirt Cups Recipe
Chocolate Dirt Cups should be stored in the refrigerator. If you are making them ahead of time, cover each cup tightly with plastic wrap to prevent the pudding from forming a skin and to keep the cookies from absorbing too much moisture from the fridge air. They will stay fresh and delicious for up to 3 days. Note that the cookie crumbs will soften the longer they sit against the pudding.
Expert Tips for Perfect Chocolate Dirt Cups Recipe
To get the best results, make sure your cream cheese and butter are truly at room temperature before mixing; this prevents lumps in your filling. For the finest “dirt” texture, you can use a food processor to pulse the cookies into a uniform crumb. If you want a more “organic” look, use a mix of chocolate sandwich cookies and chocolate graham cracker crumbs to create different shades of brown in your soil layers.
Delicious Variations
You can easily customize this recipe for different holidays. Use golden sandwich cookies and lime pudding for a “Sand and Surf” beach cup with gummy fish. For Halloween, add “tombstone” cookies made from oval biscuits and use green-tinted coconut for grass. For a more sophisticated adult version, try using dark chocolate pudding and adding a splash of coffee liqueur to the cream cheese mixture.
Frequently Asked Questions
Q: Can I use homemade pudding instead of instant mix?
Yes, you can use homemade chocolate pudding, but ensure it is completely chilled and very thick before folding it into the cream cheese mixture to ensure the cups set properly.
Q: Can I make this recipe dairy-free?
You can substitute the milk with almond or oat milk (though use less as instant pudding sets differently with non-dairy milks), use a dairy-free cream cheese, and a vegan whipped topping.
Q: How far in advance can I make these?
You can make these up to 24 hours in advance. The cookies will soften slightly, which many people actually prefer, as it gives the dessert a cake-like texture.
Q: Do I need to remove the cream filling from the Oreos?
No, there is no need to remove the filling! When you crush the cookies, the filling blends in and adds extra sweetness and structure to the “dirt.”
Q: Can I freeze Chocolate Dirt Cups?
Freezing is not recommended as the texture of the cream cheese and pudding can change and become grainy or watery once thawed.
Conclusion
Chocolate Dirt Cups are a timeless dessert that proves you don’t need a stove to make something truly delicious. With their rich, creamy layers and crunchy cookie topping, they offer a satisfying variety of textures in every spoonful. Simple to make and even more fun to eat, this recipe is a must-have for your dessert repertoire. Whip up a batch today and watch as both kids and adults dig in with a smile!
Chocolate Dirt Cups Recipe
- Cook Time: 20 minutes (plus 1 hour chilling time)
- Total Time: 20 minutes
- Diet: Vegetarian
Ingredients
- 1 package (14.3 oz) Chocolate Sandwich Cookies (like Oreos)
- 2 packages (3.9 oz each) Instant Chocolate Pudding Mix
- 3 cups Cold Whole Milk
- 1 package (8 oz) Cream Cheese, softened
- 1/4 cup Unsalted Butter, softened
- 1 cup Powdered Sugar
- 1 container (8 oz) Whipped Topping (like Cool Whip), thawed
- 1 package Gummy Worms
Instructions
- Place the chocolate sandwich cookies into a large gallon-sized freezer bag. Use a rolling pin or a heavy spoon to crush them until they resemble fine dirt. You can leave a few small chunks for extra texture. Set these aside in a bowl.
- In a medium mixing bowl, whisk together the two packages of instant chocolate pudding mix and the 3 cups of cold milk. Whisk for about 2 minutes until the mixture begins to thicken. Set it aside for a few minutes to firm up completely.
- In a separate large bowl, beat the softened cream cheese and butter together until the mixture is smooth and creamy. Gradually add the powdered sugar and continue beating until well combined and fluffy.
- Gently fold the thawed whipped topping into the cream cheese mixture using a spatula. Once incorporated, fold in the prepared chocolate pudding. Stir slowly until the color is uniform and you have a light, airy chocolate mousse.
- Take 12 individual clear cups. Start by placing a tablespoon of crushed cookies at the bottom of each cup. Add a layer of the chocolate pudding mixture, followed by another layer of cookie crumbs. Repeat the layers until the cups are nearly full, ending with a thick layer of “dirt” cookies on top.
- Push two or three gummy worms into the top of each cup so they look like they are crawling out of the dirt. Place the cups in the refrigerator for at least one hour to set before serving.