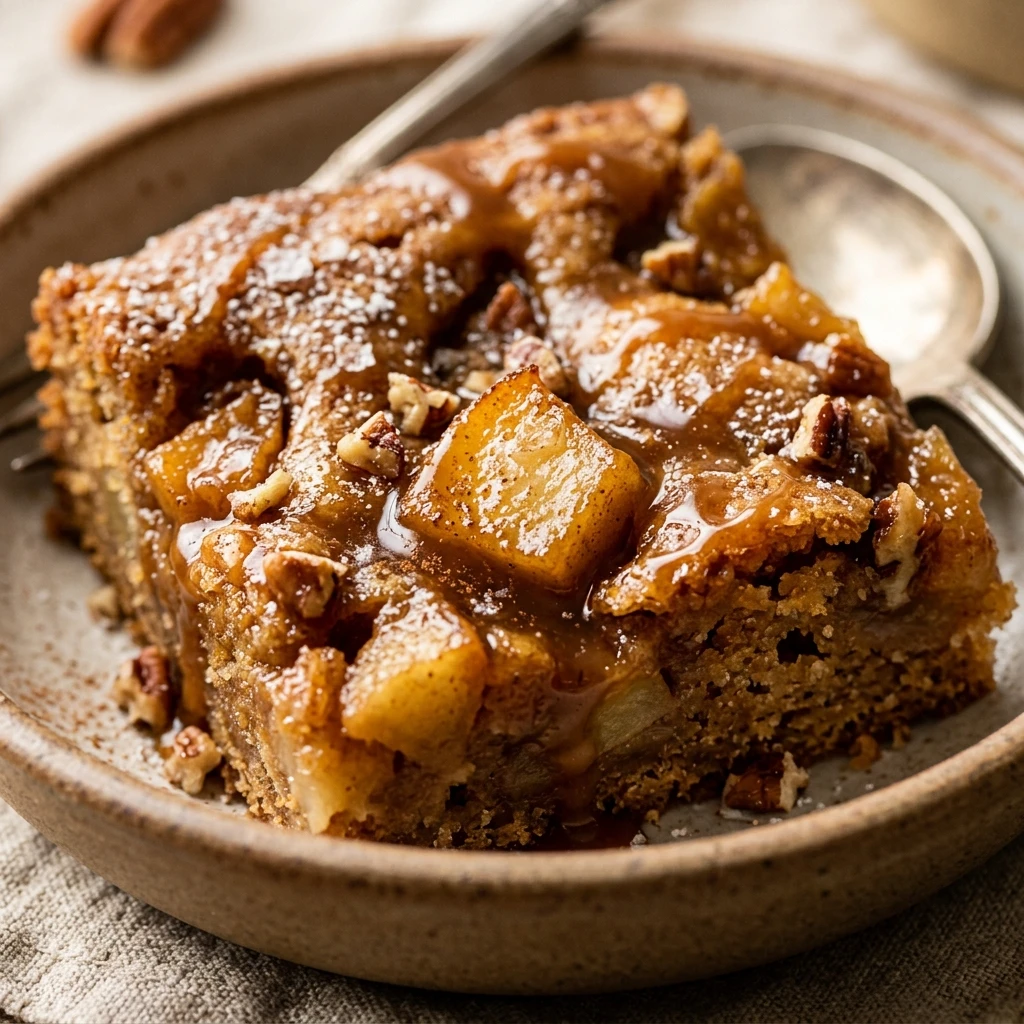

There is something truly magical about the way brown butter and tart apples come together in a single bite. These Brown Butter Apple Blondies are the ultimate comfort treat, offering a rich, nutty flavor that regular butter just cannot match. Unlike a traditional brownie, these blondies are dense, chewy, and packed with warm autumn spices that will make your kitchen smell like a cozy bakery.
Whether you are looking for a new way to use up your apple orchard haul or you simply want a dessert that feels a bit more sophisticated than a standard cookie, this recipe is for you. The combination of caramelized butter, juicy apple chunks, and a hint of cinnamon creates a depth of flavor that will have everyone asking for the recipe. Let’s get baking!
Recipe Information
- Prep Time: 20 minutes
- Cook Time: 35 minutes
- Total Time: 55 minutes
- Servings: 16 bars
- Difficulty Level: Medium
Nutrition Information
- Calories per serving: 265 kcal
- Protein: 3g
- Carbohydrates: 36g
- Fat: 13g
- Fiber: 1g
- Sugar: 22g
- Sodium: 160mg
Why Make This Brown Butter Apple Blondies
The star of this recipe is undoubtedly the brown butter. By gently cooking the butter until the milk solids toast and turn golden brown, you unlock a deep, toffee-like aroma that elevates the entire dessert. It transforms a simple blondie into a gourmet experience with very little extra effort.
Furthermore, these bars are incredibly versatile. They have the chewy texture of a fudge brownie but the warm, spicy soul of an apple pie. They are sturdy enough for a lunchbox but elegant enough to serve at a dinner party with a scoop of vanilla bean ice cream. Plus, they stay moist for days thanks to the fresh fruit tucked inside the batter.
How to Make Brown Butter Apple Blondies
Creating these decadent bars involves a few simple steps, starting with the stovetop and ending in the oven. The process is straightforward, but the key is all in the timing and the temperature of your ingredients.
Ingredients
- 1 cup (225g) unsalted butter
- 1 ½ cups light brown sugar, packed
- ¼ cup granulated sugar
- 2 large eggs, room temperature
- 2 teaspoons vanilla extract
- 2 cups all-purpose flour
- 1 ½ teaspoons ground cinnamon
- ½ teaspoon ground nutmeg
- ½ teaspoon baking powder
- ½ teaspoon salt
- 2 cups Granny Smith apples, peeled and finely diced
Directions
Step 1: Brown the Butter
Place the butter in a medium saucepan over medium heat. Melt the butter, then continue to cook, swirling the pan occasionally. The butter will foam, then you will see little brown bits forming at the bottom. Once it smells nutty and looks golden brown, immediately remove it from the heat and pour it into a large mixing bowl to cool for 10 minutes.
Step 2: Prepare the Pan and Oven
Preheat your oven to 350°F (175°C). Line an 8×8 inch or 9×9 inch square baking pan with parchment paper, leaving a slight overhang on the sides for easy removal later. Lightly grease any exposed pan surfaces with cooking spray.
Step 3: Mix the Sugars and Fats
Add the brown sugar and granulated sugar to the bowl with the cooled brown butter. Whisk vigorously until the mixture is smooth and well combined. Add the eggs and vanilla extract, whisking for about 1-2 minutes until the mixture looks pale and slightly thickened.
Step 4: Combine the Dry Ingredients
In a separate small bowl, whisk together the flour, cinnamon, nutmeg, baking powder, and salt. Gradually fold the dry ingredients into the butter mixture using a rubber spatula. Mix only until no streaks of flour remain; overmixing will make the blondies tough.
Step 5: Fold in the Apples
Gently fold the diced apples into the thick batter until they are evenly distributed. The batter will be quite heavy, which is normal for a chewy blondie recipe.
Step 6: Bake the Blondies
Spread the batter into the prepared baking pan, smoothing the top with your spatula. Bake for 30 to 35 minutes, or until the edges are golden brown and a toothpick inserted into the center comes out with just a few moist crumbs. Do not overbake!
Step 7: Cool and Slice
Allow the blondies to cool completely in the pan before lifting them out using the parchment paper overhang. This ensures they set properly and give you those perfect clean slices. Cut into 16 squares and enjoy.
How to Serve Brown Butter Apple Blondies
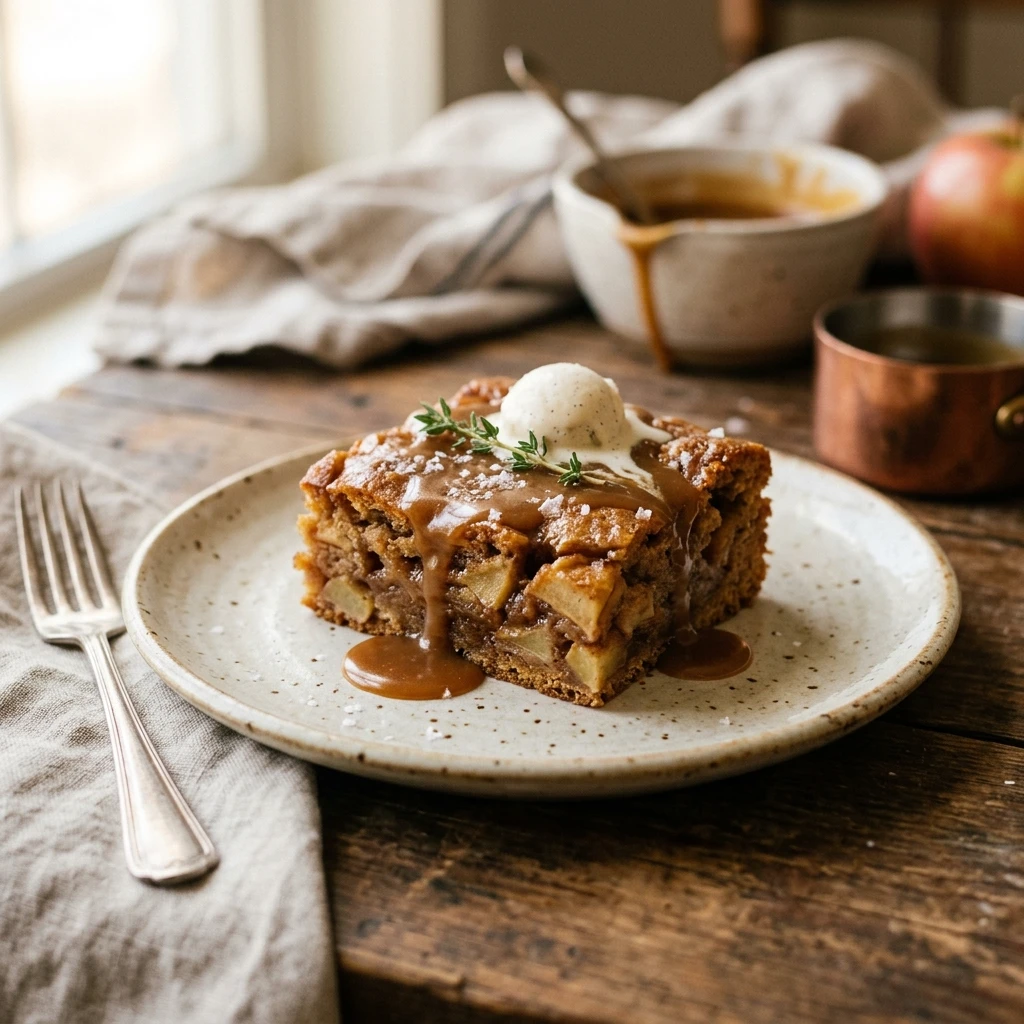
These blondies are spectacular when served slightly warm. To make them truly indulgent, top a square with a generous scoop of vanilla bean ice cream and a drizzle of salted caramel sauce. If you prefer something simpler, a light dusting of powdered sugar or a dollop of whipped cream is also delicious. They pair perfectly with a hot cup of coffee or a cold glass of milk.
How to Store Brown Butter Apple Blondies
Store your blondies in an airtight container at room temperature for up to 3 days. Because of the fresh apples, they stay very moist. If you need them to last longer, you can store them in the refrigerator for up to a week. They also freeze beautifully; just wrap individual squares in plastic wrap and store them in a freezer-safe bag for up to 3 months. Thaw at room temperature before serving.
Expert Tips for Perfect Brown Butter Apple Blondies
When browning the butter, keep a close eye on it! It can go from perfectly golden to burnt in a matter of seconds. Use a light-colored pan so you can see the color change clearly. Also, be sure to dice your apples into small, uniform pieces (about 1/4 inch) so they soften properly during the short baking time. Using a tart apple like Granny Smith provides the best flavor contrast to the sweet blondie base.
Delicious Variations
For an extra crunch, try adding ½ cup of chopped pecans or walnuts to the batter along with the apples. If you love a bit of spice, you can add a pinch of ground cloves or ginger. For a sweeter twist, fold in ½ cup of white chocolate chips or butterscotch chips. You can also replace the diced apples with pears for a different seasonal flavor profile.
Frequently Asked Questions
Q: Can I use regular melted butter instead of browning it?
Yes, you can use regular melted butter, but you will miss out on that signature nutty flavor and aroma that makes these blondies special. If you skip browning, the recipe still works, but the flavor will be more basic.
Q: What are the best apples to use for baking blondies?
Granny Smith apples are the gold standard because they are tart and firm, which prevents the blondies from becoming too sweet or mushy. Honeycrisp or Pink Lady apples also work well if you prefer a slightly sweeter fruit.
Q: Why are my blondies cakey instead of chewy?
Blondies usually become cakey if the eggs are beaten too much or if too much flour is used. Ensure you measure your flour using the spoon-and-level method rather than scooping directly with the measuring cup.
Q: Can I double this recipe for a larger crowd?
Absolutely! You can double the ingredients and bake them in a 9×13 inch pan. You may need to add 5-10 minutes to the total baking time, so keep an eye on the center of the pan.
Q: Do I need to peel the apples?
It is highly recommended to peel the apples. Apple skin can become tough or papery when baked inside a dense batter, which can take away from the soft, chewy texture of the blondie.
Conclusion
Brown Butter Apple Blondies are a seasonal delight that brings together the best flavors of fall in a convenient, handheld treat. The richness of the toasted butter paired with the bright pop of fresh apples creates a dessert that is far more than the sum of its parts. Once you try this brown butter version, you may never go back to basic blondies again. Give this recipe a try today and enjoy a little slice of autumn heaven!
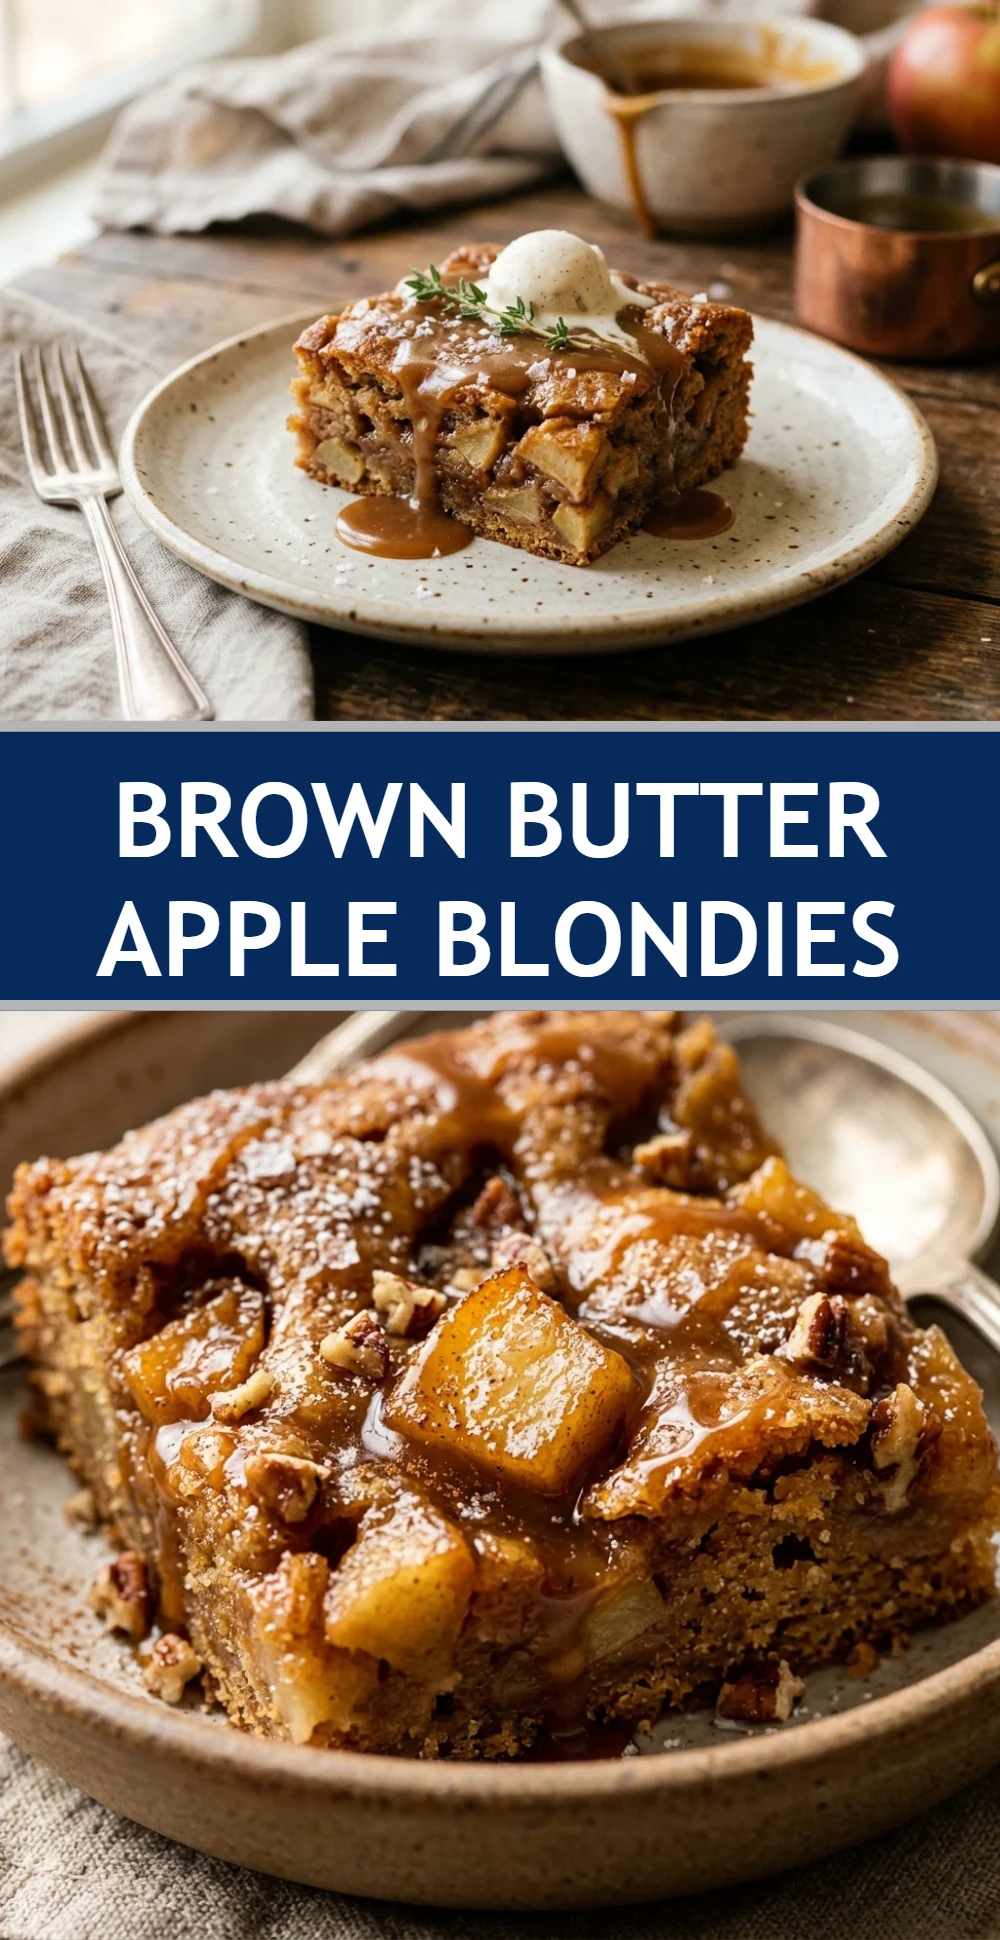
Brown Butter Apple Blondies
- Cook Time: 55 minutes
- Total Time: 55 minutes
- Diet: Vegetarian
Ingredients
- 1 cup (225g) unsalted butter
- 1 ½ cups light brown sugar, packed
- ¼ cup granulated sugar
- 2 large eggs, room temperature
- 2 teaspoons vanilla extract
- 2 cups all-purpose flour
- 1 ½ teaspoons ground cinnamon
- ½ teaspoon ground nutmeg
- ½ teaspoon baking powder
- ½ teaspoon salt
- 2 cups Granny Smith apples, peeled and finely diced
Instructions
- Brown the Butter: Place the butter in a medium saucepan over medium heat. Melt the butter, then continue to cook, swirling the pan occasionally. The butter will foam, then you will see little brown bits forming at the bottom. Once it smells nutty and looks golden brown, immediately remove it from the heat and pour it into a large mixing bowl to cool for 10 minutes.
- Prepare the Pan and Oven: Preheat your oven to 350°F (175°C). Line an 8×8 inch or 9×9 inch square baking pan with parchment paper, leaving a slight overhang on the sides for easy removal later. Lightly grease any exposed pan surfaces with cooking spray.
- Mix the Sugars and Fats: Add the brown sugar and granulated sugar to the bowl with the cooled brown butter. Whisk vigorously until the mixture is smooth and well combined. Add the eggs and vanilla extract, whisking for about 1-2 minutes until the mixture looks pale and slightly thickened.
- Combine the Dry Ingredients: In a separate small bowl, whisk together the flour, cinnamon, nutmeg, baking powder, and salt. Gradually fold the dry ingredients into the butter mixture using a rubber spatula. Mix only until no streaks of flour remain; overmixing will make the blondies tough.
- Fold in the Apples: Gently fold the diced apples into the thick batter until they are evenly distributed. The batter will be quite heavy, which is normal for a chewy blondie recipe.
- Bake the Blondies: Spread the batter into the prepared baking pan, smoothing the top with your spatula. Bake for 30 to 35 minutes, or until the edges are golden brown and a toothpick inserted into the center comes out with just a few moist crumbs. Do not overbake!
- Cool and Slice: Allow the blondies to cool completely in the pan before lifting them out using the parchment paper overhang. This ensures they set properly and give you those perfect clean slices. Cut into 16 squares and enjoy.