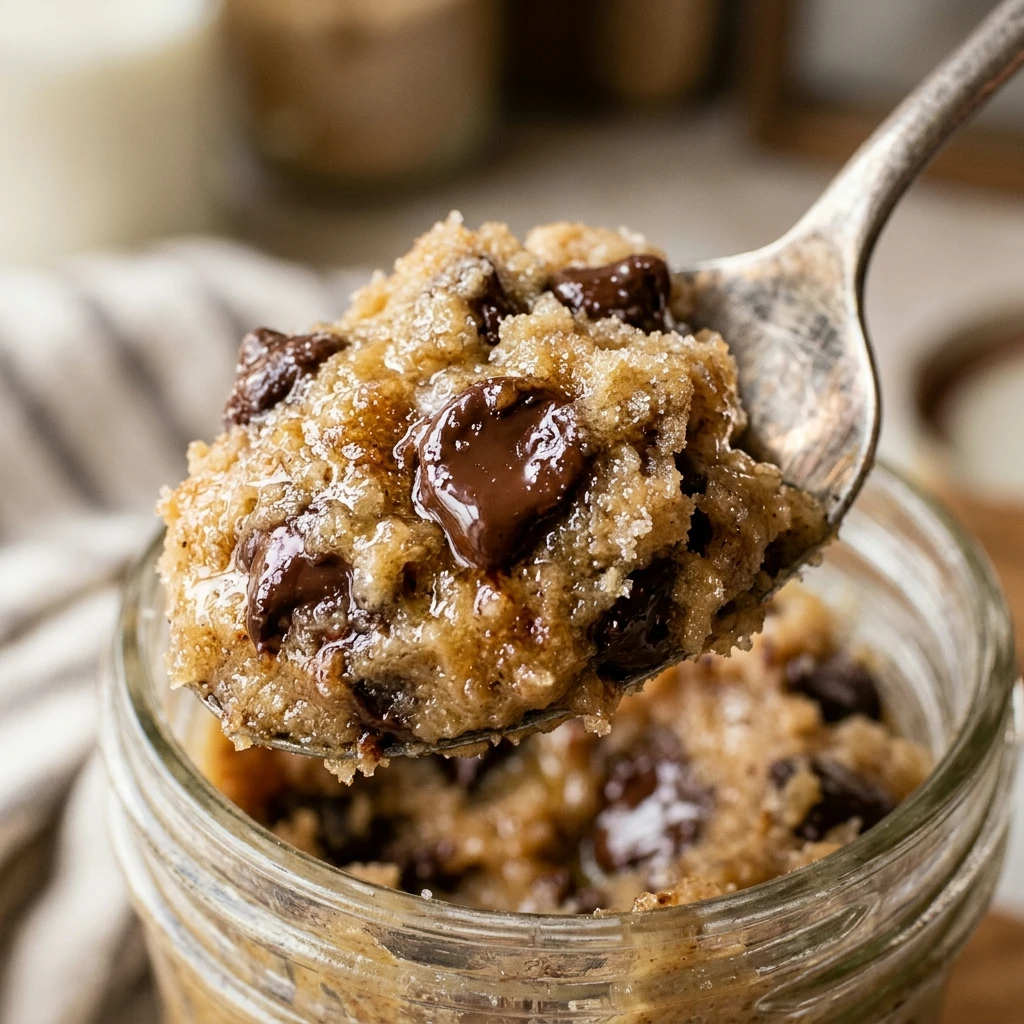
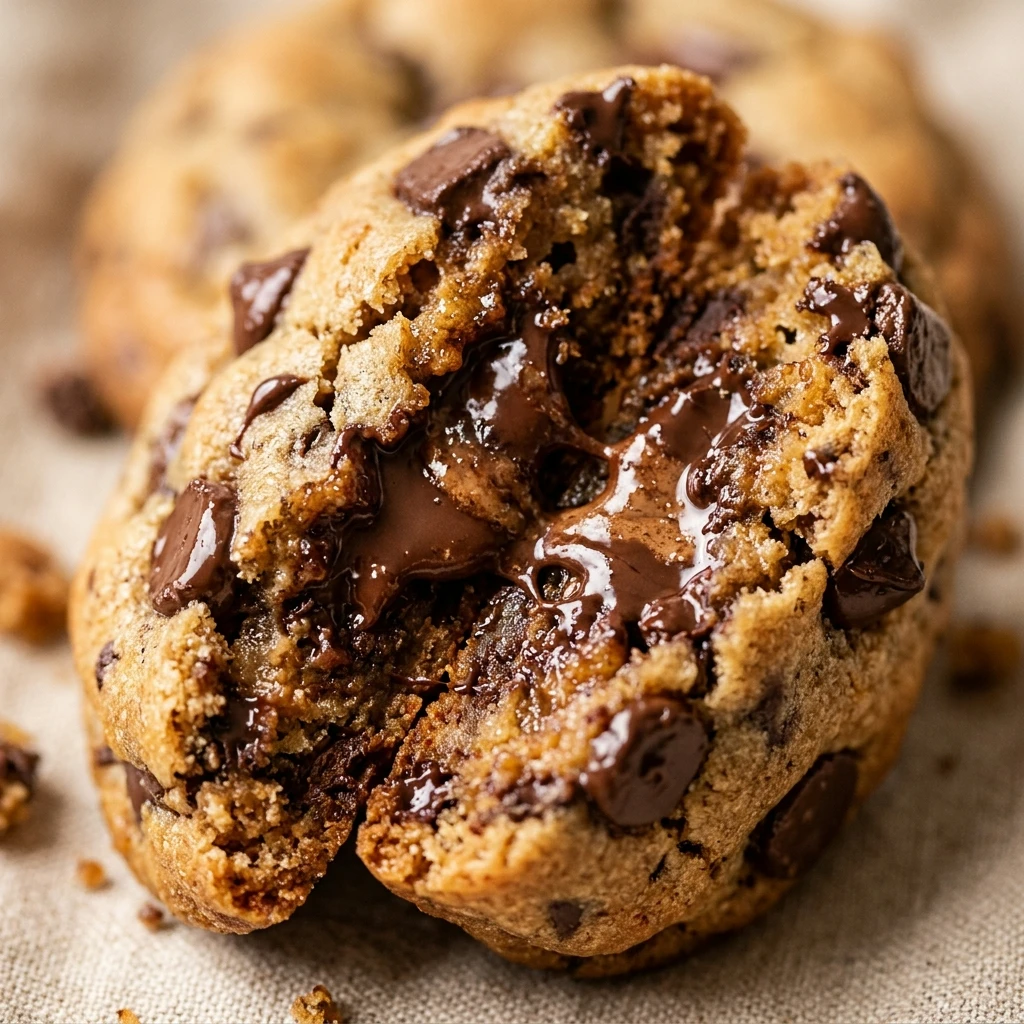

There is something truly magical about biting into a thick, bakery-style cookie and discovering a hidden, gooey center. These aren’t your average flat cookies; they are oversized, decadent, and packed with flavor. Whether you are craving a molten chocolate core or a creamy nut butter surprise, these cookies bring the professional bakery experience right into your home kitchen.
Making these treats is easier than it looks, and the results are always impressive. The secret lies in the temperature of your ingredients and a little bit of patience while the dough sets. Get ready to fill your house with the irresistible aroma of browning butter and melting chocolate. Your friends and family will think you spent all morning at a high-end pâtisserie.
Recipe Information
- Prep Time: 30 minutes
- Cook Time: 12 minutes
- Total Time: 42 minutes
- Servings: 12 large cookies
- Difficulty Level: Medium
Nutrition Information
- Calories per serving: 485 kcal
- Protein: 6g
- Carbohydrates: 58g
- Fat: 26g
- Fiber: 2g
- Sugar: 38g
- Sodium: 210mg
Why Make This Bakery-Style Stuffed Cookies
These cookies offer the perfect contrast in textures. The exterior is crisp and golden, while the interior remains soft, chewy, and holds a delicious surprise. By using cold butter and a higher ratio of brown sugar, we achieve that classic “New York Bakery” thickness that doesn’t spread too much in the oven.
The versatility of this recipe is another reason to love it. Once you master the base dough, you can experiment with endless fillings. It is the ultimate “wow-factor” dessert for parties, bake sales, or a special weekend treat for yourself. Plus, they freeze beautifully, meaning you can have a gourmet cookie ready to bake whenever a craving strikes.
How to Make Bakery-Style Stuffed Cookies
Creating these stuffed masterpieces requires a few specific techniques to ensure the filling stays inside and the dough maintains its signature height. Follow these steps closely for the best results.
Ingredients
- 1 cup unsalted butter, cold and cubed
- 3/4 cup light brown sugar, packed
- 1/2 cup granulated sugar
- 2 large eggs, cold
- 1 teaspoon vanilla extract
- 3 cups all-purpose flour
- 1 teaspoon cornstarch
- 3/4 teaspoon baking soda
- 1/2 teaspoon salt
- 1 1/2 cups semi-sweet chocolate chips
- 12 tablespoons of filling (Nutella, peanut butter, or Biscoff spread)
Directions
Step 1: Prepare the Filling
Scoop 12 individual tablespoons of your chosen filling (like Nutella or peanut butter) onto a tray lined with parchment paper. Place the tray in the freezer for at least 20 minutes until the dollops are firm. This prevents the filling from melting into the dough during assembly.
Step 2: Cream the Butter and Sugars
In a large bowl or stand mixer, beat the cold, cubed butter with the brown sugar and granulated sugar. Mix on medium-high speed for about 3-4 minutes until the mixture is combined but still holds some texture. Do not over-mix to the point of being fluffy; we want the butter to stay relatively cool.
Step 3: Add Liquid Ingredients
Add the cold eggs one at a time, followed by the vanilla extract. Mix on low speed until just incorporated. Using cold eggs helps keep the dough temperature down, which is essential for thick cookies.
Step 4: Mix in Dry Ingredients
Sift the flour, cornstarch, baking soda, and salt into the bowl. Mix on low speed until a few streaks of flour remain. Fold in the chocolate chips by hand using a spatula to ensure they are evenly distributed without overworking the gluten in the flour.
Step 5: Stuff the Cookie Dough
Divide the dough into 12 equal portions (about 100g each). Flatten a portion of dough in your palm and place one frozen filling dollop in the center. Wrap the dough around the filling, ensuring there are no gaps or cracks. Roll it into a tall ball rather than a flat disc.
Step 6: Bake the Cookies
Preheat your oven to 400°F (200°C). Place the dough balls on a baking sheet with plenty of space between them. Bake for 10-12 minutes or until the tops are lightly golden. The cookies will look slightly underbaked, but they will firm up as they cool on the tray.
How to Serve Bakery-Style Stuffed Cookies
These cookies are best served warm, about 10 to 15 minutes after they come out of the oven. This allows the center to stay molten while the outer shell sets. For a truly indulgent experience, serve them with a cold glass of milk or a scoop of vanilla bean ice cream. If you are serving them later, a quick 10-second zap in the microwave will bring that gooey center back to life.
How to Store Bakery-Style Stuffed Cookies
Store your cookies in an airtight container at room temperature for up to 4 days. If you want them to stay fresh longer, you can freeze the baked cookies for up to 3 months. To freeze unbaked dough, wrap the stuffed balls tightly in plastic wrap and store them in a freezer bag; you can bake them directly from frozen, just add 2-3 minutes to the total baking time.
Expert Tips for Perfect Bakery-Style Stuffed Cookies
Always use cold butter directly from the fridge. This ensures the cookies stay thick and don’t spread into flat puddles. Another tip is to use a high oven temperature; the initial blast of heat sets the edges quickly, preserving the soft interior. Finally, don’t skip the cornstarch! It is the secret ingredient that gives the cookies a tender, professional crumb texture.
Delicious Variations
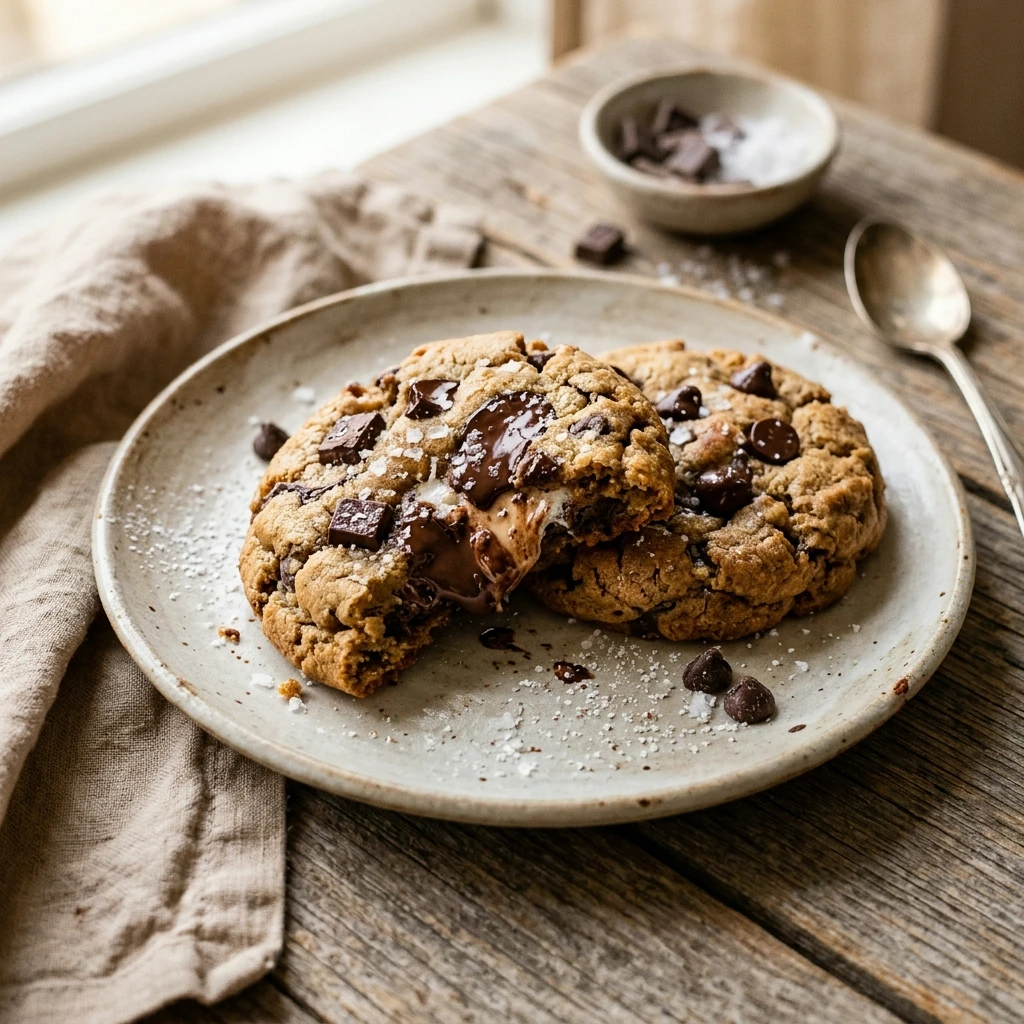
Try swapping the semi-sweet chocolate chips for white chocolate or dark chocolate chunks. For the filling, you can use salted caramel, marshmallow fluff, or even a piece of a frozen candy bar. If you love nuts, add crushed walnuts or pecans to the dough for extra crunch. You can also sprinkle a little sea salt on top right after baking to balance the sweetness.
Frequently Asked Questions
Q: Why did my cookies spread too much?
Your butter might have been too warm, or your oven temperature was too low. Make sure to use cold butter and preheat your oven thoroughly.
Q: Can I use margarine instead of butter?
For this specific bakery-style texture, real butter is highly recommended. Margarine has a higher water content which will cause the cookies to spread and lose their thickness.
Q: Do I have to freeze the filling?
Yes, freezing the filling makes it much easier to handle and ensures it stays in the center of the cookie rather than leaking out during the baking process.
Q: How do I know when the cookies are done?
Look for the edges to be set and the tops to have a dull, matte finish with just a hint of golden brown. They should still feel very soft if you touch them.
Q: Can I make smaller cookies with this recipe?
You can, but they may be harder to stuff. If you make smaller cookies, reduce the baking time to 8-9 minutes and ensure your filling portions are also smaller.
Conclusion
Mastering the art of the bakery-style stuffed cookie is a rewarding journey for any home baker. These cookies are the ultimate crowd-pleaser, combining classic flavors with a sophisticated presentation. Once you see the look on someone’s face when they discover the hidden center, you will want to make these again and again. Happy baking!
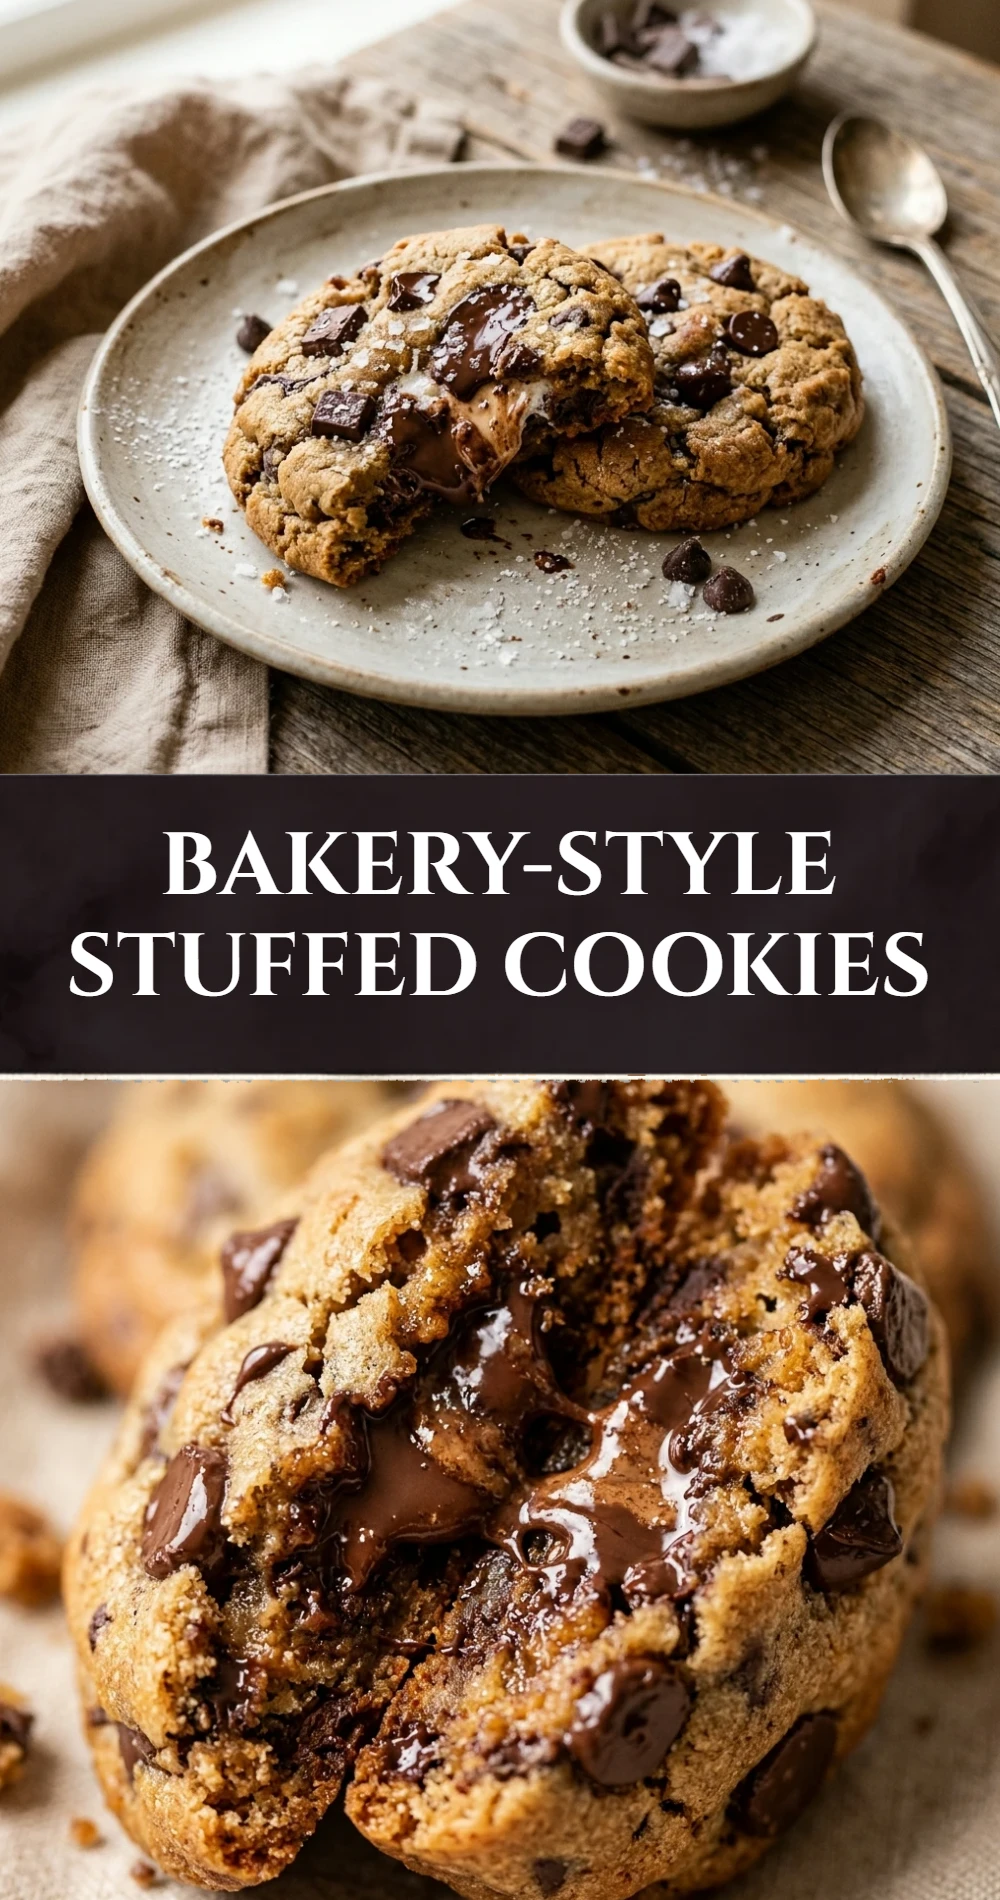
Bakery-Style Stuffed Cookies

- Cook Time: 42 minutes
- Total Time: 42 minutes
- Diet: Vegetarian
Ingredients
- 1 cup unsalted butter, cold and cubed
- 3/4 cup light brown sugar, packed
- 1/2 cup granulated sugar
- 2 large eggs, cold
- 1 teaspoon vanilla extract
- 3 cups all-purpose flour
- 1 teaspoon cornstarch
- 3/4 teaspoon baking soda
- 1/2 teaspoon salt
- 1 1/2 cups semi-sweet chocolate chips
- 12 tablespoons of filling (Nutella, peanut butter, or Biscoff spread)
Instructions
- Step 1: Prepare the Filling. Scoop 12 individual tablespoons of your chosen filling (like Nutella or peanut butter) onto a tray lined with parchment paper. Place the tray in the freezer for at least 20 minutes until the dollops are firm. This prevents the filling from melting into the dough during assembly.
- Step 2: Cream the Butter and Sugars. In a large bowl or stand mixer, beat the cold, cubed butter with the brown sugar and granulated sugar. Mix on medium-high speed for about 3-4 minutes until the mixture is combined but still holds some texture. Do not over-mix to the point of being fluffy; we want the butter to stay relatively cool.
- Step 3: Add Liquid Ingredients. Add the cold eggs one at a time, followed by the vanilla extract. Mix on low speed until just incorporated. Using cold eggs helps keep the dough temperature down, which is essential for thick cookies.
- Step 4: Mix in Dry Ingredients. Sift the flour, cornstarch, baking soda, and salt into the bowl. Mix on low speed until a few streaks of flour remain. Fold in the chocolate chips by hand using a spatula to ensure they are evenly distributed without overworking the gluten in the flour.
- Step 5: Stuff the Cookie Dough. Divide the dough into 12 equal portions (about 100g each). Flatten a portion of dough in your palm and place one frozen filling dollop in the center. Wrap the dough around the filling, ensuring there are no gaps or cracks. Roll it into a tall ball rather than a flat disc.
- Step 6: Bake the Cookies. Preheat your oven to 400°F (200°C). Place the dough balls on a baking sheet with plenty of space between them. Bake for 10-12 minutes or until the tops are lightly golden. The cookies will look slightly underbaked, but they will firm up as they cool on the tray.