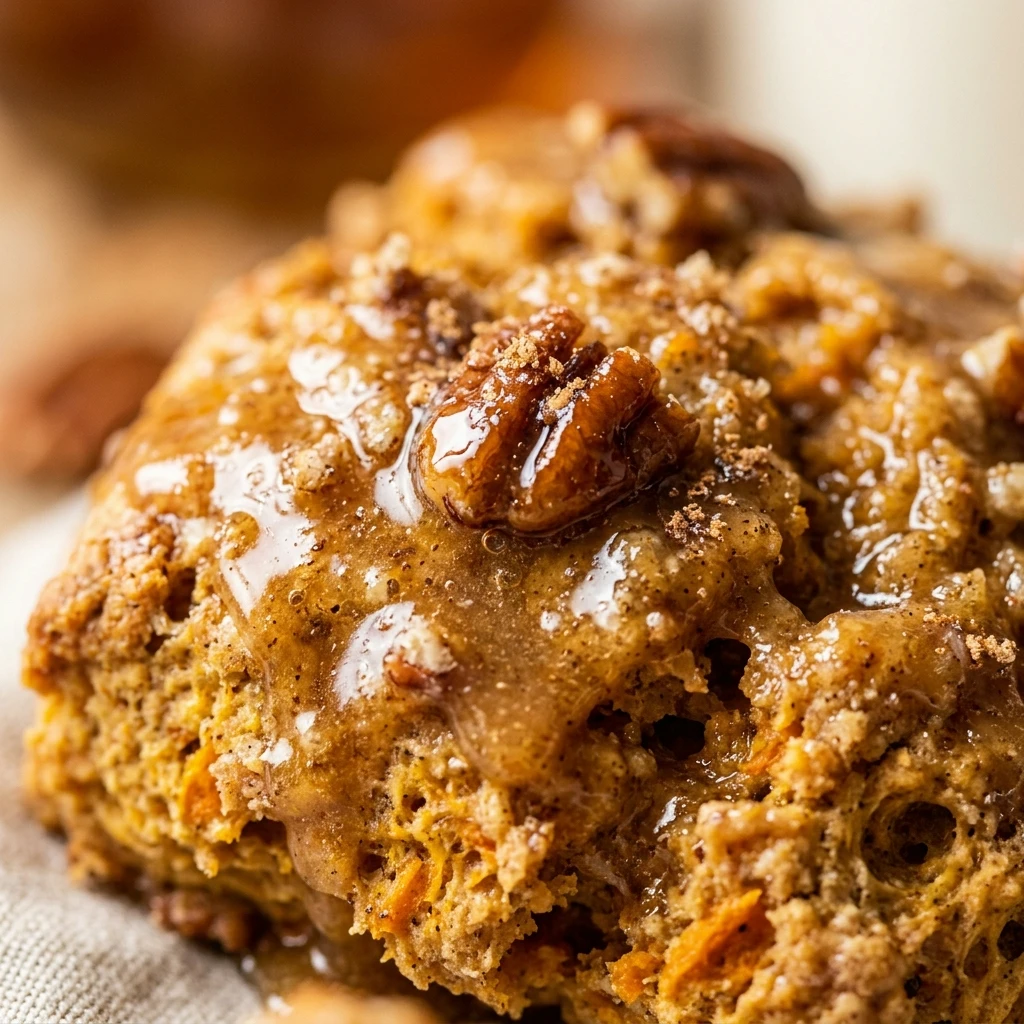

There is nothing quite like the smell of warm pumpkin and maple drifting through your kitchen on a crisp autumn morning. These Maple Glazed Pumpkin Scones are the ultimate seasonal treat, offering a tender, flaky texture that rivals any high-end bakery. Whether you are hosting a brunch or just want a cozy snack with your coffee, these scones are sure to become a family favorite.
The beauty of this recipe lies in the balance of spices and the rich, velvety maple glaze that sits perfectly on top. If you have been looking for that perfect pumpkin pastry that is not too sweet but bursting with flavor, you have found it. Let’s get baking and fill your home with the comforting scents of fall.
Recipe Information
- Prep Time: 20 minutes
- Cook Time: 15 minutes
- Total Time: 35 minutes
- Servings: 8 scones
- Difficulty Level: Medium
Nutrition Information
- Calories per serving: 385 kcal
- Protein: 5g
- Carbohydrates: 58g
- Fat: 16g
- Fiber: 2g
- Sugar: 28g
- Sodium: 310mg
Why Make This Maple Glazed Pumpkin Scones Recipe
This recipe is a must-try because it captures the essence of autumn in every bite. Unlike store-bought scones that can often be dry or crumbly, these homemade versions are incredibly moist thanks to the addition of real pumpkin puree. The maple glaze adds a sophisticated sweetness that elevates the earthy notes of the pumpkin spice.
Making scones at home is also surprisingly rewarding. It allows you to control the quality of ingredients, ensuring you use real butter and fresh spices. Plus, they are much more affordable than buying a dozen from a cafe, and they taste even better when served warm straight from your own oven.
How to Make Maple Glazed Pumpkin Scones Recipe
Creating these bakery-style scones is easier than you might think if you follow a few simple techniques. The key is keeping your ingredients cold and handling the dough with a light touch to ensure those beautiful flaky layers.
Ingredients
- 2 cups all-purpose flour
- 1/3 cup light brown sugar, packed
- 1 tablespoon baking powder
- 1 teaspoon pumpkin pie spice
- 1/2 teaspoon ground cinnamon
- 1/2 teaspoon salt
- 1/2 cup cold unsalted butter, cubed
- 1/2 cup pumpkin puree (not pumpkin pie filling)
- 3 tablespoons heavy cream (plus extra for brushing)
- 1 large egg
- 1 teaspoon vanilla extract
- For the Glaze:
- 1 cup powdered sugar
- 2 tablespoons pure maple syrup
- 1-2 tablespoons heavy cream
Directions
Step 1: Preheat and Prepare
Preheat your oven to 400°F (200°C). Line a large baking sheet with parchment paper or a silicone baking mat to prevent sticking and ensure even browning.
Step 2: Mix Dry Ingredients
In a large mixing bowl, whisk together the flour, brown sugar, baking powder, pumpkin pie spice, cinnamon, and salt until well combined and no lumps of sugar remain.
Step 3: Cut in the Butter
Add the cold, cubed butter to the flour mixture. Use a pastry cutter or two forks to cut the butter into the dry ingredients until the mixture resembles coarse crumbs with some pea-sized bits of butter remaining.
Step 4: Combine Wet Ingredients
In a separate medium bowl, whisk together the pumpkin puree, heavy cream, egg, and vanilla extract until the mixture is smooth and fully incorporated.
Step 5: Form the Dough
Pour the wet pumpkin mixture into the dry ingredients. Use a spatula to gently fold the mixture together until a shaggy dough begins to form. Be careful not to overmix, as this will make the scones tough.
Step 6: Shape and Cut
Turn the dough out onto a lightly floured surface. Gently knead it a few times until it comes together. Pat the dough into an 8-inch circle about 1 inch thick. Use a sharp knife or bench scraper to cut the circle into 8 even wedges.
Step 7: Bake the Scones
Place the wedges on the prepared baking sheet, leaving space between them. Brush the tops lightly with a little bit of heavy cream. Bake for 12 to 15 minutes, or until the edges are golden brown and a toothpick inserted into the center comes out clean.
Step 8: Glaze and Serve
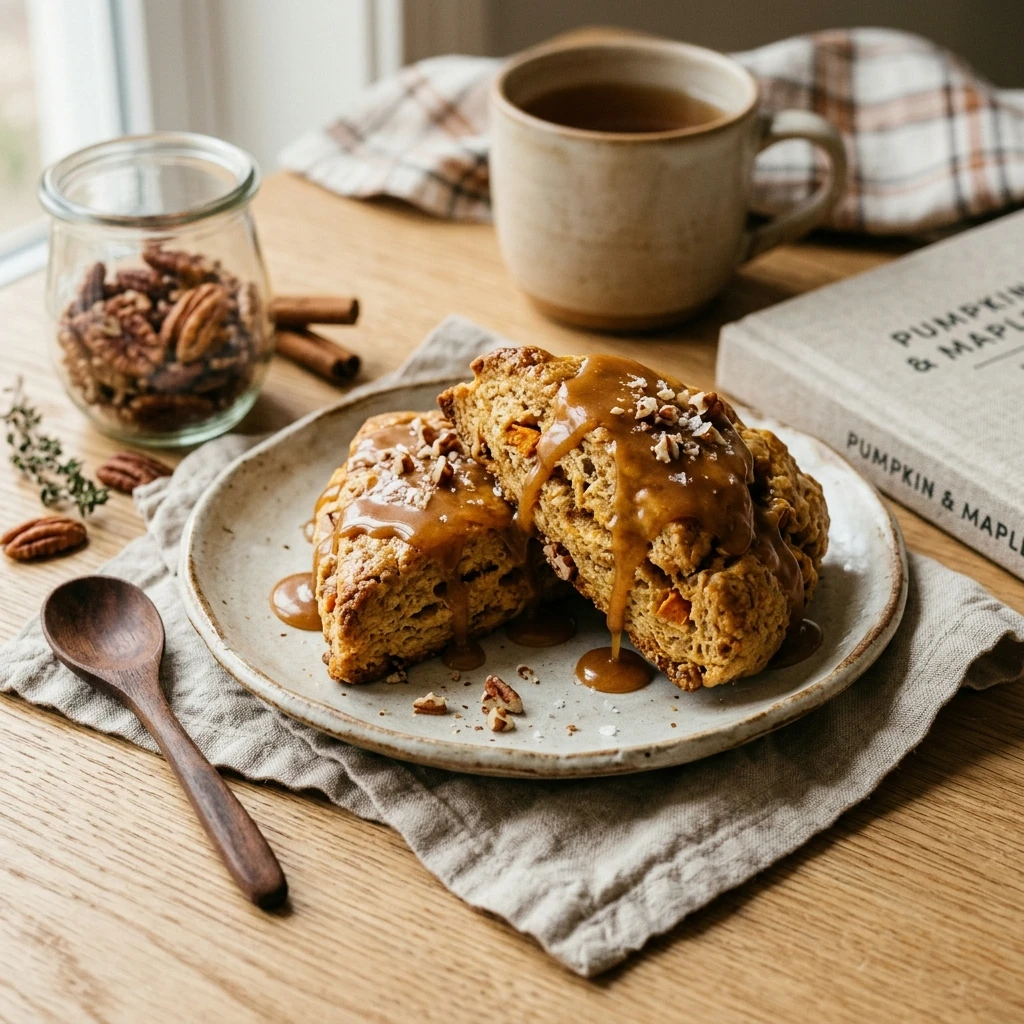
Allow the scones to cool on the pan for 5 minutes before transferring them to a wire rack. While they cool, whisk together the powdered sugar, maple syrup, and cream until smooth. Drizzle the glaze generously over the warm scones before serving.
How to Serve Maple Glazed Pumpkin Scones Recipe
These scones are best served warm, shortly after the glaze has set. They pair beautifully with a hot cup of coffee, a spicy chai latte, or a simple English breakfast tea. For an extra indulgent treat, you can serve them alongside some whipped cinnamon butter or a dollop of clotted cream.
How to Store Maple Glazed Pumpkin Scones Recipe
If you have leftovers, store them in an airtight container at room temperature for up to 2 days. For longer storage, you can keep them in the refrigerator for up to 5 days. To freeze, wrap unglazed scones tightly in plastic wrap and place them in a freezer bag for up to 3 months. Thaw at room temperature and apply fresh glaze before serving.
Expert Tips for Perfect Maple Glazed Pumpkin Scones Recipe
The most important tip for scones is to use very cold butter. The cold fat creates steam in the oven, which is what gives scones their lift and flaky texture. If your kitchen is warm, you can even put the cubed butter in the freezer for 10 minutes before using it. Also, try not to overwork the dough; the less you handle it, the more tender your scones will be.
Delicious Variations
You can easily customize this recipe by adding 1/2 cup of chocolate chips or chopped pecans to the dough for extra texture. If you prefer a stronger spice profile, increase the ginger or cloves. For a different finish, you can swap the maple glaze for a simple vanilla bean glaze or a dusting of cinnamon sugar before baking.
Frequently Asked Questions
Q: Can I use canned pumpkin pie filling instead of puree?
No, pumpkin pie filling contains added sugars and spices that will change the texture and flavor of the scones. Always use 100% pure pumpkin puree.
Q: My dough is too sticky to handle, what should I do?
Pumpkin moisture can vary by brand. If the dough is too sticky, add a tablespoon of flour at a time until it is manageable, but remember that a slightly tacky dough makes for a moister scone.
Q: Can I make these scones gluten-free?
Yes, you can substitute the all-purpose flour with a high-quality 1-to-1 gluten-free flour blend. Note that the texture may be slightly different.
Q: Why didn’t my scones rise very much?
This usually happens if your baking powder is expired or if the butter was too warm when the scones went into the oven. Ensure your leavening agents are fresh.
Q: Can I make the dough ahead of time?
Yes! You can shape and cut the scones, then keep them on the baking sheet in the refrigerator overnight. Bake them fresh in the morning for the best results.
Conclusion
Maple Glazed Pumpkin Scones are the quintessential autumn treat that brings a touch of bakery luxury to your home kitchen. With their soft, spiced interior and sweet maple finish, they are guaranteed to be a hit with everyone who tries them. Happy baking!
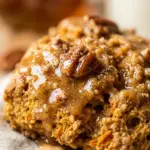
Maple Glazed Pumpkin Scones Recipe
- Cook Time: 35 minutes
- Total Time: 35 minutes
- Diet: Vegetarian, Gluten-Free (option mentioned)
Ingredients
- 2 cups all-purpose flour
- 1/3 cup light brown sugar, packed
- 1 tablespoon baking powder
- 1 teaspoon pumpkin pie spice
- 1/2 teaspoon ground cinnamon
- 1/2 teaspoon salt
- 1/2 cup cold unsalted butter, cubed
- 1/2 cup pumpkin puree (not pumpkin pie filling)
- 3 tablespoons heavy cream (plus extra for brushing)
- 1 large egg
- 1 teaspoon vanilla extract
- For the Glaze:
- 1 cup powdered sugar
- 2 tablespoons pure maple syrup
- 1–2 tablespoons heavy cream
Instructions
- Step 1: Preheat and Prepare Preheat your oven to 400°F (200°C). Line a large baking sheet with parchment paper or a silicone baking mat to prevent sticking and ensure even browning.
- Step 2: Mix Dry Ingredients In a large mixing bowl, whisk together the flour, brown sugar, baking powder, pumpkin pie spice, cinnamon, and salt until well combined and no lumps of sugar remain.
- Step 3: Cut in the Butter Add the cold, cubed butter to the flour mixture. Use a pastry cutter or two forks to cut the butter into the dry ingredients until the mixture resembles coarse crumbs with some pea-sized bits of butter remaining.
- Step 4: Combine Wet Ingredients In a separate medium bowl, whisk together the pumpkin puree, heavy cream, egg, and vanilla extract until the mixture is smooth and fully incorporated.
- Step 5: Form the Dough Pour the wet pumpkin mixture into the dry ingredients. Use a spatula to gently fold the mixture together until a shaggy dough begins to form. Be careful not to overmix, as this will make the scones tough.
- Step 6: Shape and Cut Turn the dough out onto a lightly floured surface. Gently knead it a few times until it comes together. Pat the dough into an 8-inch circle about 1 inch thick. Use a sharp knife or bench scraper to cut the circle into 8 even wedges.
- Step 7: Bake the Scones Place the wedges on the prepared baking sheet, leaving space between them. Brush the tops lightly with a little bit of heavy cream. Bake for 12 to 15 minutes, or until the edges are golden brown and a toothpick inserted into the center comes out clean.
- Step 8: Glaze and Serve Allow the scones to cool on the pan for 5 minutes before transferring them to a wire rack. While they cool, whisk together the powdered sugar, maple syrup, and cream until smooth. Drizzle the glaze generously over the warm scones before serving.