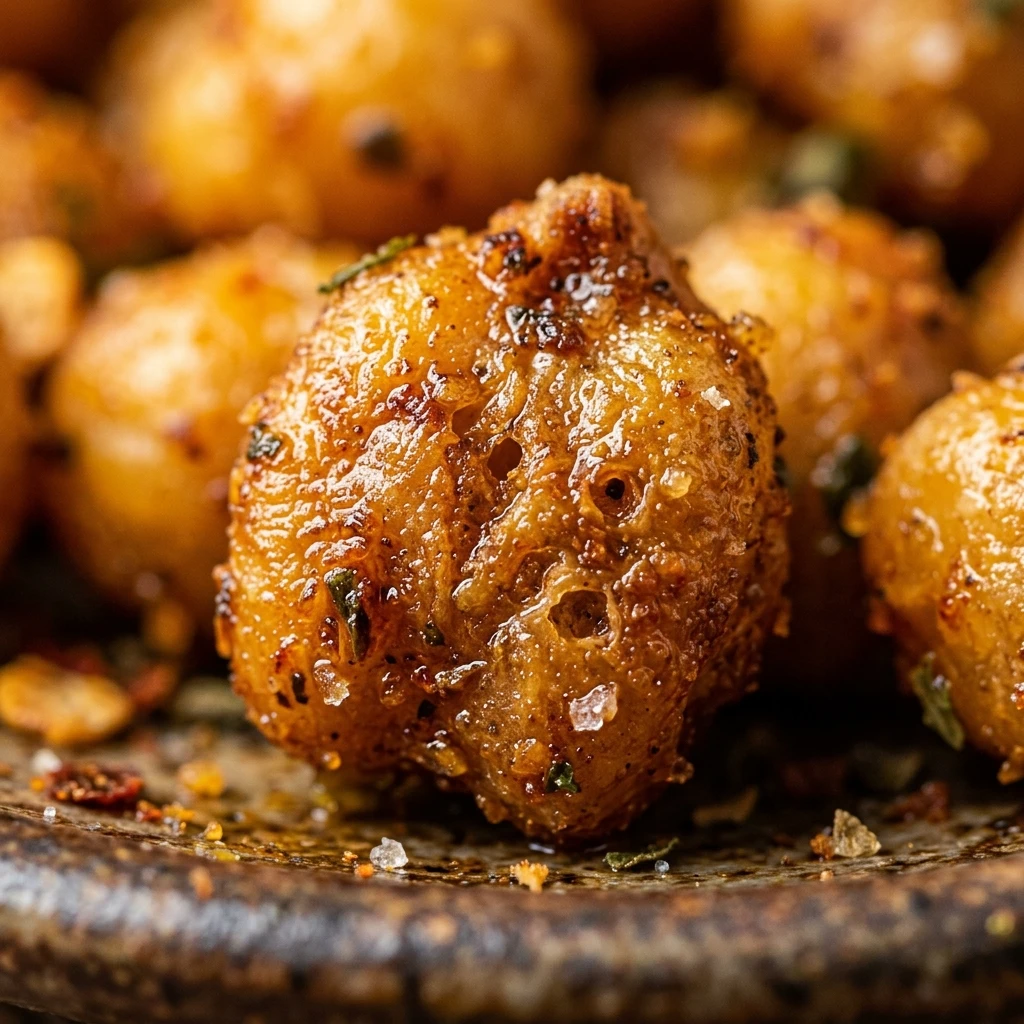

If you are searching for a crunchy, savory snack that is actually good for you, these air fryer chickpeas are a total game-changer. They offer that satisfying potato chip crunch without the excess oil or processed ingredients. Whether you are meal prepping for the week or need a quick afternoon pick-me-up, this recipe is guaranteed to become a staple in your kitchen.
Making a healthy snack has never been easier thanks to the air fryer. This method ensures every chickpea gets perfectly crispy on the outside while staying light and airy. They are naturally vegan, gluten-free, and packed with plant-based protein, making them the ultimate guilt-free treat for kids and adults alike.
Recipe Information
- Prep Time: 5 minutes
- Cook Time: 15 minutes
- Total Time: 20 minutes
- Servings: 2
- Difficulty Level: Easy
Nutrition Information
- Calories per serving: 185 kcal
- Protein: 7g
- Carbohydrates: 25g
- Fat: 7g
- Fiber: 6g
- Sugar: 4g
- Sodium: 310mg
Why Make This Air Fryer Chickpea Snack Healthy
This air fryer chickpea snack is an excellent choice for anyone looking to increase their daily fiber and protein intake. Chickpeas are complex carbohydrates, meaning they provide sustained energy throughout the day rather than a quick sugar spike. By using an air fryer, you use significantly less oil than traditional roasting or frying methods, keeping the calorie count low while maintaining a high satisfaction level.
Another reason to love this recipe is its versatility. Once you master the basic technique, you can experiment with dozens of flavor combinations. It is a budget-friendly snack that uses pantry staples you likely already have on hand. It is also an environmentally friendly choice, as legumes have a lower carbon footprint than many animal-based snacks.
How to Make Air Fryer Chickpea Snack Healthy
The process is incredibly simple and takes less than half an hour from start to finish. Follow these steps to ensure you get the maximum crunch every single time.
Ingredients
- 1 can (15 oz) chickpeas (garbanzo beans)
- 1 tablespoon extra virgin olive oil
- 1/2 teaspoon fine sea salt
- 1/2 teaspoon garlic powder
- 1/2 teaspoon smoked paprika
- 1/4 teaspoon ground cumin
- 1/4 teaspoon black pepper
Directions
Step 1: Drain and Dry
Drain the chickpeas into a colander and rinse them thoroughly under cold water. Use a clean kitchen towel or paper towels to pat them very dry. Removing as much moisture as possible is the secret to getting them truly crispy.
Step 2: Season the Chickpeas
In a medium mixing bowl, toss the dried chickpeas with the olive oil, salt, garlic powder, smoked paprika, cumin, and black pepper. Stir until every chickpea is evenly coated in the spice mixture.
Step 3: Arrange in Air Fryer
Preheat your air fryer to 400°F (200°C). Place the seasoned chickpeas in the air fryer basket in a single layer. Do not overcrowd the basket, as air needs to circulate around them to make them crunchy.
Step 4: Air Fry to Perfection
Cook for 12 to 15 minutes. Every 5 minutes, remove the basket and give it a good shake to ensure even browning. Start checking at the 12-minute mark to ensure they do not burn.
Step 5: Cool and Set
Remove the chickpeas from the air fryer and let them cool for at least 5 to 10 minutes. They will continue to crisp up as they cool down.
How to Serve Air Fryer Chickpea Snack Healthy
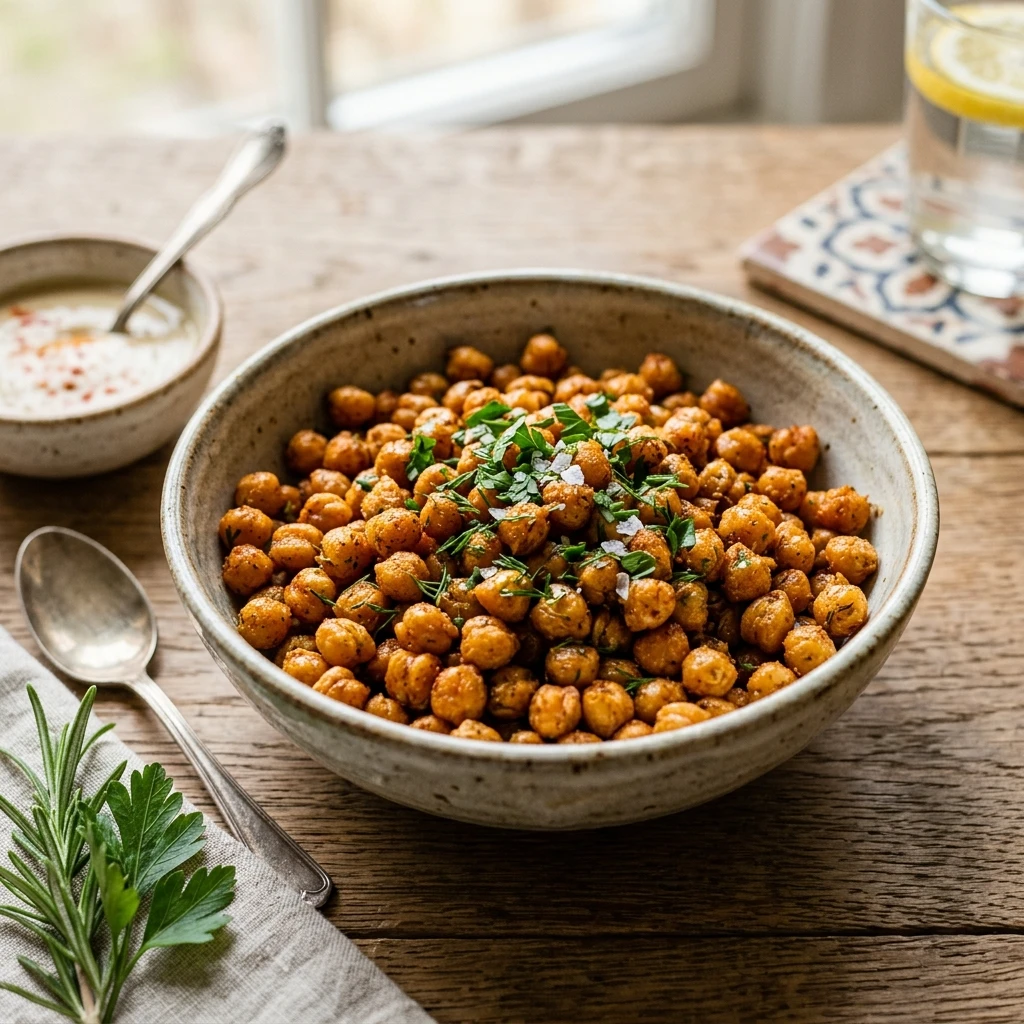
These crunchy chickpeas are delicious on their own as a standalone snack. However, they are also fantastic as a “crouton” replacement on Caesar or Mediterranean salads. You can sprinkle them over a bowl of creamy tomato soup for added texture, or mix them into a savory trail mix with nuts and seeds. Some people even like to use them as a topping for avocado toast or hummus bowls.
How to Store Air Fryer Chickpea Snack Healthy
To maintain their crunch, store the chickpeas in a glass jar or an airtight container at room temperature. Do not refrigerate them, as the moisture in the fridge will make them soft and chewy. They are best when eaten within 2 to 3 days. If they lose their crispness, you can pop them back into the air fryer for 2 minutes at 400°F to refresh them.
Expert Tips for Perfect Air Fryer Chickpea Snack Healthy
The most important tip is to remove the loose skins. While not strictly necessary, removing the skins that fall off during rinsing helps the chickpeas get much crispier. Also, ensure you do not add the salt after cooking; adding the spices before air frying allows the flavors to bake into the chickpeas. Lastly, every air fryer brand behaves differently, so keep a close eye on your first batch to determine the exact timing for your specific model.
Delicious Variations
If you want to change things up, try these flavor variations. For a “Taco” version, use chili powder and onion powder. For a “Sweet & Spicy” version, use a pinch of cinnamon and a dash of cayenne pepper. You can also make “Ranch” chickpeas by using dried dill, dried parsley, and onion powder. If you prefer something simple, just sea salt and cracked black pepper work beautifully every time.
Frequently Asked Questions
Q: Can I use dried chickpeas instead of canned?
Yes, but you must soak and boil them until they are tender before following the air fryer steps. Canned chickpeas are much faster and more convenient for this specific recipe.
Q: Why are my chickpeas not crunchy?
This usually happens if they weren’t dried enough before cooking or if the air fryer basket was too crowded. Make sure to pat them completely dry with a towel first.
Q: Should I remove the chickpea skins?
It is optional, but highly recommended. Removing the skins allows the hot air to hit the surface of the bean directly, resulting in a superior crunch.
Q: Can I make these oil-free?
You can, but they will be much drier and the spices may not stick as well. A small amount of olive oil helps conduct heat and creates a better texture.
Q: How long do they stay crispy?
They are crispiest right after cooling. In an airtight container, they should stay relatively crunchy for about 48 hours.
Conclusion
This Air Fryer Chickpea Snack Healthy is the perfect solution for your snack cravings. It is fast, nutritious, and incredibly easy to customize. By swapping out processed snacks for these fiber-rich beans, you are making a great choice for your body without sacrificing flavor. Give this recipe a try today and enjoy the ultimate healthy crunch!
Air Fryer Chickpea Snack Healthy

- Cook Time: 20 minutes
- Total Time: 20 minutes
- Diet: Vegan, Gluten-Free
Ingredients
- 1 can (15 oz) chickpeas (garbanzo beans)
- 1 tablespoon extra virgin olive oil
- 1/2 teaspoon fine sea salt
- 1/2 teaspoon garlic powder
- 1/2 teaspoon smoked paprika
- 1/4 teaspoon ground cumin
- 1/4 teaspoon black pepper
Instructions
- Drain the chickpeas into a colander and rinse them thoroughly under cold water. Use a clean kitchen towel or paper towels to pat them very dry. Removing as much moisture as possible is the secret to getting them truly crispy.
- In a medium mixing bowl, toss the dried chickpeas with the olive oil, salt, garlic powder, smoked paprika, cumin, and black pepper. Stir until every chickpea is evenly coated in the spice mixture.
- Preheat your air fryer to 400°F (200°C). Place the seasoned chickpeas in the air fryer basket in a single layer. Do not overcrowd the basket, as air needs to circulate around them to make them crunchy.
- Cook for 12 to 15 minutes. Every 5 minutes, remove the basket and give it a good shake to ensure even browning. Start checking at the 12-minute mark to ensure they do not burn.
- Remove the chickpeas from the air fryer and let them cool for at least 5 to 10 minutes. They will continue to crisp up as they cool down.