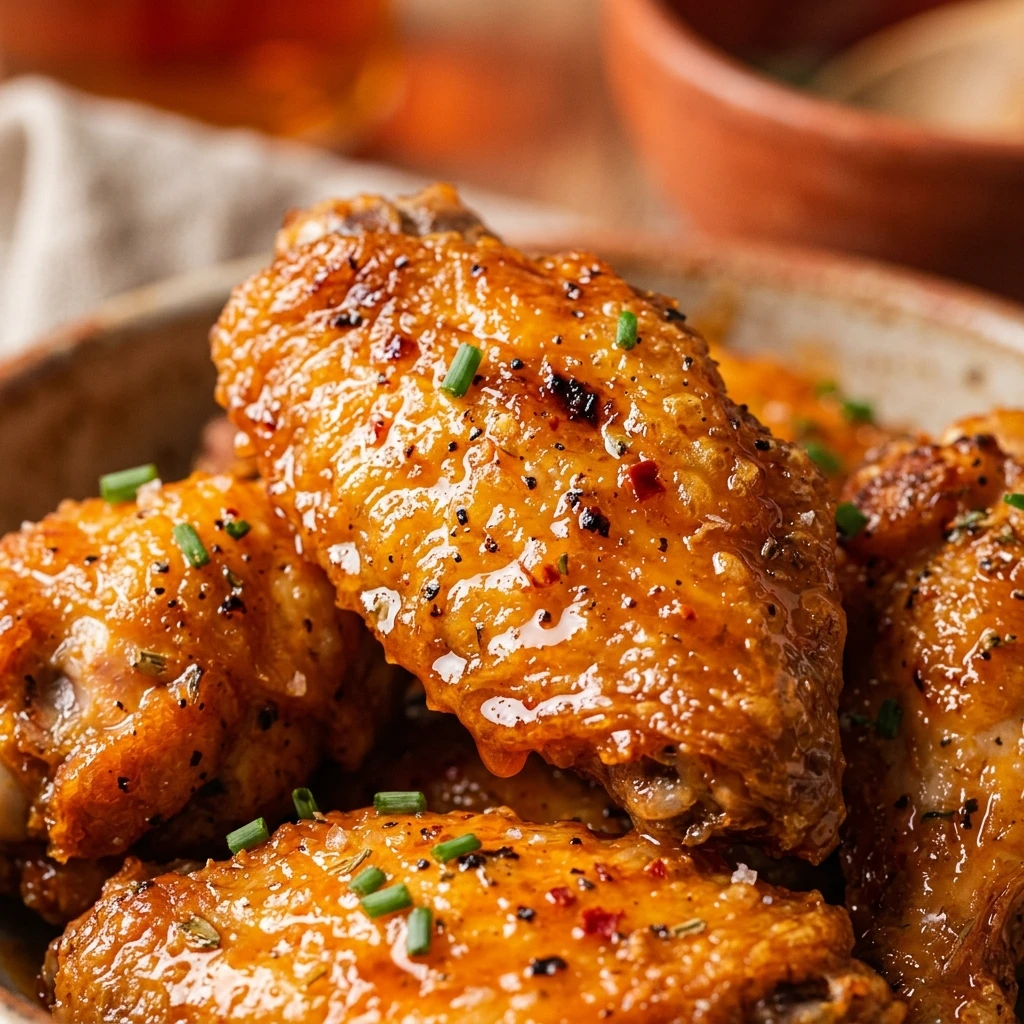

There is nothing quite like biting into a perfectly crispy chicken wing coated in tangy, spicy buffalo sauce. For a long time, achieving that restaurant-quality crunch meant dealing with messy deep fryers and a lot of extra oil. Thankfully, the air fryer has changed the game. These Air Fryer Buffalo Chicken Wings give you all the flavor and texture you crave with much less effort and fat.
Whether you are hosting a game day party or just looking for a fun weeknight dinner, this recipe is a guaranteed winner. It is incredibly simple to put together, and the air fryer does all the heavy lifting. You will be amazed at how the skin gets so thin and crispy while the meat remains juicy and tender on the inside. Let’s get cooking!
Recipe Information
- Prep Time: 10 minutes
- Cook Time: 20 minutes
- Total Time: 30 minutes
- Servings: 4
- Difficulty Level: Easy
Nutrition Information
- Calories per serving: 340 kcal
- Protein: 24g
- Carbohydrates: 2g
- Fat: 26g
- Fiber: 0g
- Sugar: 1g
- Sodium: 980mg
Why Make This Air Fryer Buffalo Chicken Wings
The main reason to make these wings is the incredible texture. By using an air fryer, you get a skin that is just as crispy as deep-fried wings but without the greasy aftertaste. It is a healthier alternative that does not sacrifice any of the “crunch factor” we all love.
Another reason is the convenience. Cleanup is a breeze compared to traditional frying, and you do not have to worry about disposing of large amounts of used oil. Plus, it is a very fast process, taking only about 30 minutes from start to finish. It is the perfect recipe for anyone who wants high-quality comfort food without the hassle.
How to Make Air Fryer Buffalo Chicken Wings
Making these wings is a straightforward process that involves drying the meat, seasoning it for maximum crunch, and letting the hot air do its magic. Follow these simple steps to get the best results every single time.
Ingredients
- 2 lbs chicken wings (flats and drumettes separated)
- 1 tablespoon baking powder (aluminum-free)
- 1/2 teaspoon salt
- 1/2 teaspoon garlic powder
- 1/4 teaspoon black pepper
- 1/3 cup buffalo hot sauce
- 2 tablespoons unsalted butter, melted
- Optional: 1 teaspoon honey for a touch of sweetness
Directions
Step 1: Prep and Dry the Wings
The secret to crispy skin is removing moisture. Pat the chicken wings very dry with paper towels. The drier they are, the crispier they will get. Place the dried wings in a large mixing bowl.
Step 2: Season the Chicken
In a small bowl, whisk together the baking powder, salt, garlic powder, and black pepper. Sprinkle this mixture over the wings and toss them thoroughly until every piece is evenly coated. The baking powder helps break down the proteins in the skin to create those tiny bubbles that make it extra crunchy.
Step 3: Preheat and Arrange
Preheat your air fryer to 400°F (200°C). Once ready, place the wings in the air fryer basket in a single layer. Make sure they are not touching too much so the air can circulate freely around each wing.
Step 4: Air Fry to Perfection
Cook the wings at 400°F for 20 minutes. At the 10-minute mark, pull the basket out and shake it well or use tongs to flip the wings. This ensures even browning on all sides. Cook until the skin is golden brown and very crisp.
Step 5: Sauce and Serve
While the wings are cooking, whisk together the buffalo sauce and melted butter in a large bowl. Once the wings are done, immediately transfer them into the bowl with the sauce and toss until they are fully coated. Serve hot!
How to Serve Air Fryer Buffalo Chicken Wings
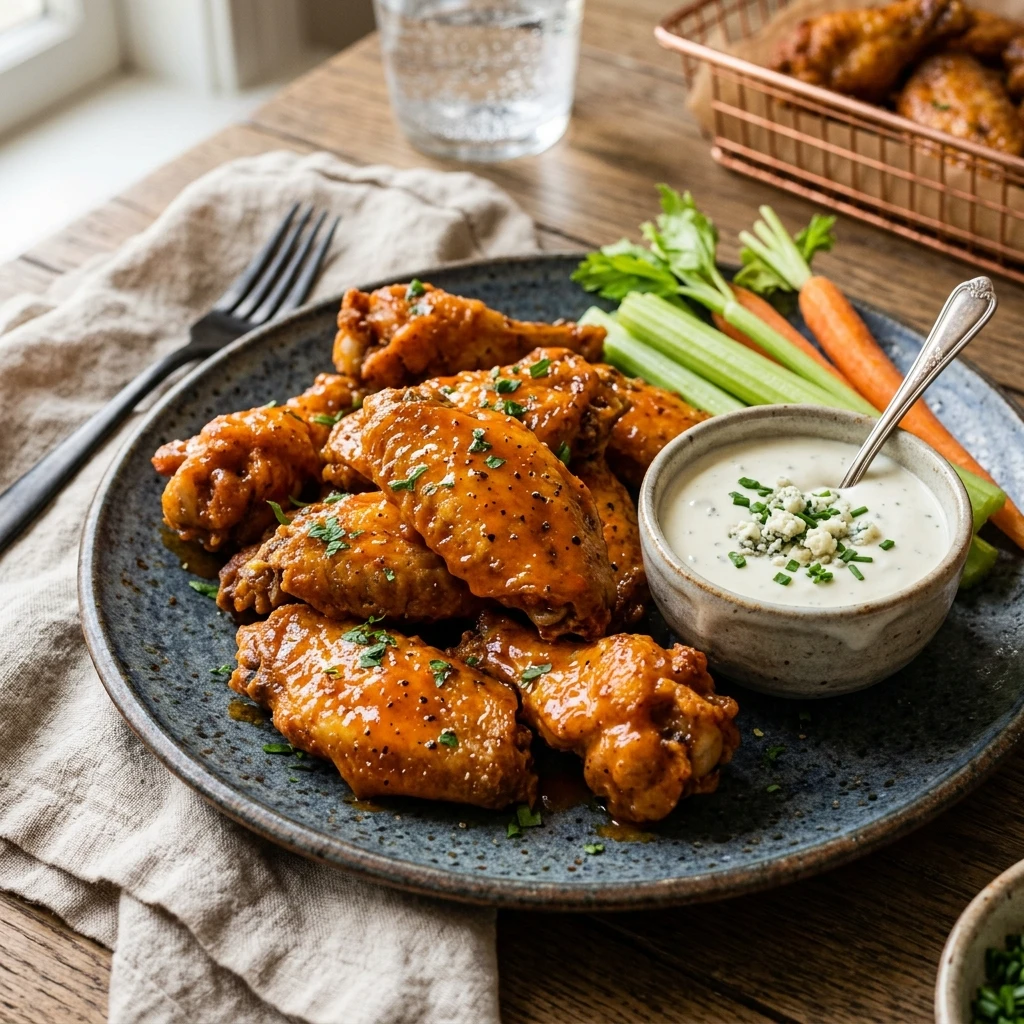
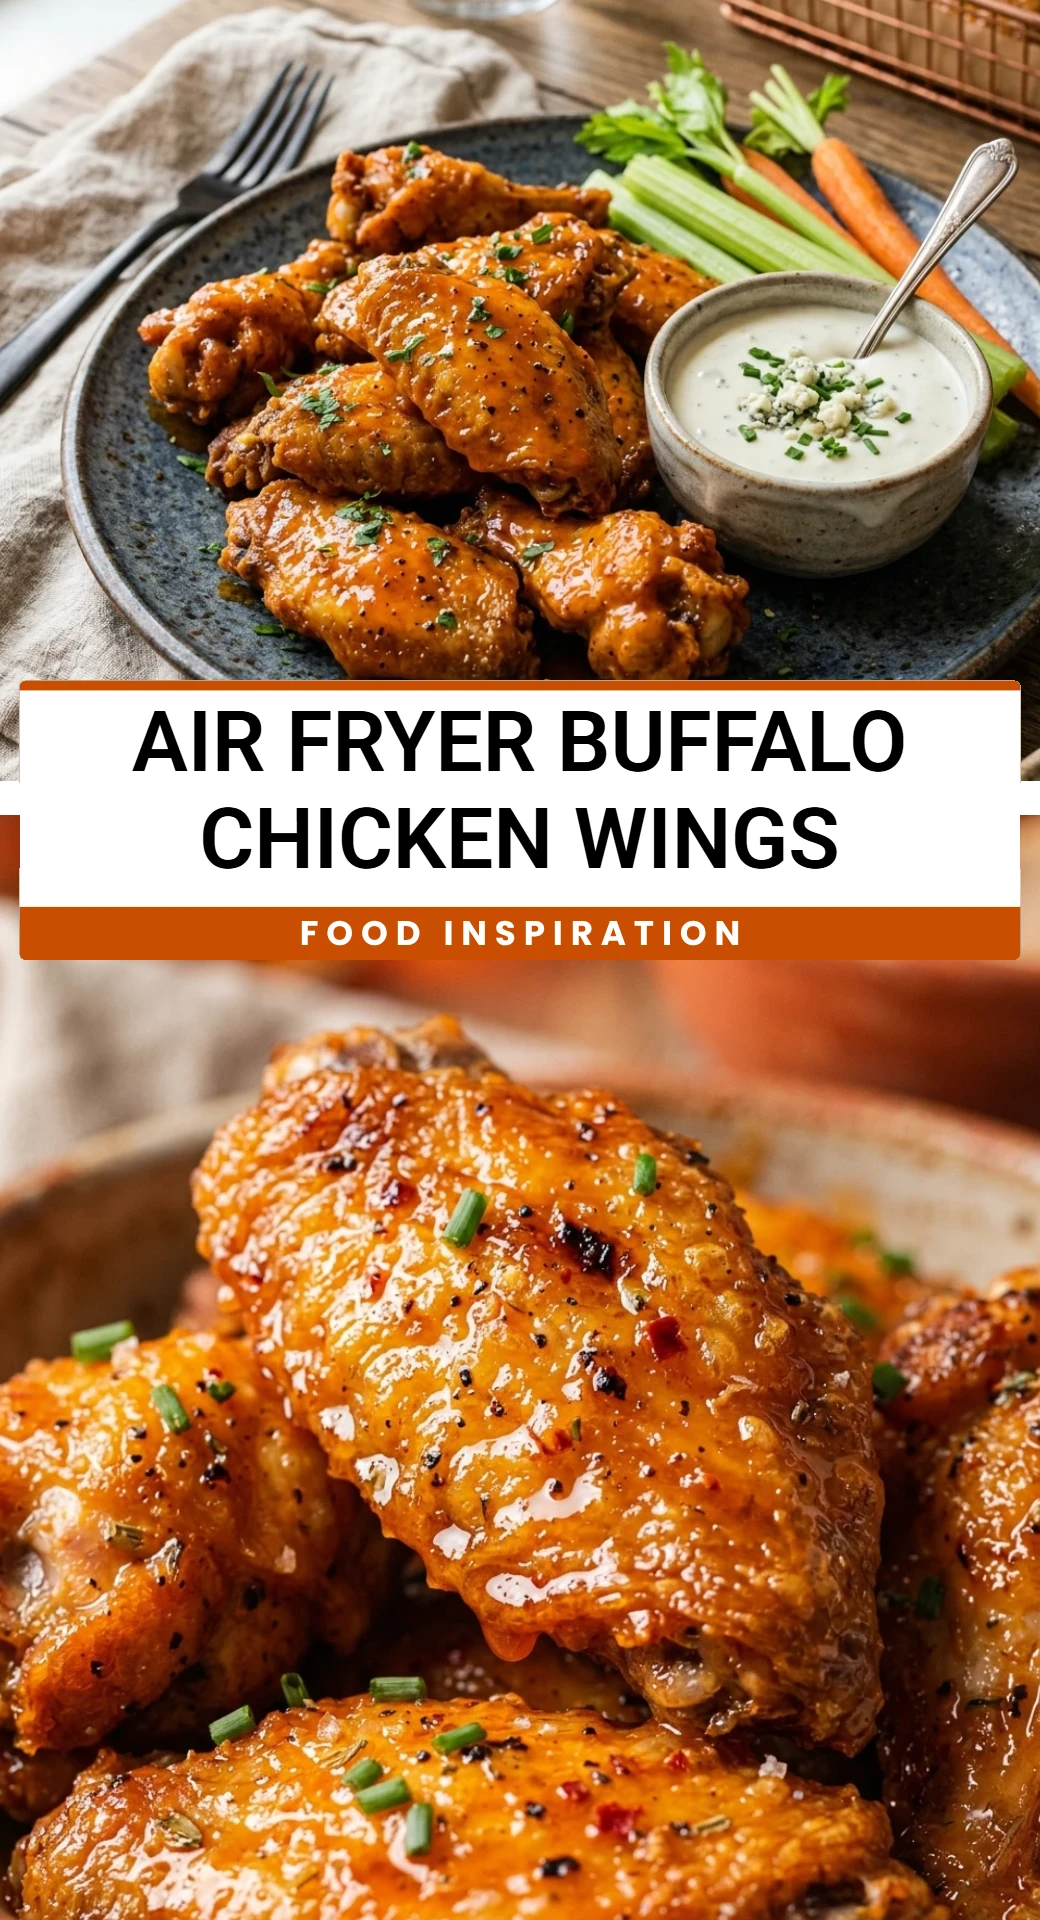
Serve these wings hot out of the bowl for the best experience. Traditionally, they are paired with crisp celery sticks and carrot sticks to help cool down the heat. Don’t forget a side of creamy blue cheese dressing or ranch dressing for dipping. If you want to make it a full meal, they go great with a side of loaded fries or a fresh garden salad.
How to Store Air Fryer Buffalo Chicken Wings
If you have leftovers, store them in an airtight container in the refrigerator for up to 3 days. To keep them crispy when reheating, put them back into the air fryer at 375°F for about 4–5 minutes until heated through. Avoid using the microwave, as it will make the skin soft and soggy.
Expert Tips for Perfect Air Fryer Buffalo Chicken Wings
First, never skip the baking powder. It is the “magic ingredient” that mimics the texture of deep frying. Second, do not overcrowd the basket. If you have a smaller air fryer, cook the wings in two batches. If they are piled on top of each other, they will steam instead of fry. Finally, sauce the wings just before serving so the skin stays as crunchy as possible for your guests.
Delicious Variations
If you want to switch things up, you can easily change the sauce. Try a Garlic Parmesan version by tossing the cooked wings in melted butter, minced garlic, and grated parmesan cheese. For a sweeter heat, add two tablespoons of honey or maple syrup to your buffalo sauce. If you prefer dry wings, simply skip the sauce and increase the amount of spices like smoked paprika or onion powder in the initial coating.
Frequently Asked Questions
Q: Can I use frozen wings?
Yes, you can cook wings from frozen. However, you will need to increase the cook time by about 5–10 minutes. For the best results, it is still better to thaw them first so you can pat them dry and apply the baking powder coating.
Q: Does the baking powder make them taste metallic?
As long as you use aluminum-free baking powder, you will not notice any metallic taste. It simply helps with the texture.
Q: Can I use baking soda instead of baking powder?
No, do not use baking soda. It has a very strong, bitter taste and will not produce the same crispy results as baking powder.
Q: How do I make them extra spicy?
You can add a pinch of cayenne pepper to the dry rub or stir in a few teaspoons of your favorite extra-hot hot sauce into the buffalo butter mixture.
Q: Why are my wings not crispy?
The most common reasons are that the wings were still wet when seasoned, or the air fryer basket was too crowded. Make sure to pat them dry and cook in a single layer.
Conclusion
Air Fryer Buffalo Chicken Wings are the ultimate snack for any occasion. They are fast, easy to clean up, and incredibly delicious. Once you try this method, you may never go back to ordering takeout wings again. Give this recipe a try this weekend and enjoy the perfect crunch and spicy kick!
Air Fryer Buffalo Chicken Wings

- Cook Time: 30 minutes
- Total Time: 30 minutes
- Diet: Keto, Low-Carb
Ingredients
- 2 lbs chicken wings (flats and drumettes separated)
- 1 tablespoon baking powder (aluminum-free)
- 1/2 teaspoon salt
- 1/2 teaspoon garlic powder
- 1/4 teaspoon black pepper
- 1/3 cup buffalo hot sauce
- 2 tablespoons unsalted butter, melted
- Optional: 1 teaspoon honey for a touch of sweetness
Instructions
- Pat the chicken wings very dry with paper towels. The drier they are, the crispier they will get. Place the dried wings in a large mixing bowl.
- In a small bowl, whisk together the baking powder, salt, garlic powder, and black pepper. Sprinkle this mixture over the wings and toss them thoroughly until every piece is evenly coated.
- Preheat your air fryer to 400°F (200°C). Once ready, place the wings in the air fryer basket in a single layer. Make sure they are not touching too much so the air can circulate freely around each wing.
- Cook the wings at 400°F for 20 minutes. At the 10-minute mark, pull the basket out and shake it well or use tongs to flip the wings. This ensures even browning on all sides. Cook until the skin is golden brown and very crisp.
- While the wings are cooking, whisk together the buffalo sauce and melted butter in a large bowl. Once the wings are done, immediately transfer them into the bowl with the sauce and toss until they are fully coated. Serve hot!