Homemade Twinkies
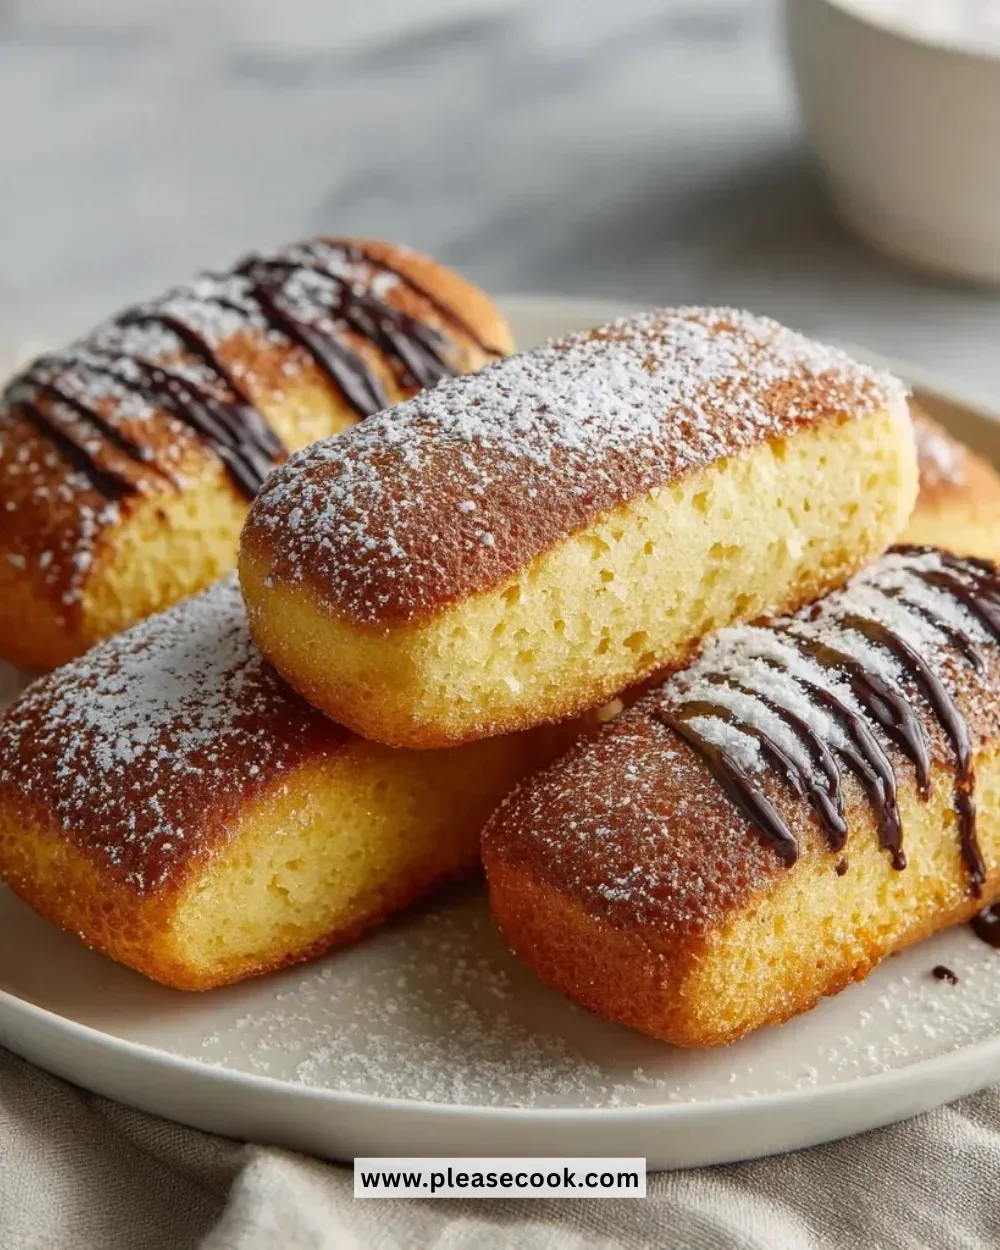
Homemade Twinkies are a delightful treat that will take you back to your childhood with each sweet bite. These soft, cream-filled cakes are less common to find in stores these days, making homemade versions even more special. Making them from scratch ensures that you can savor the fluffy sponge and rich filling just the way you want it, making this a perfect project for baking enthusiasts and novice cooks alike.
Recipe Information
- Prep Time: 20 minutes
- Cook Time: 20-25 minutes
- Total Time: 45-50 minutes
- Servings: 12 Twinkies
- Difficulty Level: Easy
Nutrition Information
- Calories per serving: Approximately 200
- Protein: 2g
- Carbohydrates: 26g
- Fat: 10g
- Fiber: 0g
- Sugar: 12g
- Sodium: 150mg
Why Make This Homemade Twinkies
Creating your own Homemade Twinkies allows you to customize the flavors and fillings to suit your taste. The process is straightforward, and the satisfaction of biting into a cream-filled cake you made from scratch is unmatched. Plus, you can share these delightful desserts with family and friends, making it perfect for celebrations or simply as a sweet snack. Using quality ingredients further elevates the flavor, resulting in a treat that simply outshines the store-bought versions.
How to Make Homemade Twinkies
Ingredients:
- 1 cup all-purpose flour
- 1 teaspoon baking powder
- 1/2 teaspoon salt
- 1/2 cup unsalted butter, softened
- 1 cup granulated sugar
- 3 large eggs
- 1 teaspoon vanilla extract
- 1/2 cup milk
- 1 cup whipped cream or marshmallow fluff (for filling)
- Chocolate frosting (for coating)
Directions:
-
Step 1: Preparation
Preheat the oven to 350°F (175°C) and grease a Twinkie pan. This ensures that the cakes won’t stick, allowing them to pop out beautifully after baking.
-
Step 2: Mixing Dry Ingredients
In a bowl, whisk together the flour, baking powder, and salt until well combined. This mixes the dry ingredients evenly and ensures that your cakes rise perfectly.
-
Step 3: Creaming the Butter and Sugar
In a separate bowl, cream together the softened butter and granulated sugar until the mixture becomes light and fluffy. This step incorporates air, which is vital for achieving a soft texture.
-
Step 4: Adding Eggs and Vanilla
Beat in the eggs one at a time, mixing thoroughly after each addition. Then, add the vanilla extract to the mixture, infusing your batter with aromatic flavor.
-
Step 5: Combining Wet and Dry Ingredients
Alternate adding the dry ingredients and milk to the butter mixture, starting and ending with the dry ingredients. This method helps maintain a smooth batter without overmixing.
-
Step 6: Pouring the Batter
Pour the batter into the prepared Twinkie pan, filling each cavity about 2/3 full to allow space for rising in the oven.
-
Step 7: Baking
Bake for 20-25 minutes or until the Twinkies turn golden and a toothpick inserted into the center comes out clean. This step is crucial for developing that airy texture.
-
Step 8: Cooling and Filling
Let the Twinkies cool completely in the pan. Once cooled, carefully remove them and fill each cake with whipped cream or marshmallow fluff for that classic creamy center.
-
Step 9: Coating in Chocolate
Dip the filled Twinkies into melted chocolate frosting to coat. The chocolate adds richness and creates a perfectly indulgent finish.
-
Step 10: Setting
Allow the coated Twinkies to set before serving. This can take about 10-15 minutes, but it’s worth the wait!
How to Serve Homemade Twinkies
Serve your Homemade Twinkies as a delightful snack for afternoon tea, at birthday parties, or even as desserts at gatherings. Pair them with a glass of cold milk or a cup of coffee for a comforting treat that appeals to both kids and adults alike.
How to Store Homemade Twinkies
To keep your Homemade Twinkies fresh, store them in an airtight container at room temperature for up to 2-3 days. If you want to extend their freshness, refrigerate them, where they will last about a week. You can also freeze them for up to 3 months; just wrap them individually in plastic wrap before placing them in a freezer bag.
Expert Tips for Perfect Homemade Twinkies
- Ensure all your ingredients are at room temperature, especially the butter and eggs. This helps create a smooth batter.
- Don’t overmix the batter when adding the dry ingredients; this can lead to dense cakes.
- If you don’t have a Twinkie pan, you can use muffin pans and shape the cakes slightly using a knife after baking.
- Experiment with different fillings like peanut butter, chocolate mousse, or fruit preserves for a unique twist!
Delicious Variations
- Chocolate Twinkies: Replace half of the flour with cocoa powder for a chocolatey base.
- Zesty Lemon Twinkies: Add 1 tablespoon of lemon zest and a hint of lemon juice to the batter for a citrusy kick.
- Caramel Filling: Instead of whipped cream, fill your Twinkies with homemade caramel sauce for a rich treat.
Frequently Asked Questions
-
Can I use gluten-free flour?
Yes, you can substitute all-purpose flour with a gluten-free baking mix. Just ensure that it includes a binding agent like xanthan gum. -
What type of frosting should I use?
While chocolate frosting is traditional, you can use vanilla or any flavor you enjoy. If you prefer a lighter coating, consider dusting with powdered sugar. -
Can I make the batter ahead of time?
It’s best to bake the batter fresh for the best texture. However, you can prepare the dry ingredients ahead of time and mix them with wet ingredients when you’re ready to bake. -
What can I do if my Twinkies stick to the pan?
Always greasing the pan well is key. If they do stick, gently use a knife to loosen the edges after they have cooled slightly. -
How do I know when the Twinkies are done?
Insert a toothpick into the center of the Twinkie; if it comes out clean or with just a few crumbs, they’re ready.
Conclusion
Homemade Twinkies are not only a fun and nostalgic treat, but they are also surprisingly simple to make. With just a few ingredients and some time, you can create a dessert that is sure to impress. Whether you enjoy them at a party or savor them at home, these sweet, fluffy cakes will bring a smile to your face. Whip up a batch today and treat yourself to a taste of nostalgia!
Print
Homemade Twinkies
- Total Time: 45 minutes
- Yield: 12 Twinkies 1x
- Diet: Vegetarian
Description
Delightful homemade Twinkies that take you back to your childhood with sweet, cream-filled cakes.
Ingredients
- 1 cup all-purpose flour
- 1 teaspoon baking powder
- 1/2 teaspoon salt
- 1/2 cup unsalted butter, softened
- 1 cup granulated sugar
- 3 large eggs
- 1 teaspoon vanilla extract
- 1/2 cup milk
- 1 cup whipped cream or marshmallow fluff (for filling)
- Chocolate frosting (for coating)
Instructions
- Preheat the oven to 350°F (175°C) and grease a Twinkie pan.
- In a bowl, whisk together the flour, baking powder, and salt until well combined.
- Cream together the softened butter and granulated sugar until light and fluffy.
- Beat in the eggs one at a time, then add the vanilla extract.
- Alternate adding the dry ingredients and milk to the butter mixture, starting and ending with dry ingredients.
- Pour the batter into the prepared Twinkie pan, filling each cavity about 2/3 full.
- Bake for 20-25 minutes or until golden and a toothpick comes out clean.
- Let the Twinkies cool completely before filling with whipped cream or marshmallow fluff.
- Dip the filled Twinkies into melted chocolate frosting to coat.
- Allow the coated Twinkies to set before serving.
Notes
Ensure all ingredients are at room temperature for a smooth batter. Store in an airtight container at room temperature for 2-3 days or refrigerate for up to a week.
- Prep Time: 20 minutes
- Cook Time: 25 minutes
- Category: Dessert
- Method: Baking
- Cuisine: American
Nutrition
- Serving Size: 1 Twinkie
- Calories: 200
- Sugar: 12g
- Sodium: 150mg
- Fat: 10g
- Saturated Fat: 6g
- Unsaturated Fat: 4g
- Trans Fat: 0g
- Carbohydrates: 26g
- Fiber: 0g
- Protein: 2g
- Cholesterol: 30mg