Easy Cherry Danish Pastry
Recipe Information
- Prep Time: 15 minutes
- Cook Time: 15-20 minutes
- Total Time: 30-35 minutes
- Servings: 8
- Difficulty Level: Easy
Nutrition Information
- Calories per serving: 210
- Protein: 3g
- Carbohydrates: 24g
- Fat: 11g
- Fiber: 1g
- Sugar: 6g
- Sodium: 150mg
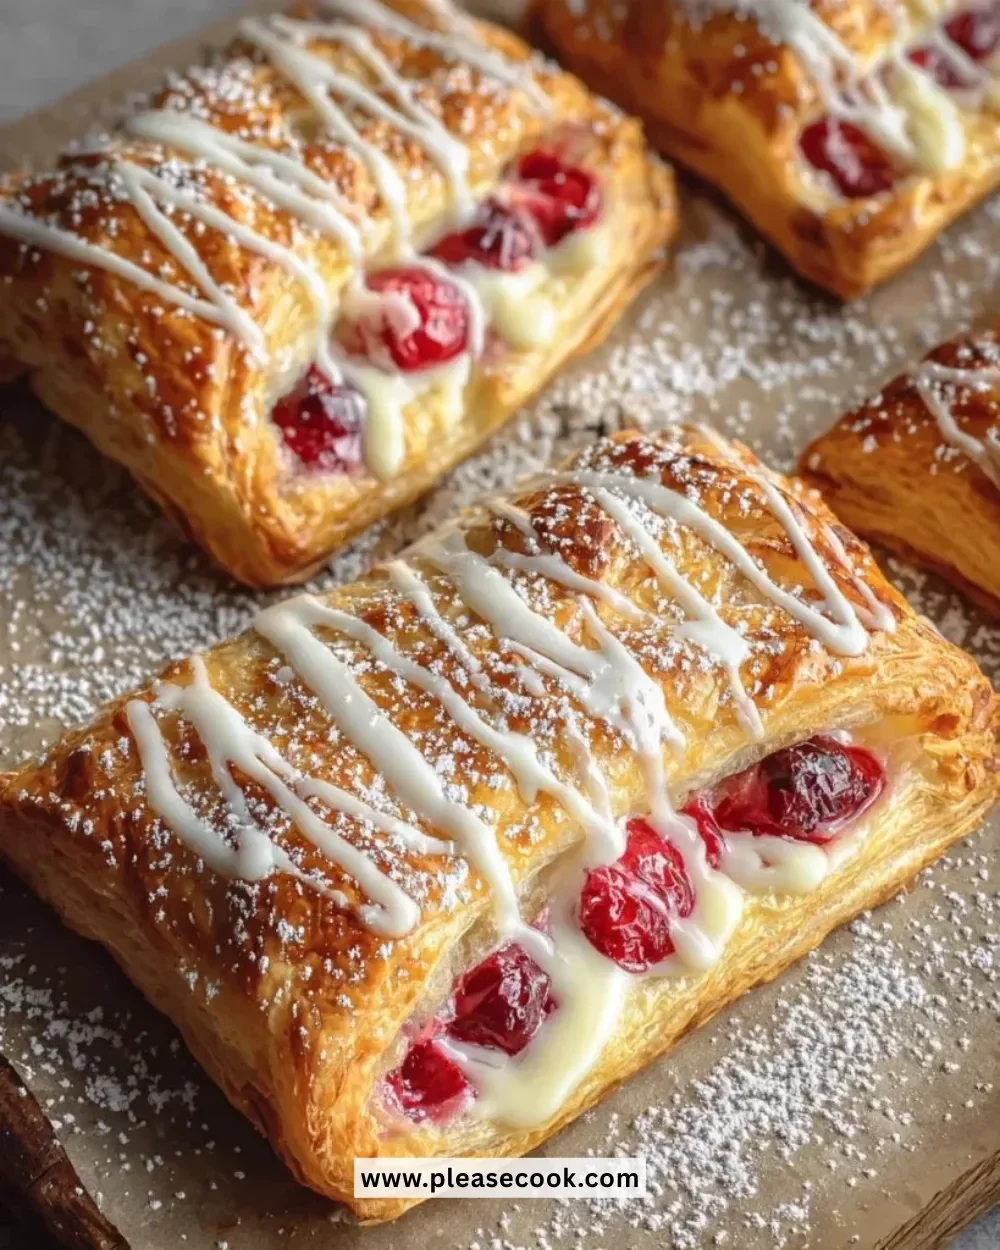
There’s something simply delightful about biting into a warm pastry, especially when it’s filled with sweet cherry goodness. This Easy Cherry Danish Pastry is a fantastic treat that combines flaky puff pastry with the tartness of cherry pie filling. It’s not only quick to prepare but also elegant enough to impress guests at brunch or coffee gatherings. With minimal ingredients and straightforward steps, you can enjoy a delicious pastry that fills your kitchen with a lovely aroma and satisfies your sweet cravings.
Why Make This Easy Cherry Danish Pastry
This Easy Cherry Danish Pastry is an ideal recipe for anyone seeking both simplicity and flavor. It’s perfect for breakfast, dessert, or a sweet snack. Using store-bought puff pastry saves you time while delivering that delightful flaky texture that we adore. The vibrant cherry filling contrasts beautifully with the buttery layers of the pastry, creating a harmonious blend that pleases the palate. Plus, with the option to decorate with a sweet glaze, it’s not just tasty, but visually stunning too.
How to Make Easy Cherry Danish Pastry
Ingredients:
- 1 package of puff pastry
- 1 cup cherry pie filling
- 1 egg (for egg wash)
- Powdered sugar (for glaze)
- 1 tablespoon milk (for glaze)
Directions:
-
Step 1: Preparation
Preheat the oven to 400°F (200°C). This ensures that your pastries bake evenly and get that lovely golden color. Then, roll out the puff pastry on a floured surface and cut it into 4-inch squares, which will hold your cherry filling.
-
Step 2: Filling
Place a spoonful of cherry pie filling in the center of each square. Make sure not to overfill, as this can cause the pastries to leak during baking.
-
Step 3: Folding
Fold the corners of the pastry over the filling to create a diamond shape. You can pinch the edges gently to seal them or use a fork to press down for a nice decorative touch.
-
Step 4: Brushing
Brush the tops of the pastries with the beaten egg. This step is crucial as it gives the pastries a beautiful, shiny, golden-brown finish when baked.
-
Step 5: Baking
Bake for 15-20 minutes, or until they are puffed up and golden brown. Keep an eye on them as they bake to achieve that perfect color.
-
Step 6: Glazing
For the glaze, mix together powdered sugar and milk until smooth. Drizzle this over the pastries once they have cooled slightly. The glaze adds an extra touch of sweetness and makes them look irresistible.
How to Serve Easy Cherry Danish Pastry
Serve your Easy Cherry Danish Pastry warm or at room temperature. They are great on their own or paired with a cup of coffee or tea. For a special touch, consider serving them with whipped cream or a scoop of vanilla ice cream for dessert.
How to Store Easy Cherry Danish Pastry
Store any leftovers in an airtight container at room temperature for up to 2 days. You can also refrigerate them for about a week. To reheat, place them in a preheated oven at 350°F (175°C) for about 10 minutes to restore their flaky texture.
Expert Tips for Perfect Easy Cherry Danish Pastry
- Make sure your puff pastry is completely thawed before you start. This ensures it folds and puffs up beautifully.
- Experiment with different fillings! You might try other fruit pie fillings like apple or blueberry, or even cream cheese for a different flavor profile.
- If you want a little extra crunch, sprinkle some sliced almonds on top before baking.
Delicious Variations
- Cream Cheese Filling: Add a layer of sweetened cream cheese before the cherry filling for a rich twist.
- Almond Glaze: Instead of a powdered sugar glaze, mix almond extract into the glaze for a nutty flavor.
- Mixed Berry Filling: Use a mixture of berries instead of just cherries for a delightful berry medley.
Frequently Asked Questions
-
Can I use homemade puff pastry?
Yes, if you’re feeling adventurous and have the time, homemade pastry can be used for an even flakier result. -
Can I freeze these pastries?
Absolutely! You can freeze unbaked pastries. Just assemble them and freeze on a baking sheet before transferring them to a bag. Bake them straight from the freezer, adding a few extra minutes to the cooking time. -
What can I use instead of cherry pie filling?
Feel free to substitute with other pie fillings like apple, peach, or even lemon curd. -
How do I know when they are done baking?
Look for a golden brown color and ensure the pastry has puffed up. A light pinch will reveal a crispy texture. -
Can I make the filling from scratch?
Certainly! Simply simmer fresh or frozen cherries with sugar and a splash of lemon juice until thickened.
Conclusion
In just about 35 minutes, you can whip up a batch of Easy Cherry Danish Pastry that will charm your family and friends alike. With its flaky layers, sweet cherry filling, and optional glaze, this pastry is versatile enough for any occasion. So go ahead, grab your ingredients, and enjoy the delightful baking experience that will end with everyone asking for seconds!